LAMPADA stack è la combinazione di L inux, A server web pache, M ySQL/M ariaDB, P HP. Questa guida passo passo spiega come installare Apache, MariaDB, PHP (LAMP Stack) nel server minimo CentOS 8. Lo stack LAMP viene utilizzato per distribuire applicazioni basate sul Web e ospitare siti Web dinamici. Ho testato questa guida su CentOS 8, tuttavia i passaggi indicati di seguito dovrebbero funzionare anche sul server RHEL 8. Cominciamo.
Installa Apache, MariaDB, PHP (stack LAMP) in CentOS 8
Ecco i dettagli della mia macchina di prova:
- Sistema operativo - Server minimo CentOS 8 (8.1.1911 (Core))
- Indirizzo IP - 192.168.225.52/24
- Nome host - centos8.otechnix.lan
Tutti i comandi forniti di seguito devono essere eseguiti come "root" utente. Se accedi come utente normale, usa 'sudo' davanti a ciascun comando. Il # il simbolo rappresenta I'm comandi come utente root.
Nota:
Uno dei principali aggiornamenti in CentOS 8 è che il gestore di pacchetti predefinito è stato migrato da YUM a DNF. Tuttavia, puoi ancora YUM su CentOS 8 se ti ci abitui. L'utilizzo di DNF è esattamente lo stesso di YUM. Ho compilato un elenco di esempi di comandi DNF per principianti. Se sei interessato a sapere come utilizzare DNF, dai un'occhiata al seguente link.
- Esempi di comandi DNF per principianti
1. Installa il server Web Apache su CentOS 8
Per installare Apache su CentOS 8, esegui il seguente comando come utente root:
# dnf install httpd
Una volta installato Apache, abilita e avvia il servizio Apache usando il comando:
# systemctl enable httpd
# systemctl start httpd
In alternativa, puoi utilizzare il seguente comando one-liner per abilitare e avviare il servizio apache in una volta sola.
# systemctl enable --now httpd
Controlla se il servizio Apache è in esecuzione o meno con il comando:
# systemctl status httpd
Risultato di esempio:
● httpd.service - The Apache HTTP Server
   Loaded: loaded (/usr/lib/systemd/system/httpd.service; enabled; vendor preset: disabled)
   Active: active (running) since Fri 2020-02-07 12:25:08 IST; 39min ago
     Docs: man:httpd.service(8)
 Main PID: 1736 (httpd)
   Status: "Total requests: 6; Idle/Busy workers 100/0;Requests/sec: 0.00253; Bytes served/sec: 13>
    Tasks: 213 (limit: 11501)
   Memory: 25.7M
   CGroup: /system.slice/httpd.service
           ├─1736 /usr/sbin/httpd -DFOREGROUND
           ├─1873 /usr/sbin/httpd -DFOREGROUND
           ├─1874 /usr/sbin/httpd -DFOREGROUND
           ├─1875 /usr/sbin/httpd -DFOREGROUND
           └─1876 /usr/sbin/httpd -DFOREGROUND

Feb 07 12:25:08 centos8.ostechnix.lan systemd[1]: Starting The Apache HTTP Server...
Feb 07 12:25:08 centos8.ostechnix.lan systemd[1]: Started The Apache HTTP Server.
Feb 07 12:25:08 centos8.ostechnix.lan httpd[1736]: Server configured, listening on: port 80
Come puoi vedere, il servizio Apache è caricato ed è in esecuzione. Ed è in ascolto sulla porta 80. Per scoprire quale servizio è in ascolto su una porta particolare, fai riferimento a questa guida .
Controlla la versione di Apache:
# httpd -v
Server version: Apache/2.4.37 (centos)
Server built: Dec 23 2019 20:45:34
Successivamente, tutte le porte predefinite del server Apache 80 e 443 attraverso il firewall e il router.
Per consentire la porta http 80 attraverso il firewall, esegui:
# firewall-cmd --permanent --add-service=http
Per consentire la porta https 443:
# firewall-cmd --permanent --add-service=https
Riavvia il firewall per applicare le modifiche utilizzando il comando:
$ systemctl restart firewalld
1.1. Prova il server web Apache
Abbiamo appena terminato tutti i passaggi necessari per distribuire un server Web Apache. Andiamo avanti e controlliamo se funziona davvero o meno. Per fare ciò, apri il tuo browser web (su qualsiasi sistema remoto nella rete, perché è un server minimo senza GUI) e vai a - http://indirizzo-ip . Se hai installato la GUI sul tuo sistema CentOS, puoi accedere a http://localhost o http://indirizzo-ip/ o http://nome-dominio .
Se tutto è a posto, vedrai la seguente pagina di prova sul tuo browser.
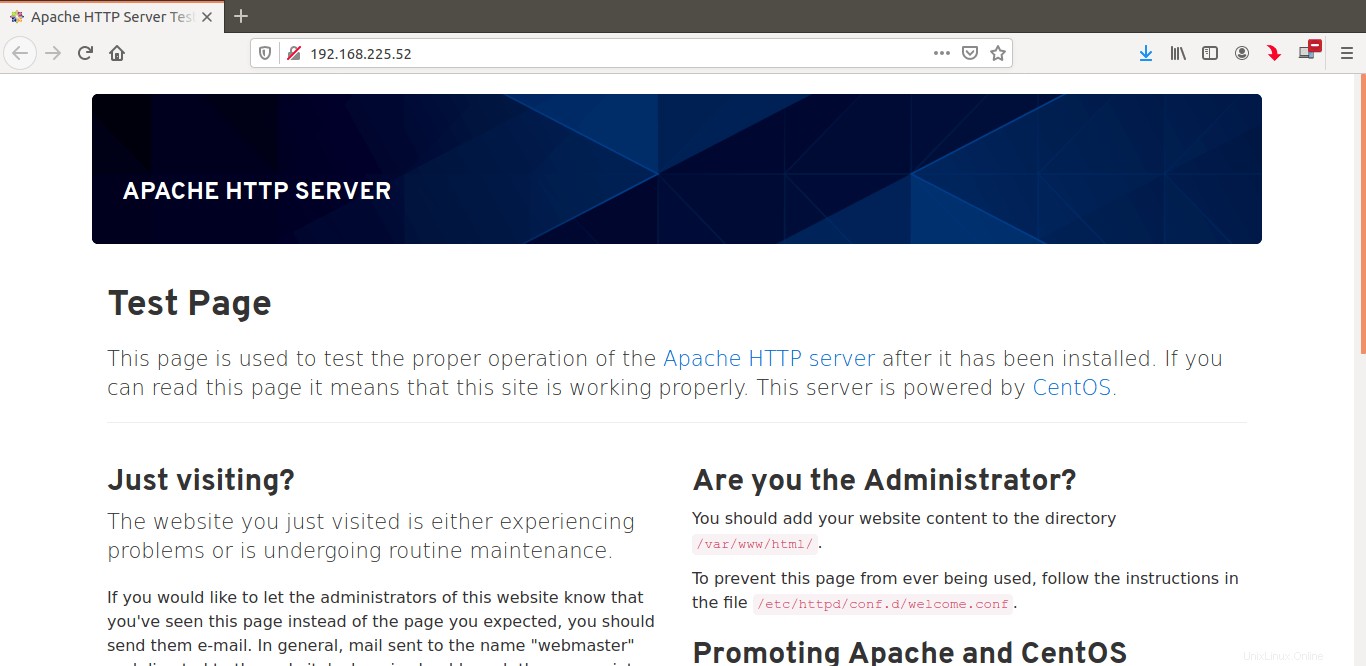
Bene, il server web Apache funziona!
Il passaggio successivo nella configurazione di LAMP consiste nell'installare il server di database.
2. Installa il server del database MariaDB su CentOS 8
Esegui il seguente comando da Terminale per installare MariaDB su CentOS 8:
# dnf install mariadb-server mariadb
Una volta installato MariaDB, abilita e avvia il servizio mariadb usando i comandi:
# systemctl enable mariadb
# systemctl start mariadb
In alternativa, usa il seguente comando one-liner per abilitare e avviare il servizio mariadb contemporaneamente:
# systemctl enable --now mariadb
Per verificare se il servizio mariadb è avviato o meno, esegui:
# systemctl status mariadb
Risultato di esempio:
● mariadb.service - MariaDB 10.3 database server
   Loaded: loaded (/usr/lib/systemd/system/mariadb.service; enabled; vendor preset: disabled)
   Active: active (running) since Fri 2020-02-07 14:16:59 IST; 16s ago
     Docs: man:mysqld(8)
           https://mariadb.com/kb/en/library/systemd/
  Process: 5447 ExecStartPost=/usr/libexec/mysql-check-upgrade (code=exited, status=0/SUCCESS)
  Process: 5312 ExecStartPre=/usr/libexec/mysql-prepare-db-dir mariadb.service (code=exited, statu>
  Process: 5288 ExecStartPre=/usr/libexec/mysql-check-socket (code=exited, status=0/SUCCESS)
 Main PID: 5415 (mysqld)
   Status: "Taking your SQL requests now..."
    Tasks: 30 (limit: 11501)
   Memory: 84.6M
   CGroup: /system.slice/mariadb.service
           └─5415 /usr/libexec/mysqld --basedir=/usr

Feb 07 14:16:59 centos8.ostechnix.lan mysql-prepare-db-dir[5312]: Please report any problems at ht>
Feb 07 14:16:59 centos8.ostechnix.lan mysql-prepare-db-dir[5312]: The latest information about Mar>
Feb 07 14:16:59 centos8.ostechnix.lan mysql-prepare-db-dir[5312]: You can find additional informat>
Feb 07 14:16:59 centos8.ostechnix.lan mysql-prepare-db-dir[5312]: http://dev.mysql.com
Feb 07 14:16:59 centos8.ostechnix.lan mysql-prepare-db-dir[5312]: Consider joining MariaDB's stron>
Feb 07 14:16:59 centos8.ostechnix.lan mysql-prepare-db-dir[5312]: https://mariadb.org/get-involved/
Feb 07 14:16:59 centos8.ostechnix.lan mysqld[5415]: 2020-02-07 14:16:59 0 [Note] /usr/libexec/mysq>
Feb 07 14:16:59 centos8.ostechnix.lan mysqld[5415]: 2020-02-07 14:16:59 0 [Warning] Could not incr>
Feb 07 14:16:59 centos8.ostechnix.lan mysqld[5415]: 2020-02-07 14:16:59 0 [Warning] Changed limits>
Feb 07 14:16:59 centos8.ostechnix.lan systemd[1]: Started MariaDB 10.3 database server
Il servizio Mariadb è ora caricato e attivo!
Controlla la versione di installazione di MariaDB:
# mysql -V
mysql Ver 15.1 Distrib 10.3.17-MariaDB, for Linux (x86_64) using readline 5.1
2.1. Imposta la password dell'utente root del database (amministratore)
Per impostazione predefinita, la password dell'utente root del database è vuota. Per proteggere il server del database, è necessario impostare la password per l'utente root. Per farlo, esegui lo script mysql_secure_installation:
# mysql_secure_installation
Ti verranno poste un paio di domande. Leggi e rispondi di conseguenza. Innanzitutto, ti verrà chiesto di inserire la password corrente per l'utente root. Poiché la password è vuota per impostazione predefinita, premere semplicemente il tasto INVIO per andare avanti. Successivamente, ti verrà chiesto di rispondere alle seguenti domande:
- Impostare la password di root? - Digita y per impostare la password e inserirla due volte.
- Rimuovere utenti anonimi? - Digita y per rimuovere l'utente anonimo. L'utente anonimo viene fornito a scopo di test per impostazione predefinita. Dovresti rimuovere l'utente anonimo in produzione.
- Non consentire l'accesso root in remoto? - Digita y per impedire all'utente root di accedere al server del database da qualsiasi sistema remoto.
- Rimuovere il database dei test e accedervi? - Digita y per rimuovere il database di prova.
- Ricaricare le tabelle dei privilegi ora? - Digita y per rendere effettive tutte le modifiche apportate.
Risultato di esempio:
NOTE: RUNNING ALL PARTS OF THIS SCRIPT IS RECOMMENDED FOR ALL MariaDB
      SERVERS IN PRODUCTION USE!  PLEASE READ EACH STEP CAREFULLY!

In order to log into MariaDB to secure it, we'll need the current
password for the root user.  If you've just installed MariaDB, and
you haven't set the root password yet, the password will be blank,
so you should just press enter here.

Enter current password for root (enter for none): #Press ENTER
OK, successfully used password, moving on...

Setting the root password ensures that nobody can log into the MariaDB
root user without the proper authorisation.

Set root password? [Y/n] y #Type y and press ENTER
New password:  #Enter password
Re-enter new password: #Re-enter password
Password updated successfully!
Reloading privilege tables..
 ... Success!


By default, a MariaDB installation has an anonymous user, allowing anyone
to log into MariaDB without having to have a user account created for
them.  This is intended only for testing, and to make the installation
go a bit smoother.  You should remove them before moving into a
production environment.

Remove anonymous users? [Y/n] y #Type y and press ENTER
 ... Success!

Normally, root should only be allowed to connect from 'localhost'.  This
ensures that someone cannot guess at the root password from the network.

Disallow root login remotely? [Y/n] y #Type y and ress ENTER
 ... Success!

By default, MariaDB comes with a database named 'test' that anyone can
access.  This is also intended only for testing, and should be removed
before moving into a production environment.

Remove test database and access to it? [Y/n] y #Type y and press ENTER
 - Dropping test database...
 ... Success!
 - Removing privileges on test database...
 ... Success!

Reloading the privilege tables will ensure that all changes made so far
will take effect immediately.

Reload privilege tables now? [Y/n] y #Type y and press ENTER
 ... Success!

Cleaning up...

All done!  If you've completed all of the above steps, your MariaDB
installation should now be secure.

Thanks for using MariaDB!
Ora abbiamo protetto l'installazione di MariaDB.
2.2. Accedi alla shell di MariaDB
Esegui il seguente comando per accedere alla shell mariadb come utente root:
# mysql -u root -p
Enter password:
Welcome to the MariaDB monitor.  Commands end with ; or \g.
Your MariaDB connection id is 16
Server version: 10.3.17-MariaDB MariaDB Server

Copyright (c) 2000, 2018, Oracle, MariaDB Corporation Ab and others.

Type 'help;' or '\h' for help. Type '\c' to clear the current input statement.

MariaDB [(none)]>
Per uscire dalla shell di mariadb, esegui semplicemente:
exit;
3. Installa PHP su CentOS 8
PHP è l'ultimo componente nello stack LAMP. Per installare php insieme a tutti gli altri moduli php richiesti, esegui il seguente comando come utente root:
# dnf install php php-fpm php-mysqlnd php-opcache php-gd php-xml php-mbstring
3.1. Configura Apache con PHP-FPM
Uno dei modi più comuni conosciuti per eseguire PHP con Apache è il mod_php modulo. Tuttavia, PHP-FPM (FastCGI Process Manager) ha alcuni vantaggi rispetto a mod_php. Per coloro che si chiedono, PHP-FPM è l'implementazione FastCGI di PHP. PHP-FPM funziona come un server FastCGI autonomo e aumenta significativamente le prestazioni del tuo ambiente PHP.
Abbiamo già installato php-fpm, quindi abilitiamo e avviamo il servizio php-fpm usando i comandi:
# systemctl enable php-fpm
# systemctl start php-fpm
In alternativa, usa il seguente comando one-liner per abilitare e avviare il servizio php-fpm contemporaneamente:
# systemctl enable --now php-fpm
Per verificare se il servizio php-fpm è avviato o meno, esegui:
# systemctl status php-fpm
Risultato di esempio:
● php-fpm.service - The PHP FastCGI Process Manager
   Loaded: loaded (/usr/lib/systemd/system/php-fpm.service; enabled; vendor preset: disabled)
   Active: active (running) since Fri 2020-02-07 17:24:44 IST; 8s ago
 Main PID: 6053 (php-fpm)
   Status: "Ready to handle connections"
    Tasks: 6 (limit: 11501)
   Memory: 22.6M
   CGroup: /system.slice/php-fpm.service
           ├─6053 php-fpm: master process (/etc/php-fpm.conf)
           ├─6054 php-fpm: pool www
           ├─6055 php-fpm: pool www
           ├─6056 php-fpm: pool www
           ├─6057 php-fpm: pool www
           └─6058 php-fpm: pool www

Feb 07 17:24:44 centos8.ostechnix.lan systemd[1]: Starting The PHP FastCGI Process Manager...
Feb 07 17:24:44 centos8.ostechnix.lan systemd[1]: Started The PHP FastCGI Process Manager.
Bene, il servizio php-fpm è stato caricato e ora è attivo.
3.2. Prova PHP
Per verificare se PHP funziona correttamente o meno, crea un file di esempio denominato “info.php” nella cartella principale web:
# vi /var/www/html/info.php
Aggiungi le seguenti righe:
<?php
phpinfo();
?>
Riavvia il servizio Apache per rendere effettive le modifiche:
# systemctl restart httpd
Ora apri il tuo browser web e vai a http://IP_Address/info.php .
Vedrai la seguente pagina php che elenca tutti i moduli installati e altri dettagli come la versione php, la data di build e i comandi ecc.

Congratulazioni! A questo punto, dovresti avere uno stack LAMP completamente funzionante sul server CentOS 8.
Abbiamo già pubblicato l'installazione dello stack LAMP su diverse piattaforme Linux. Controlla il seguente link per sapere come configurare LAMP su varie distribuzioni Linux.
- Guide per lo stack LAMP