Oggi imparerai come installare FileRun su Ubuntu 20.04
Esegui file è un'alternativa a Google Drive self-hosted. È un file manager basato sul Web completo con un'interfaccia utente facile da usare. È ottimo per gestire foto, filmati, raccolte audio o condividere file con familiari e amici.
Esegui file è una sincronizzazione desktop e condivisione file affidabile e performante
Funziona perfettamente su qualsiasi server, inclusi account di hosting o piccoli dispositivi come Raspberry PiAccedi ai tuoi file da qualsiasi luogo (desktop, app mobile o browser).
Installazione
Segui i passaggi seguenti per iniziare con fileRun
- Aggiorna e aggiorna i tuoi pacchetti di sistema
sudo apt update && sudo apt upgrade- Installa il server LAMP (stack LAMP).
- Installa i moduli php come segue:
sudo apt install php-gd php-json php-mbstring php-mysqli php-xmlrpc php libapache2-mod-php php-common php-mbstring php-xmlrpc php-soap php-gd php-xml php-intl php libapache2-mod-php php-mysql php-mysql wget unzip php-cli php-zip php-curl -y- Devi inoltre installare ionCube Modulo di caricamento per PHP, puoi seguire i passaggi in questa guida di seguito per installarlo
Come installare ionCube Loader in Ubuntu
- Installa il server web apache e il database maria come mostrato di seguito:
sudo apt install apache2 mariadb-server-10.3 -y- Avvia e abilita apache e mariadb.
systemctl start apache2 mariadb
systemctl enable apache2 mariadb
systemctl status apache2 mariadb- Configura e proteggi MariaDB come segue:
mysql_secure_installation

NOTE: RUNNING ALL PARTS OF THIS SCRIPT IS RECOMMENDED FOR ALL MariaDB
      SERVERS IN PRODUCTION USE!  PLEASE READ EACH STEP CAREFULLY!

In order to log into MariaDB to secure it, we'll need the current
password for the root user.  If you've just installed MariaDB, and
you haven't set the root password yet, the password will be blank,
so you should just press enter here.

Enter current password for root (enter for none):
OK, successfully used password, moving on...

Setting the root password ensures that nobody can log into the MariaDB
root user without the proper authorisation.

Set root password? [Y/n] y
New password:
Re-enter new password:
Password updated successfully!
Reloading privilege tables..
 ... Success!


By default, a MariaDB installation has an anonymous user, allowing anyone
to log into MariaDB without having to have a user account created for
them.  This is intended only for testing, and to make the installation
go a bit smoother.  You should remove them before moving into a
production environment.

Remove anonymous users? [Y/n] y
 ... Success!

Normally, root should only be allowed to connect from 'localhost'.  This
ensures that someone cannot guess at the root password from the network.

Disallow root login remotely? [Y/n] y
 ... Success!

By default, MariaDB comes with a database named 'test' that anyone can
access.  This is also intended only for testing, and should be removed
before moving into a production environment.

Remove test database and access to it? [Y/n] y
 - Dropping test database...
 ... Success!
 - Removing privileges on test database...
 ... Success!

Reloading the privilege tables will ensure that all changes made so far
will take effect immediately.

Reload privilege tables now? [Y/n] y
 ... Success!

Cleaning up...

All done!  If you've completed all of the above steps, your MariaDB
installation should now be secure.

Thanks for using MariaDB!- Accedi alla shell di MariaDB:
mysql -u root -pCREATE DATABASE filerun_db;
CREATE USER 'filerun_user'@'localhost' IDENTIFIED BY 'your_password';
GRANT ALL PRIVILEGES ON `filerun_db`.* TO 'filerun_user'@'localhost';
FLUSH PRIVILEGES;- Scarica l'ultima versione di filerun con il seguente comando:
wget -O FileRun.zip https://filerun.com/download-latest- decomprimi il file scaricato usando il seguente comando:
unzip FileRun.zip -d /var/www/html/filerun/- Cambia i permessi di alcune cartelle come segue:
chown -R www-data:www-data /var/www/html/filerun
chmod -R 755 /var/www/html/filerun- Crea un file di configurazione PHP per FileRun
vim /etc/php/7.4/apache2/conf.d/filerun.iniQuindi aggiungi la seguente configurazione:
expose_php = Off
error_reporting = E_ALL & ~E_NOTICE
display_errors = Off
display_startup_errors = Off
log_errors = On
ignore_repeated_errors = Off
allow_url_fopen = On
allow_url_include = Off
variables_order = "GPCS"
allow_webdav_methods = On
memory_limit = 128M
max_execution_time = 300
output_buffering = Off
output_handler = ""
zlib.output_compression = Off
zlib.output_handler = ""
safe_mode = Off
register_globals = Off
magic_quotes_gpc = Off
upload_max_filesize = 20M
post_max_size = 20M
enable_dl = Off
disable_functions = ""
disable_classes = ""
session.save_handler = files
session.use_cookies = 1
session.use_only_cookies = 1
session.auto_start = 0
session.cookie_lifetime = 0
session.cookie_httponly = 1
date.timezone = "UTC"- Salva e chiudi il file.
- Riavvia l'Apache.
sudo systemctl reload apache2Crea anche un file di configurazione dell'host virtuale Apache per FileRun .
vim /etc/apache2/sites-available/filerun.confQuindi aggiungi il seguente host virtuale come segue
<VirtualHost *:80>
        ServerName filerun.unixcop.com.com

        DocumentRoot /var/www/html/filerun

        <Directory "/var/www/html/filerun">
                Options Indexes FollowSymLinks
                AllowOverride All
                Require all granted
        </Directory>

        ErrorLog ${APACHE_LOG_DIR}/filerun.error.log
        CustomLog ${APACHE_LOG_DIR}/filerun.access.log combined
</VirtualHost>- Salva e chiudi il file, quindi riavvia Apache con i seguenti comandi:
sudo a2ensite filerun.conf
sudo a2enmod rewrite
sudo systemctl restart apache2- Apri le porte 80 e 443 su Firewall per consentire il traffico HTTP e HTTPS:
sudo ufw allow 80/tcp
sudo ufw allow 443/tcp
sudo ufw reload- Accedi a FileRun Interfaccia Web aprendo il browser Web e accedendovi utilizzando l'URLhttps://filerun.unixcop.com
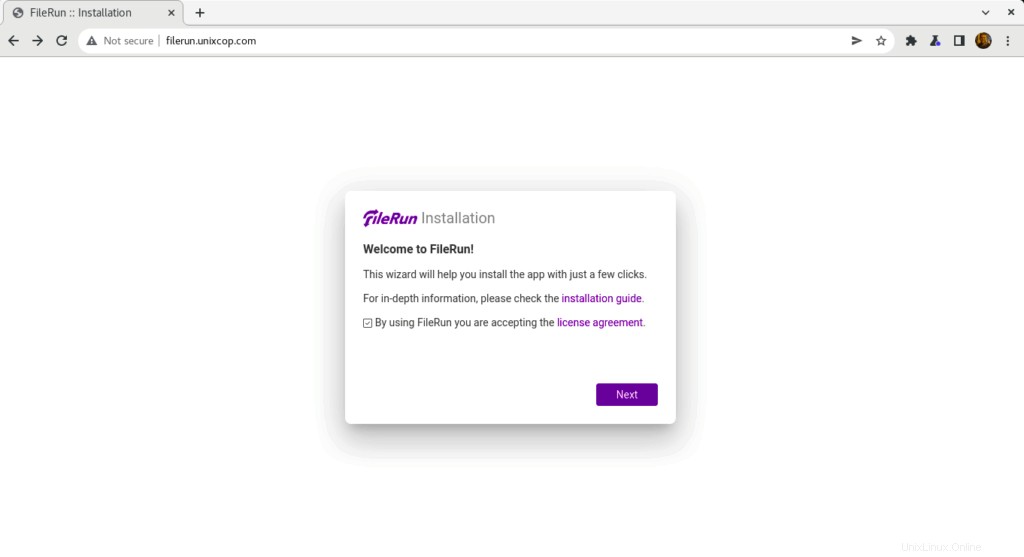
- Dovresti vedere quanto segue, fai clic su Avanti per iniziare con FileRun installazione
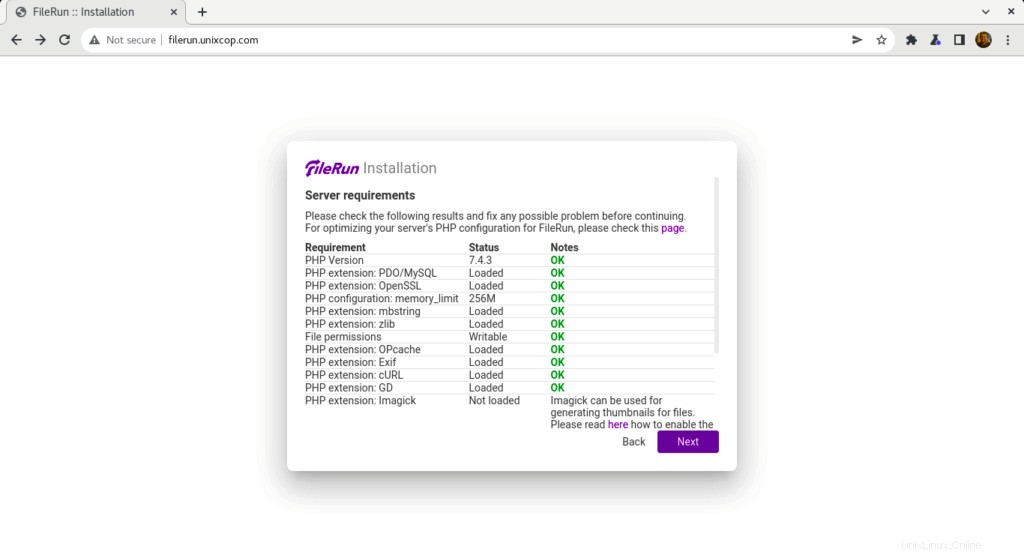
- FileRun verificherà i requisiti del server per continuare l'installazione come mostrato di seguito
- Inserisci le informazioni sulla connessione al database che abbiamo creato prima, quindi fai clic su Avanti .

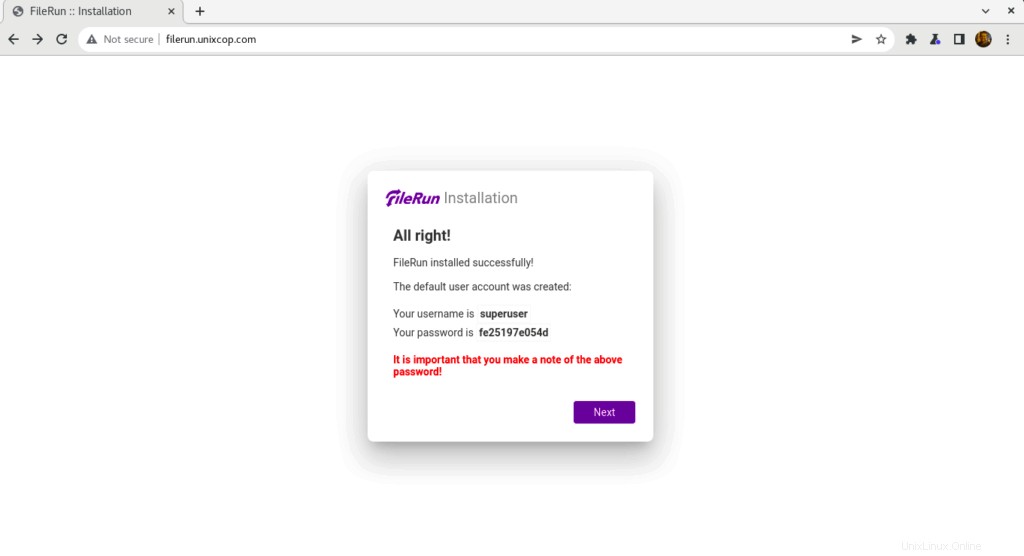
- L'utente predefinito per FileRun è stato creato e devi annotare queste credenziali per poter accedere a filerun
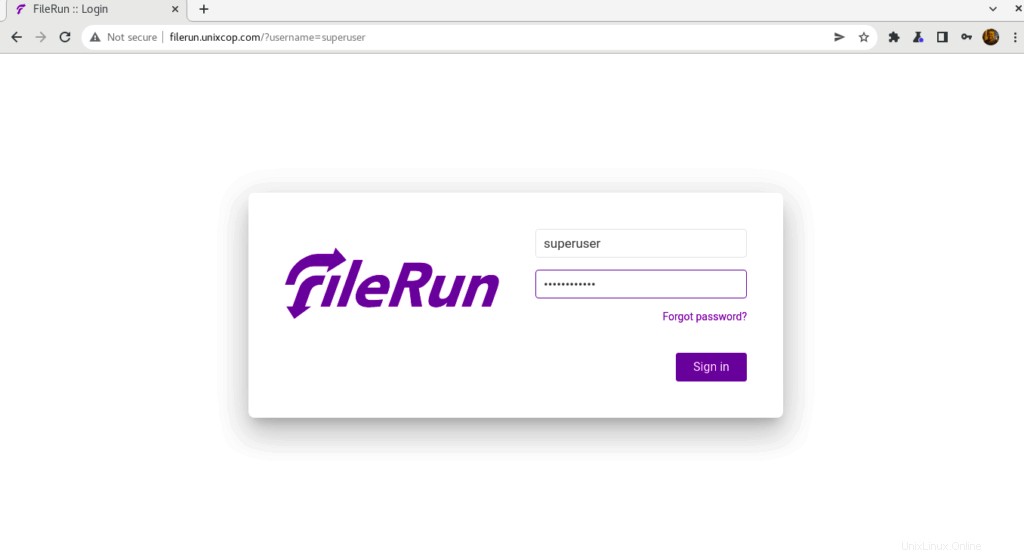
- Utilizza le credenziali come mostrato sopra nello screenshot per accedere a Filerun come mostrato di seguito
- Verrai indirizzato alla dashboard di FileRun
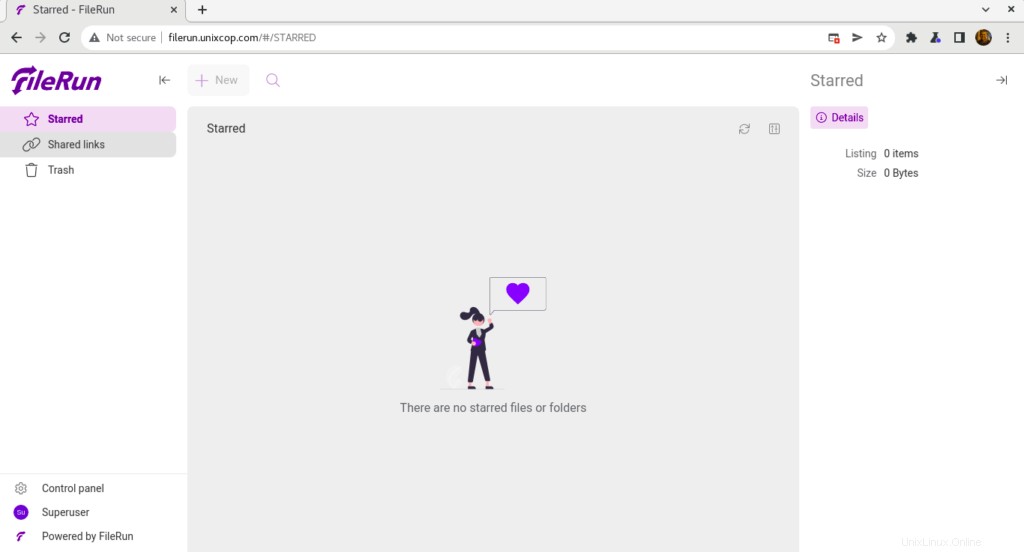
Congratulazioni! Hai installato correttamente FileRun.
Conclusione
Questo è tutto
In questa guida ti abbiamo mostrato come installare FileRun su Ubuntu 20.04
grazie