In questa guida all'installazione, ti mostreremo come installare InvoicePlane su sistemi Ubuntu
InvoicePlane è un'applicazione open source self-hosted per la gestione di preventivi, fatture, clienti e pagamenti.
È appositamente progettato per gli imprenditori per creare e gestire le fatture e i pagamenti dei clienti.
Installa InvoicePlane
Segui i passaggi seguenti:
- Installa il server LAMP.
- Installa moduli php.
apt install php-gd php-json php-mbstring php-mysqli php-xmlrpc php libapache2-mod-php php-common php-mbstring php-xmlrpc php-soap php-gd php-xml php-intl php libapache2-mod-php php-mysql php-mysql wget unzip php-cli php-zip php-curl -y- Installa il server web apache e il database maria come mostrato di seguito:
apt install apache2
apt install mariadb-server-10.3- Avvia e abilita apache e mariadb.
systemctl start apache2 mariadb
systemctl enable apache2 mariadb
systemctl status apache2 mariadb- Configura e proteggi MariaDB come segue:
mysql_secure_installation

NOTE: RUNNING ALL PARTS OF THIS SCRIPT IS RECOMMENDED FOR ALL MariaDB
      SERVERS IN PRODUCTION USE!  PLEASE READ EACH STEP CAREFULLY!

In order to log into MariaDB to secure it, we'll need the current
password for the root user.  If you've just installed MariaDB, and
you haven't set the root password yet, the password will be blank,
so you should just press enter here.

Enter current password for root (enter for none):
OK, successfully used password, moving on...

Setting the root password ensures that nobody can log into the MariaDB
root user without the proper authorisation.

Set root password? [Y/n] y
New password:
Re-enter new password:
Password updated successfully!
Reloading privilege tables..
 ... Success!


By default, a MariaDB installation has an anonymous user, allowing anyone
to log into MariaDB without having to have a user account created for
them.  This is intended only for testing, and to make the installation
go a bit smoother.  You should remove them before moving into a
production environment.

Remove anonymous users? [Y/n] y
 ... Success!

Normally, root should only be allowed to connect from 'localhost'.  This
ensures that someone cannot guess at the root password from the network.

Disallow root login remotely? [Y/n] y
 ... Success!

By default, MariaDB comes with a database named 'test' that anyone can
access.  This is also intended only for testing, and should be removed
before moving into a production environment.

Remove test database and access to it? [Y/n] y
 - Dropping test database...
 ... Success!
 - Removing privileges on test database...
 ... Success!

Reloading the privilege tables will ensure that all changes made so far
will take effect immediately.

Reload privilege tables now? [Y/n] y
 ... Success!

Cleaning up...

All done!  If you've completed all of the above steps, your MariaDB
installation should now be secure.

Thanks for using MariaDB!- Accedi alla shell di MariaDB:
mysql -u root -pCREATE DATABASE invplane_db;
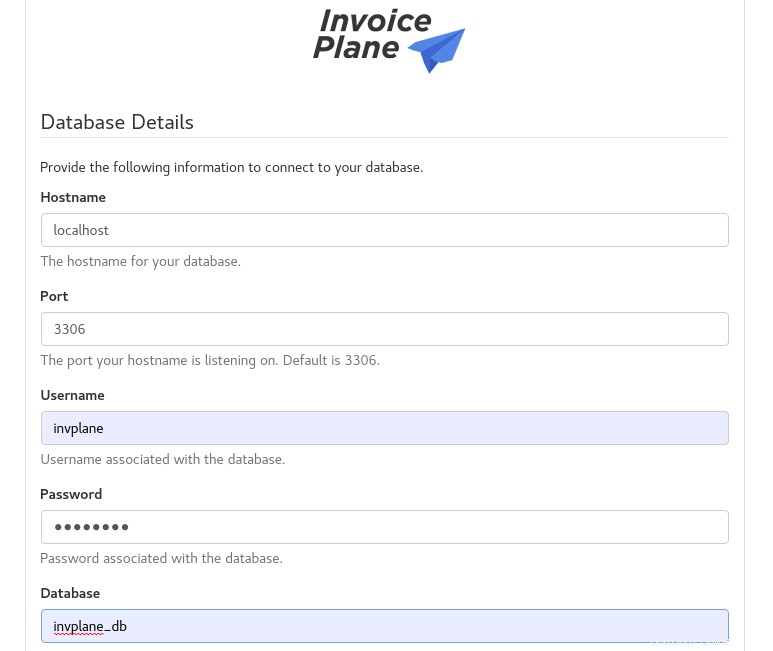
CREATE USER 'invplane'@'localhost' IDENTIFIED BY 'password';
GRANT ALL PRIVILEGES ON invplane_db.* TO 'invplane'@'localhost';
FLUSH PRIVILEGES;
EXIT- Scarica l'ultima versione di InvoicePlane con il seguente comando:
wget -c -O v1.5.11.zip https://invoiceplane.com/download/v1.5.11- Decomprimi il file scaricato.
mkdir /var/www/html/invoiceplane
unzip v1.5.11.zip -d /var/www/html/invoiceplane- Cambia la directory nel piano fattura e copia i file richiesti nella directory radice di Apache
cd /var/www/html/invoiceplane
sudo cp ipconfig.php.example ipconfig.php
sudo cp htaccess .htaccess- Imposta le autorizzazioni appropriate per il piano di fatturazione directory:
sudo chown -R www-data:www-data /var/www/html/invoiceplane/
sudo chmod -R 755 /var/www/html/invoiceplane/
find /var/www/html/invoiceplane/ -type f -exec chmod -v 0644 '{}' \;- Crea un file host virtuale Apache per InvoicePlane
vim /etc/apache2/sites-available/invoiceplane.conf- Quindi aggiungi quanto segue
<VirtualHost *:80>
     ServerAdmin [email protected]
     DocumentRoot /var/www/html/invoiceplane
     ServerName example.com

     <Directory /var/www/html/invoiceplane/>
          Options +FollowSymlinks
          AllowOverride All
          Require all granted
     </Directory>

     ErrorLog ${APACHE_LOG_DIR}/error.log
     CustomLog ${APACHE_LOG_DIR}/access.log combined

</VirtualHost>- Abilita il file host virtuale di Apache e riscrivi il modulo
sudo a2ensite invoiceplane.conf
sudo a2enmod rewrite- Riavvia il servizio Apache per applicare tutte le modifiche
systemctl restart apache2- Accedi a InvoicePlane aprendo il tuo browser web e digita l'URL http://example.com OPPURE http://IP_Address/invoiceplane/index.php/welcome
Sarai indirizzato come segue:
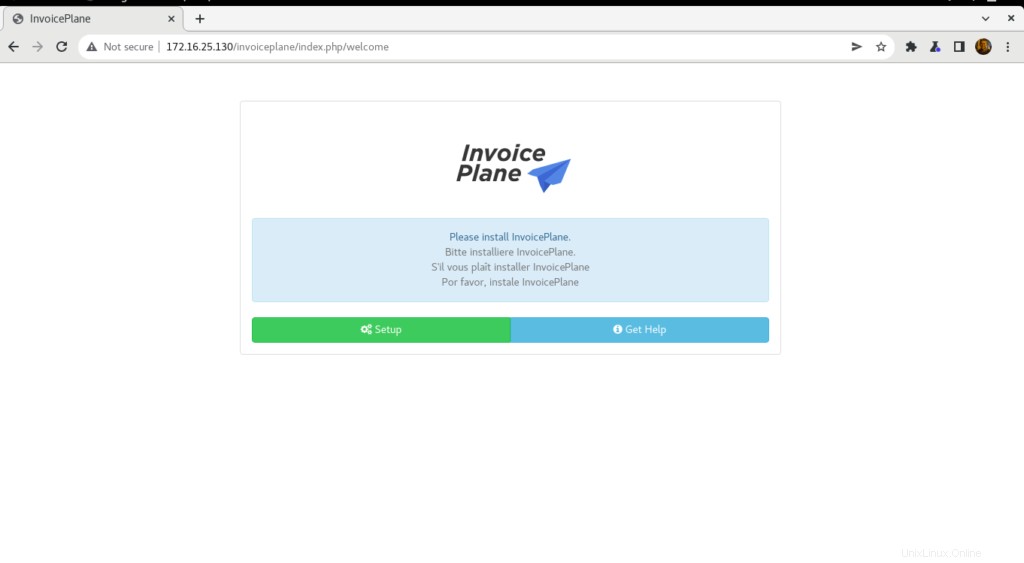
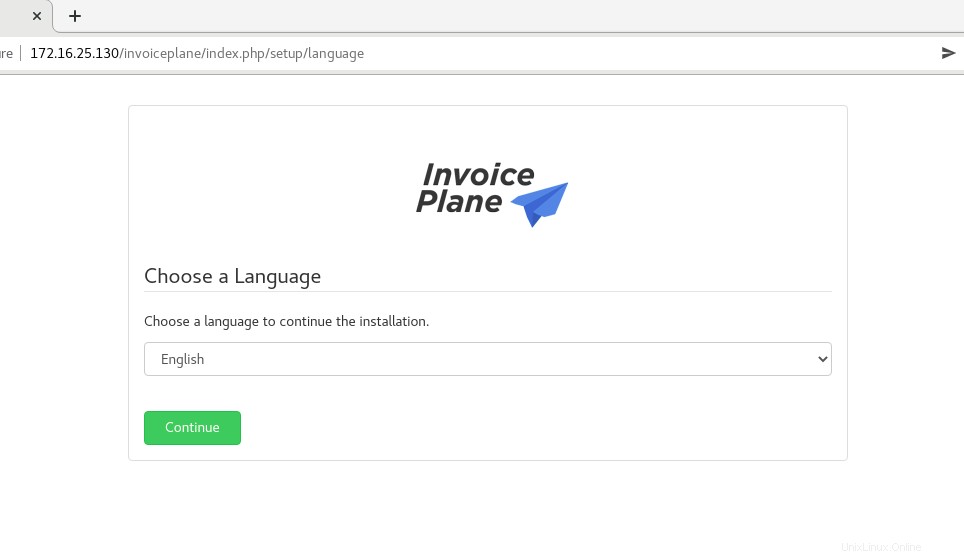
- Fai clic su Impostazioni quindi scegli una lingua, quindi fai clic su Continua
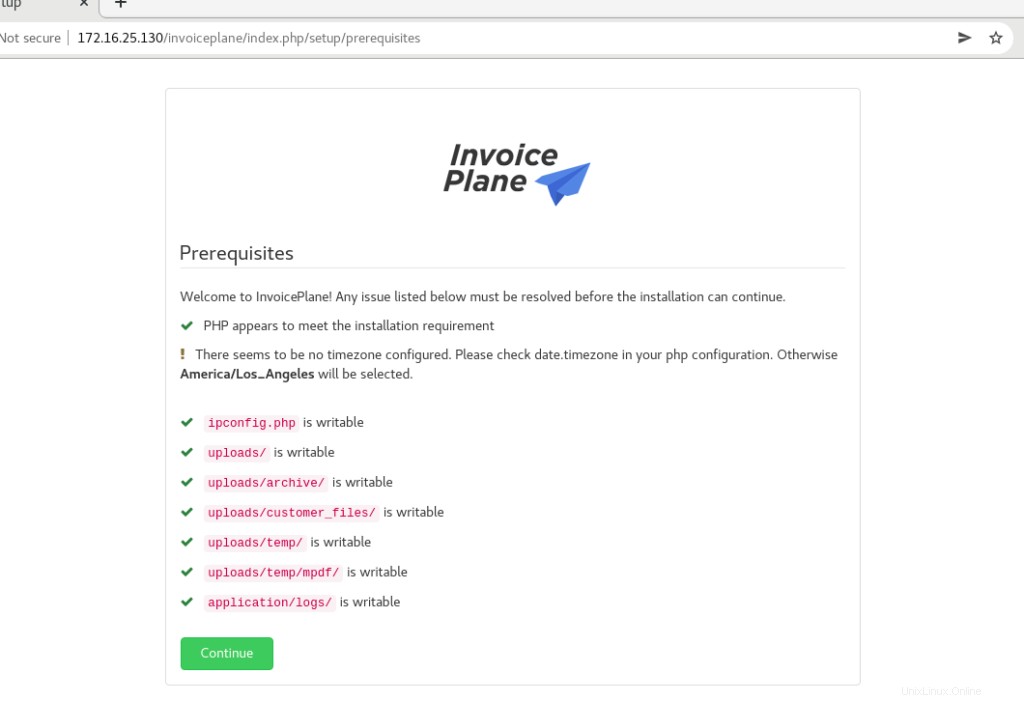
- Quindi fai clic su Continua
- Fornisci i dettagli del tuo database e fai clic su Riprova
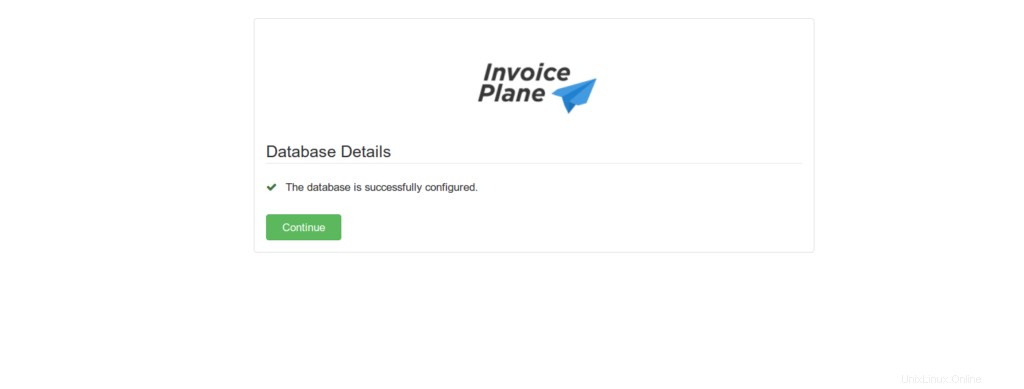
- Il database è stato configurato correttamente come mostrato di seguito. Fai clic su Continua
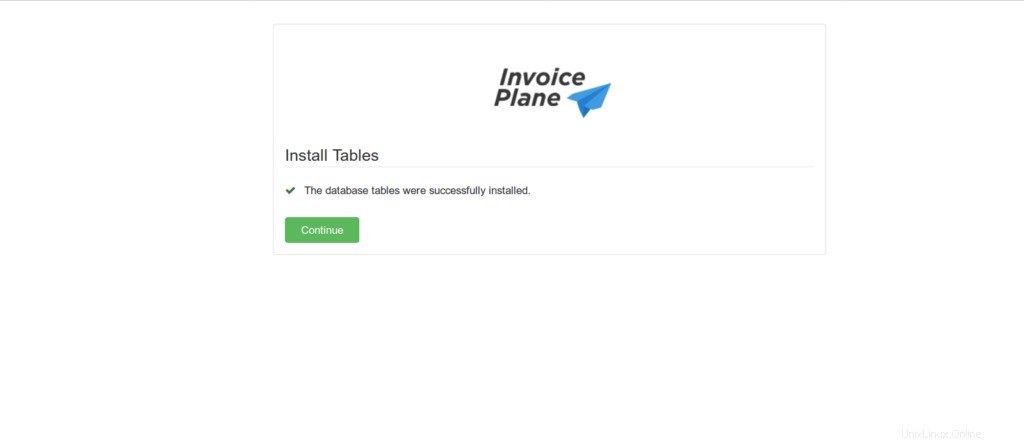
- Fai anche clic su Continua .
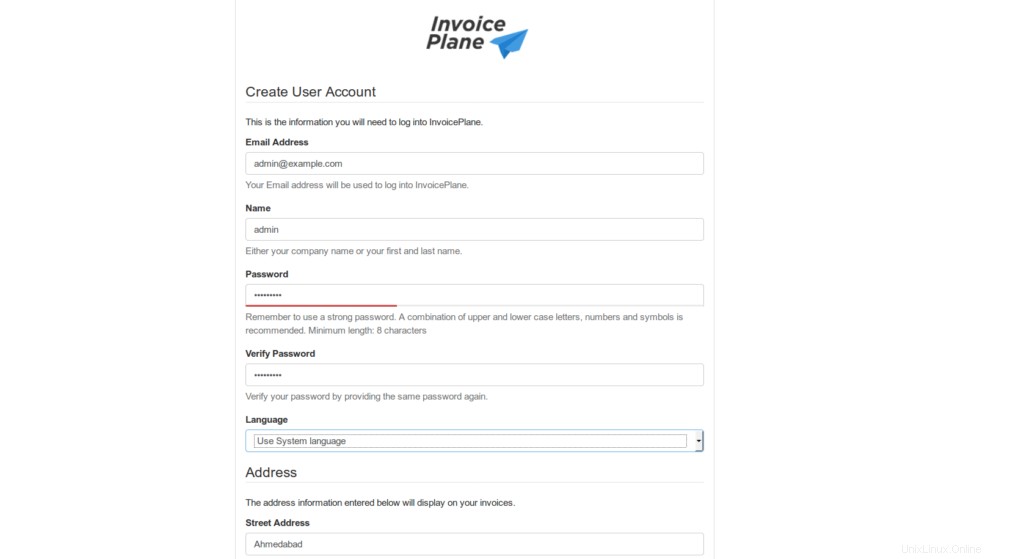
- Fornisci tutti i dettagli richiesti, quindi fai clic su Continua come mostrato di seguito.
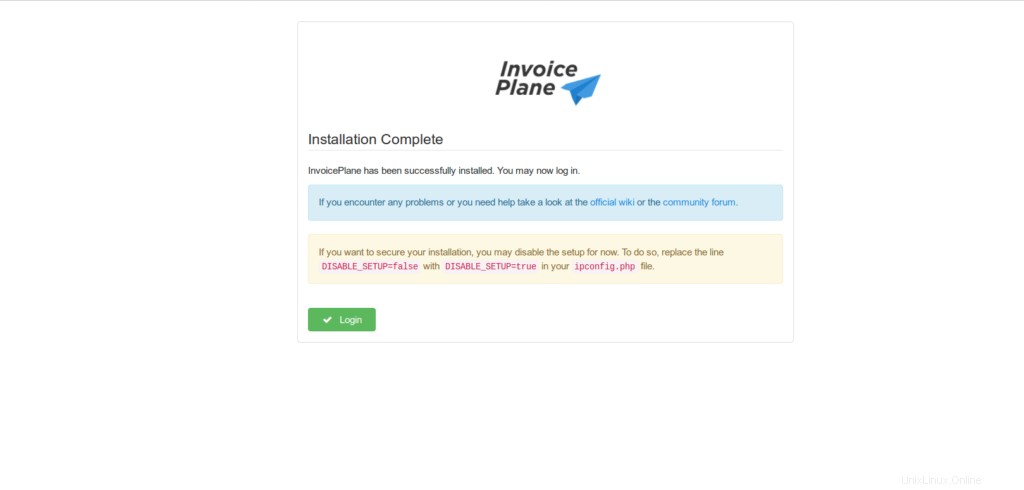
- Installazione completata, quindi fai clic su accesso
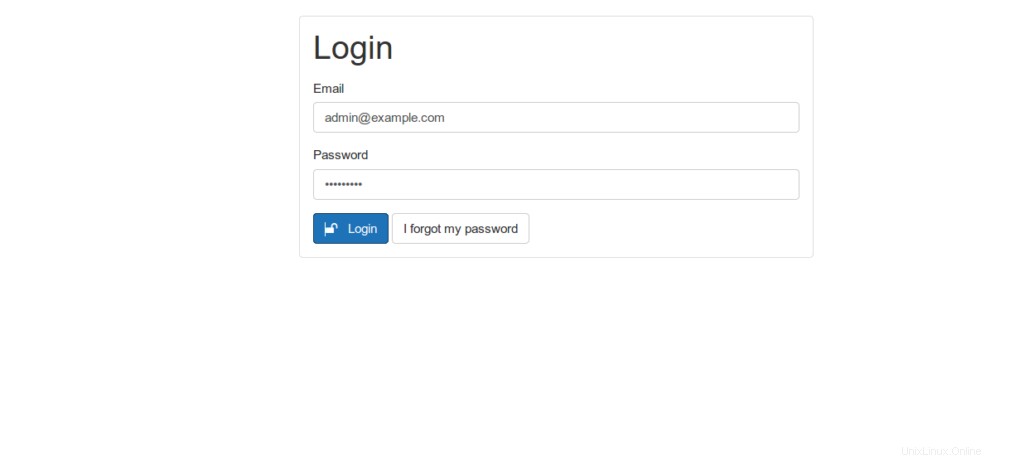
- Inserisci il nome utente e la password dell'amministratore, quindi fai clic su Accedi
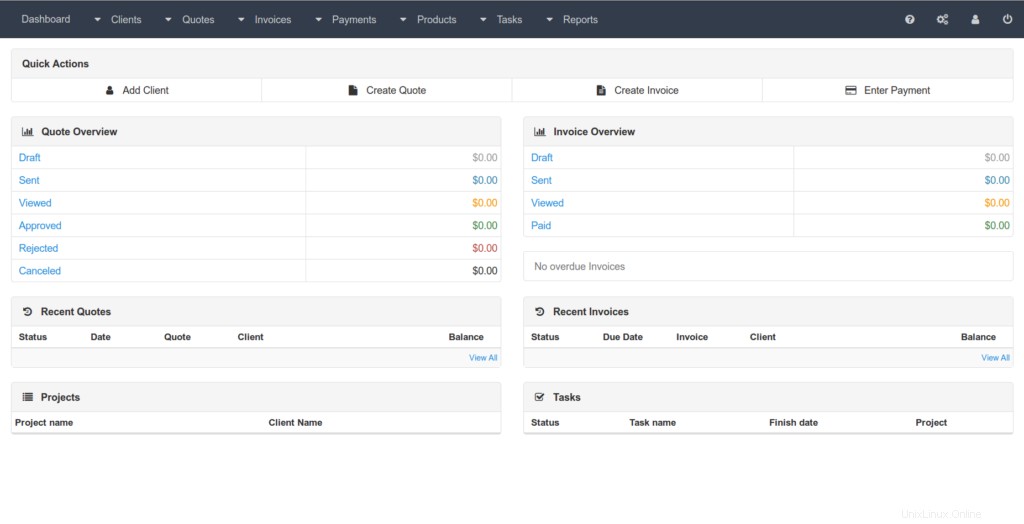
- Verrai reindirizzato alla dashboard di InvoicePlane come mostrato di seguito.
Conclusione
Questo è tutto
In questo articolo abbiamo illustrato come installare e configurare Invoiceplan in Ubuntu 20.04
Grazie