Stack LEMP sta per Linux, Nginx, MariaDB e stack PHP ed è ampiamente utilizzato per l'hosting di siti Web/blog.
Qui vedremo come installare LEMP Stack su Ubuntu 18.04 con supporto PHP (tramite PHP-FPM) e supporto database (MariaDB).
Installa lo stack LEMP
Installa Linux
Ecco il tutorial sull'installazione passo passo di Ubuntu 18.04 e sull'aggiornamento di Ubuntu 16.04 e Ubuntu 17.10 a Ubuntu 18.04.
Procedi all'installazione di EMP (Nginx versione 1.17.2, PHP versione 7.2, MariaDB versione 10.1.40) su Ubuntu 18.04.
Installa Nginx
Nginx è un server Web HTTP gratuito, open source e ad alte prestazioni ed è noto per la sua stabilità, configurazione semplice e basso consumo di risorse.
Aggiorna l'indice del repository.
sudo apt update
Installa i seguenti pacchetti.
sudo apt install -y wget gnupg2 ca-certificates
Scarica la chiave di firma del repository Nginx dal sito Web ufficiale.
wget http://nginx.org/keys/nginx_signing.key
Aggiungi la chiave pubblica Nginx nel sistema.
sudo apt-key add nginx_signing.key
Aggiungi il repository Nginx al tuo sistema.
echo "deb [arch=amd64] http://nginx.org/packages/mainline/ubuntu bionic nginx" | sudo tee /etc/apt/sources.list.d/nginx.list
Installa il pacchetto Nginx usando il seguente comando.
sudo apt update

sudo apt install -y nginx
Avvia il servizio Nginx dopo l'installazione.
sudo systemctl start nginx
Apri un browser web e visita l'URL sottostante.
http://il-tuo-indirizzo-ipDovresti vedere la pagina predefinita di Nginx e questo ti conferma che Nginx è stato installato correttamente sul server.
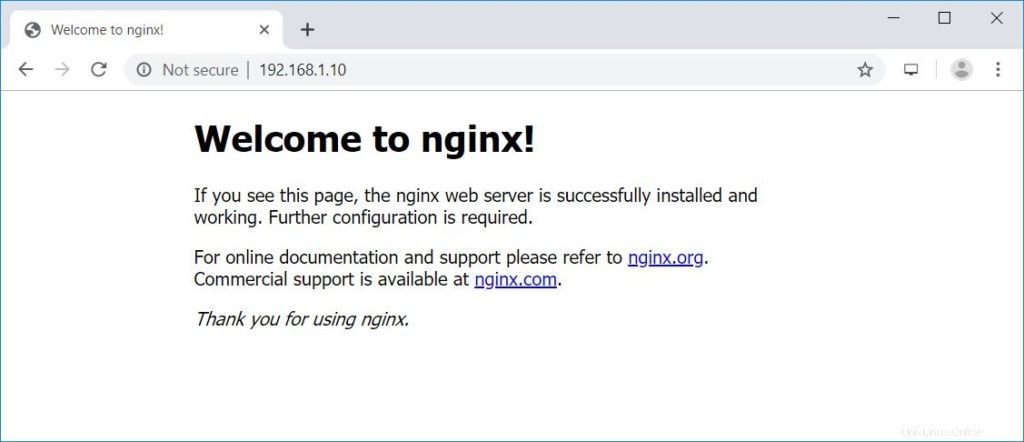
La radice del documento predefinita di Nginx su Ubuntu 18.04 è /usr/share/nginx/html/ e i file di configurazione si trovano nella directory /etc/nginx/.
Avvia automaticamente Nginx all'avvio del sistema.
sudo systemctl enable nginx
Installa il server MariaDB
Installa il server MariaDB eseguendo il seguente comando.
Per impostazione predefinita, Ubuntu 18.04 fornisce MariaDB v10.1 che è un po' più vecchia della versione disponibile nel repository ufficiale di MariaDB (v10.4). È possibile installare MariaDB v10.4 seguendo i passaggi nell'URL seguente.Come installare MariaDB su Ubuntu 18.04
sudo apt install -y mariadb-server mariadb-client
Quindi, rendi sicuro il server MariaDB utilizzando il comando mysql_secure_installation.
mysql_secure_installation
Risultato:
NOTE: RUNNING ALL PARTS OF THIS SCRIPT IS RECOMMENDED FOR ALL MariaDB
      SERVERS IN PRODUCTION USE!  PLEASE READ EACH STEP CAREFULLY!

In order to log into MariaDB to secure it, we'll need the current
password for the root user.  If you've just installed MariaDB, and
you haven't set the root password yet, the password will be blank,
so you should just press enter here.

Enter current password for root (enter for none):  << No root password. Just press Enter
OK, successfully used password, moving on...

Setting the root password ensures that nobody can log into the MariaDB
root user without the proper authorisation.

Set root password? [Y/n] Y  << Set MariaDB root password
New password:   << Enter root password
Re-enter new password:   << Re-enter root password
Password updated successfully!
Reloading privilege tables..
 ... Success!


By default, a MariaDB installation has an anonymous user, allowing anyone
to log into MariaDB without having to have a user account created for
them.  This is intended only for testing, and to make the installation
go a bit smoother.  You should remove them before moving into a
production environment.

Remove anonymous users? [Y/n] Y  << Remove anonymous users
 ... Success!

Normally, root should only be allowed to connect from 'localhost'.  This
ensures that someone cannot guess at the root password from the network.

Disallow root login remotely? [Y/n] Y  << Disallow root login remotely
 ... Success!

By default, MariaDB comes with a database named 'test' that anyone can
access.  This is also intended only for testing, and should be removed
before moving into a production environment.

Remove test database and access to it? [Y/n] Y  << Remove test database
 - Dropping test database...
 ... Success!
 - Removing privileges on test database...
 ... Success!

Reloading the privilege tables will ensure that all changes made so far
will take effect immediately.

Reload privilege tables now? [Y/n] Y  << Reload privilege
 ... Success!

Cleaning up...

All done!  If you've completed all of the above steps, your MariaDB
installation should now be secure.

Thanks for using MariaDB!
Installa PHP-FPM
Installa PHP tramite PHP-FPM (PHP-FastCGI Process Manager), un'implementazione alternativa di PHP FastCGI. Fornisce funzionalità aggiuntive utili per i siti di dimensioni maggiori.
Per impostazione predefinita, Ubuntu 18.04 fornisce PHP-FPM v7.2. Puoi anche installare PHP-FPM v7.3 seguendo i passaggi nell'URL seguente.Come installare PHP 7.3 su Ubuntu 18.04
Installa php-fpm usando il seguente comando.
sudo apt install -y php-fpm php-mysql php-cli
PHP-FPM è in ascolto sul socket /run/php/php7.2-fpm.sock per impostazione predefinita.
Per fare in modo che PHP-FPM utilizzi la connessione TCP, modifica il file sottostante.
sudo nano /etc/php/7.2/fpm/pool.d/www.conf
Quindi, cambia il parametro di ascolto.
DA:
listen = /run/php/php7.2-fpm.sock
A:
listen = 127.0.0.1:9000
Riavvia il processo PHP-FPM e abilitalo all'avvio automatico all'avvio del sistema.
sudo systemctl restart php7.2-fpm

sudo systemctl enable php7.2-fpm
Testare lo stack LEMP
Creiamo un host virtuale basato sul nome sul server Nginx per i seguenti dettagli.
Nome di dominio: web.itzgeek.local
Radice del documento: /usr/share/nginx/html/web.itzgeek.local
Innanzitutto, crea un file di configurazione dell'host virtuale per il nostro dominio nella directory /etc/nginx/conf.d/.
sudo nano /etc/nginx/conf.d/web.itzgeek.local.conf
Aggiungi il seguente contenuto.
server {
   server_name web.itzgeek.local;
   root /usr/share/nginx/html/web.itzgeek.local;

   location / {
       index index.html index.htm index.php;
   }

   location ~ \.php$ {
      include        /etc/nginx/fastcgi_params;
      fastcgi_pass   127.0.0.1:9000;
      fastcgi_index  index.php;
      fastcgi_param SCRIPT_FILENAME $document_root$fastcgi_script_name;
   }
}
Crea la directory principale per il nostro host virtuale.
sudo mkdir -p /usr/share/nginx/html/web.itzgeek.local
Per testare il supporto PHP-FPM, inserisci un file PHP nella radice del documento dell'host virtuale creato.
echo "<?php phpinfo(); ?>" | sudo tee /usr/share/nginx/html/web.itzgeek.local/index.php
Aggiorna l'autorizzazione del file.
sudo chown -R www-data:www-data /usr/share/nginx/html/web.itzgeek.local/
Riavvia i servizi.
sudo systemctl restart nginx

sudo systemctl restart php7.2-fpm
Crea una voce host per il tuo dominio (web.itzgeek.local) nel file /etc/hosts nel caso in cui il tuo ambiente non disponga di un server DNS per la risoluzione dei nomi.
nano /etc/hosts
Aggiungi una voce host simile a quella di seguito.
192.168.1.10 web.itzgeek.local web
Apri il tuo browser web e digita il tuo nome di dominio nell'indirizzo web.
http://web.itzgeek.localLa pagina apparirà come di seguito:
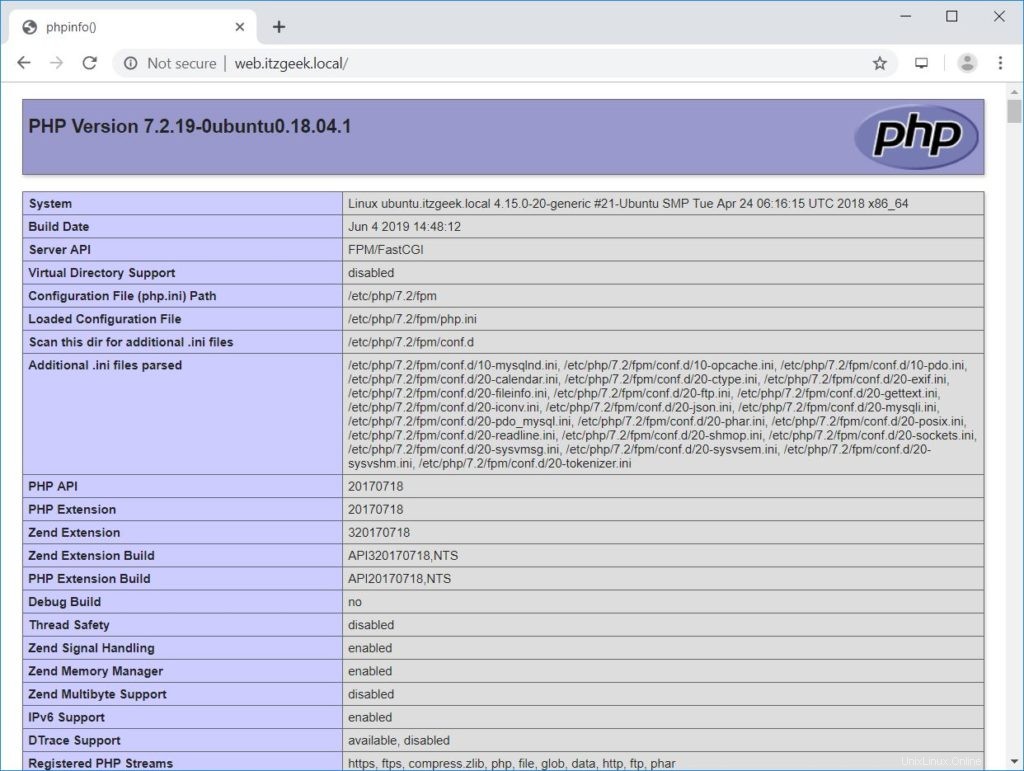
Dallo screenshot sopra, PHP funziona tramite FPM/FastCGI , come mostrato nella riga Server API.
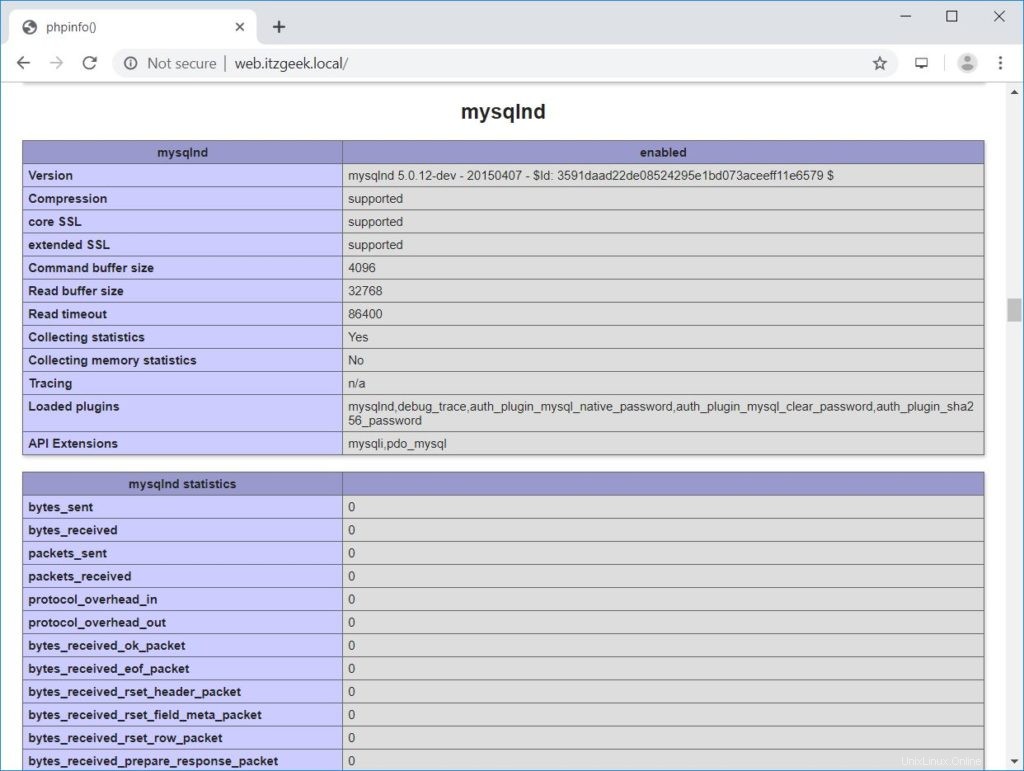
Se scorri la pagina più in basso, vedrai il supporto di MariaDB.
Conclusione
È tutto. Spero che tu abbia imparato come installare lo stack LEMP su Ubuntu 18.04. Prendi in considerazione l'installazione del certificato SSL Let's Encrypt per il tuo sito per migliorare la sicurezza. Condividi il tuo feedback nella sezione commenti.