
XWiki è un software Wiki avanzato gratuito e opensource scritto in Java. Funziona su contenitori servlet come JBoss, Tomcat ecc. Utilizza un database come MySQL o PostgreSQL per memorizzare le sue informazioni.
In questo tutorial spiegherò come installare il software XWiki su Ubuntu 18.04, usando la sua distribuzione standalone che è il modo più semplice e veloce perché tutti i componenti necessari a XWiki vengono installati automaticamente sul server. Questo software XWiki fornisce un XWiki integrato, con un database portatile (HSQLDB) e un contenitore Java leggero (Jetty).
XWiki include molte funzioni utili come:
- Un editor WYSIWYG molto robusto per la modifica delle pagine
- Una potente sintassi wiki
- Organizzazione dei contenuti
- Crea le tue applicazioni
- Controllo versione
- Ricerca avanzata e molto altro
Requisiti hardware e software
- Java 1.8.0_101 o successivo installato per XWiki>=8.1 (Java 7 o successivo per XWiki <8.1, Java 6 o successivo per XWiki versioni <6.0).
- Un contenitore servlet che supporta Servlet 3.0.1 (Servlet 2.4 per versioni XWiki <7.0)
- Un database e un driver JDBC 4 per il tuo database
- Memoria sufficiente, almeno 2 GB di RAM (o 1 GB per i piccoli Wiki)
Passaggi di installazione di XWiki
Prima di iniziare qualsiasi installazione, ti consiglio di aggiornare il software di sistema utilizzando apt-update . E puoi installare wget e screen pacchetto se non sono stati installati prima.
#apt-get update -y
#apt install wget screen
Fase 1:installa Java
Come discusso in precedenza, Xwiki è un'applicazione basata su Java, quindi dovrai installare Java 8 o superiore per soddisfare i suoi requisiti software. Per impostazione predefinita Java 8 non è disponibile nel repository Ubuntu predefinito. Quindi, puoi installare Java supportato aggiungendo il repository PPA webupd8team al tuo sistema.
#add-apt-repository ppa:webupd8team/java
#apt-get update -y
Dopo aver aggiunto il repository PPA è necessario aggiornare i pacchetti del repository. Una volta terminato, puoi installare Java 8 richiesto eseguendo questo comando di seguito:
#apt-get install oracle-java8-installer -yYou can confirm the Java version installed.
~# java -version
java version "1.8.0_181"
Java(TM) SE Runtime Environment (build 1.8.0_181-b13)
Java HotSpot(TM) 64-Bit Server VM (build 25.181-b13, mixed mode)Fase 2:scarica e installa XWiki
Innanzitutto, devi avviare una nuova sessione dello schermo per questa installazione di XWiki. Ora dobbiamo scaricare il programma di installazione generico che funziona su tutte le piattaforme. Richiede solo che Java sia installato sul tuo sistema. Puoi scaricare il file di installazione generico di XWiki con questo comando qui sotto:
#screen -U -S xwiki
#wget http://download.forge.ow2.org/xwiki/xwiki-enterprise-installer-generic-8.1-standard.jar
Dopo aver scaricato questo programma di installazione, puoi installare questo pacchetto scaricato utilizzando Java. Il programma di installazione ti porta a varie sezioni interattive come mostrato di seguito dove richiede un output come l'inserimento di 1 (accept or proceed)/ 2 (quit) /3 (redisplay) da te per procedere con l'installazione. Alla maggior parte delle richieste si può rispondere con 1 (accept or proceed) . Il programma di installazione è abbastanza autoesplicativo, quindi devi solo seguire le istruzioni.
# java -jar xwiki-enterprise-installer-generic-8.1-standard.jar
Aug 7, 2018 10:08:33 AM INFO: Logging initialized at level 'INFO'
Aug 7, 2018 10:08:33 AM INFO: Commandline arguments:
Aug 7, 2018 10:08:33 AM INFO: Detected platform: ubuntu_linux,version=4.15.0-29-generic,arch=x64,symbolicName=null,javaVersion=1.8.0_181
Welcome to the installation of XWiki Enterprise 8.1!
The homepage is at: http://xwiki.org/

Press 1 to continue, 2 to quit, 3 to redisplay
Premendo 1 per continuare, ti fornirà XWiki Enterprise - Readme Note come di seguito:
Please read the following information:
XWiki Enterprise - Readme

XWiki Enterprise is a second generation Wiki engine, features professional features like
XWiki Enterprise also includes an advanced form and scripting engine which makes it an ideal
development environment for constructing data-based intranet applications. It has powerful extensibility features, supports scripting, extensions and is based on a highly modular
architecture. The scripting engine allows to access a powerful API for accessing the XWiki repository in read and write mode.
XWiki Enterprise is used by major companies around the world and has strong Support for a professional usage of XWiki.
Here are some pointers to get you started with XWiki once you have finished installing it:
The documentation can be found on the XWiki.org web site
If you wish to talk to XWiki users or developers please use our
You can also access XWiki's
If you need commercial support please visit the
Support page

Press 1 to continue, 2 to quit, 3 to redisplay
1
Dopo aver premuto 1 per procedere, verrai indirizzato all'avviso del contratto di licenza.
Press 1 to continue, 2 to quit, 3 to redisplay
1
See the NOTICE file distributed with this work for additional information regarding copyright ownership.
This is free software; you can redistribute it and/or modify it under the terms of the GNU Lesser General Public License as
published by the Free Software Foundation; either version 2.1 of the License, or (at your option) any later version.
This software is distributed in the hope that it will be useful, but WITHOUT ANY WARRANTY; without even the implied warranty of
MERCHANTABILITY or FITNESS FOR A PARTICULAR PURPOSE. See the GNU Lesser General Public License for more details.
You should have received a copy of the GNU Lesser General Public License along with this software; if not, write to the Free
Software Foundation, Inc., 51 Franklin St, Fifth Floor, Boston, MA 02110-1301 USA, or see the FSF site: http://www.fsf.org.

Press 1 to accept, 2 to reject, 3 to redisplay
1
Dopo aver accettato il contratto di licenza, ti condurrà attraverso varie fasi di installazione per impostare la cartella di installazione, il programma di installazione automatico, i collegamenti sul desktop, i collegamenti utente, ecc. Sto procedendo con il percorso predefinito selezionato dal programma di installazione. Se necessario, puoi impostare percorsi personalizzati durante questa sezione.
Select the installation path: [/usr/local/XWiki Enterprise 8.1]

Press 1 to continue, 2 to quit, 3 to redisplay
1

[x] Pack 'Core' required
────────────────────────────────────────────────────────────────────────────────────────────────────────────────────────────────────────────────────────────────────────────────────────────────────────────
[x] Include optional pack 'Default Wiki'
────────────────────────────────────────────────────────────────────────────────────────────────────────────────────────────────────────────────────────────────────────────────────────────────────────────
Enter Y for Yes, N for No:
Y
Done!

Press 1 to continue, 2 to quit, 3 to redisplay
1
[ Starting to unpack ]
[ Processing package: Core (1/2) ]
[ Processing package: Default Wiki (2/2) ]
[ Unpacking finished ]
────────────────────────────────────────────────────────────────────────────────────────────────────────────────────────────────────────────────────────────────────────────────────────────────────────────
Create shortcuts in the Start-Menu
────────────────────────────────────────────────────────────────────────────────────────────────────────────────────────────────────────────────────────────────────────────────────────────────────────────
Enter Y for Yes, N for No:
Y
────────────────────────────────────────────────────────────────────────────────────────────────────────────────────────────────────────────────────────────────────────────────────────────────────────────
Create additional shortcuts on the desktop
────────────────────────────────────────────────────────────────────────────────────────────────────────────────────────────────────────────────────────────────────────────────────────────────────────────
Enter Y for Yes, N for No:
Y
────────────────────────────────────────────────────────────────────────────────────────────────────────────────────────────────────────────────────────────────────────────────────────────────────────────
create shortcut for: all users
────────────────────────────────────────────────────────────────────────────────────────────────────────────────────────────────────────────────────────────────────────────────────────────────────────────
Enter Y for Yes, N for No:
Y
Aug 7, 2018 10:11:08 AM WARNING: Shortcut 'Go to my wiki' has URL but type ('Application') is not 'Link'
Aug 7, 2018 10:11:08 AM WARNING: Shortcut 'Go to my wiki' has URL but type ('Application') is not 'Link'
Aug 7, 2018 10:11:08 AM WARNING: Shortcut 'Documentation' has URL but type ('Application') is not 'Link'
Aug 7, 2018 10:11:08 AM WARNING: Shortcut 'Documentation' has URL but type ('Application') is not 'Link'
────────────────────────────────────────────────────────────────────────────────────────────────────────────────────────────────────────────────────────────────────────────────────────────────────────────
Generate an automatic installation script
────────────────────────────────────────────────────────────────────────────────────────────────────────────────────────────────────────────────────────────────────────────────────────────────────────────
Enter Y for Yes, N for No:
Y
Select the installation script (path must be absolute)[/usr/local/XWiki Enterprise 8.1/auto-install.xml]

Installation was successful
application installed on /usr/local/XWiki Enterprise 8.1
[ Writing the uninstaller data ... ]
[ Console installation done ]
Una volta completata l'installazione, verrà visualizzata la cartella di installazione dell'applicazione come mostrato nel nostro output che è in /usr/local/XWiki Enterprise 8.1 . Ora devi spostarti nella cartella dell'applicazione ed eseguire lo script di avvio di XWiki come di seguito:
# cd /usr/local/XWiki\ Enterprise\ 8.1/
1:/usr/local/XWiki Enterprise 8.1# bash start_xwiki.sh
Starting Jetty on port 8080, please wait...
2018-08-09 09:31:08.832:INFO::main: Logging initialized @692ms
2018-08-09 09:31:09.354:INFO:oejs.Server:main: jetty-9.2.13.v20150730
2018-08-09 09:31:09.378:INFO:oejs.AbstractNCSARequestLog:main: Opened /usr/local/XWiki Enterprise 8.1/data/logs/2018_08_09.request.log
2018-08-09 09:31:09.383:INFO:oejdp.ScanningAppProvider:main: Deployment monitor [file:/usr/local/XWiki%20Enterprise%208.1/jetty/contexts/] at interval 0
2018-08-09 09:31:32,621 [main] INFO o.x.s.s.i.EmbeddedSolrInstance - Starting embedded Solr server...
2018-08-09 09:31:32,633 [main] INFO o.x.s.s.i.EmbeddedSolrInstance - Using Solr home directory: [data/solr]
2018-08-09 09:31:38,070 [coreLoadExecutor-6-thread-1] WARN o.a.s.c.SolrCore - [xwiki] Solr index directory '/usr/local/XWiki Enterprise 8.1/data/solr/xwiki/data/index' doesn't exist. Creating new index...
2018-08-09 09:31:39,756 [main] INFO o.x.s.s.i.EmbeddedSolrInstance - Started embedded Solr server.
2018-08-09 09:31:41.705:INFO:oejsh.ContextHandler:main: Started o.e.j.w.WebAppContext@6df97b55{/xwiki,file:/usr/local/XWiki%20Enterprise%208.1/webapps/xwiki/,AVAILABLE}{/xwiki}
2018-08-09 09:31:41.802:INFO:oejsh.ContextHandler:main: Started o.e.j.w.WebAppContext@389a9ff6{/,file:/usr/local/XWiki%20Enterprise%208.1/webapps/root/,AVAILABLE}{/root}
2018-08-09 09:31:41.862:INFO:oejs.ServerConnector:main: Started ServerConnector@6a6b8692{HTTP/1.1}{0.0.0.0:8080}
2018-08-09 09:31:41.862:INFO:oejs.Server:main: Started @33722ms
2018-08-09 09:31:41.862:INFO:oxtjl.NotifyListener:main: ----------------------------------
2018-08-09 09:31:41.869:INFO:oxtjl.NotifyListener:main: Server started, you can now open http://ubuntu18.example.com:8080/ in your browser to access your wiki.
2018-08-09 09:31:41.871:INFO:oxtjl.NotifyListener:main: ----------------------------------
L'applicazione si avvierà automaticamente sulla porta 8080. È necessario attendere alcuni minuti per avviare l'applicazione. E una volta fatto, puoi visitare l'XWiki tramite il tuo dominio o l'IP del server sulla porta 8080. Non chiudere la finestra del nostro terminale a schermo che appare. È necessario per il funzionamento del nostro server XWiki. Puoi fermare questo server XWiki chiudendo questo terminale dello schermo.
PS:per impostazione predefinita, l'applicazione viene eseguita sulla porta 8080. Ma se desideri utilizzare la porta 8081 personalizzata, assicurati che non ci sia già nulla in esecuzione sulla porta 8081 e avvia XWiki con il seguente comando:
#bash start_xwiki.sh -p 8081Fase 3:avvia l'applicazione
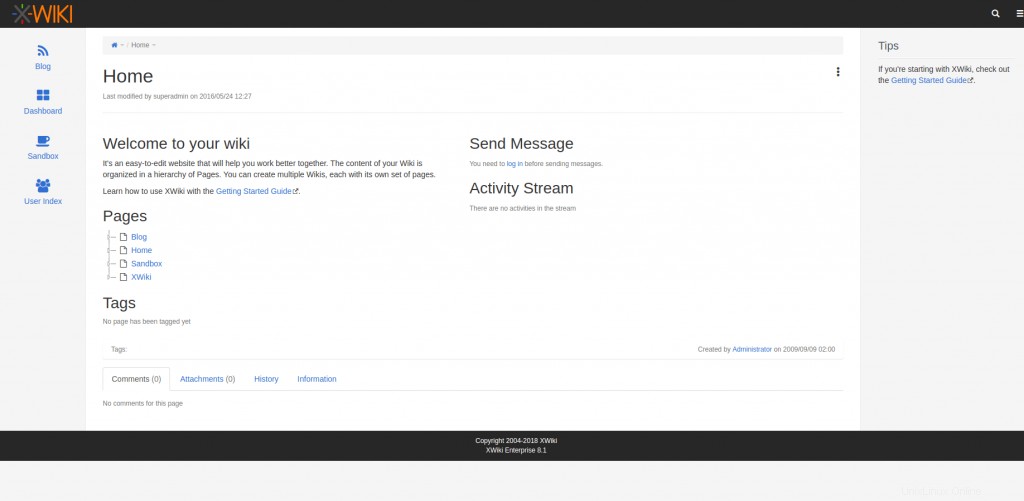
Una volta avviato XWiki, puoi puntare il tuo browser su http://ServerIP or Hostname:8080/ per accedere all'interfaccia Web.
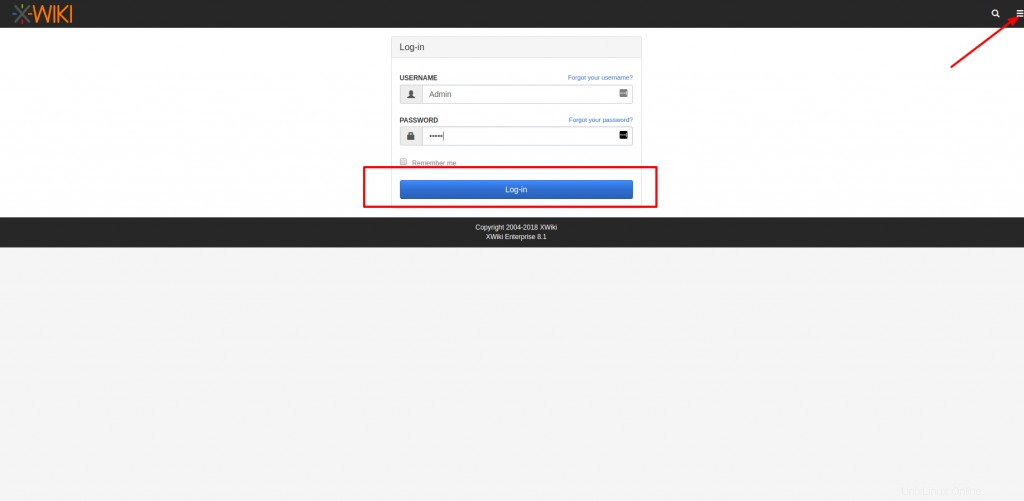
Puoi accedere al Pannello di amministrazione utilizzando l'impostazione predefinita Admin utente (la prima lettera è maiuscola) e la sua password predefinita è admin (minuscolo).
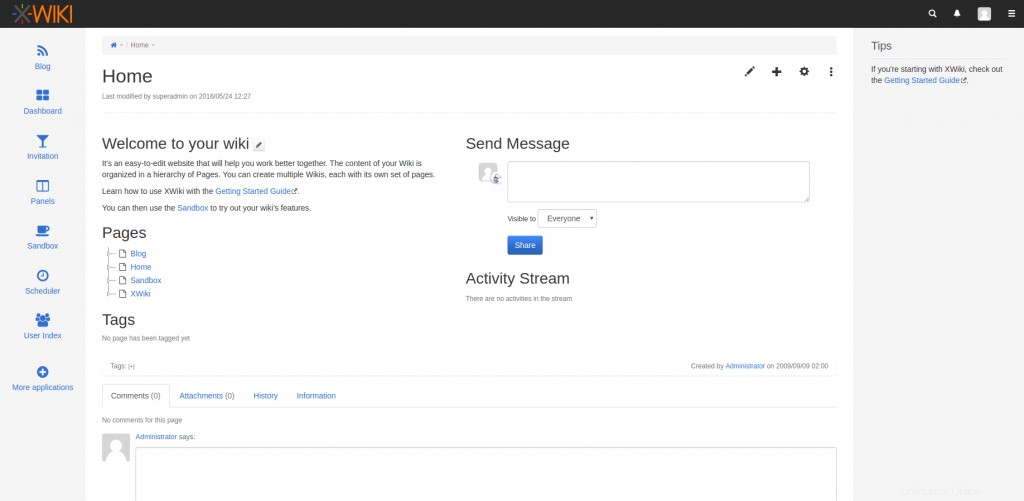
Conclusione
Evviva! Abbiamo installato e configurato con successo il nostro XWiki. Spero che questo tutorial ti aiuti a configurare il tuo Wiki auto-ospitato usando XWiki. Pubblica i tuoi preziosi suggerimenti e commenti su questo.
Leggi anche:
- 15 Comandi dello schermo di Linux per la gestione delle sessioni del terminale
- Come installare Java 8 su Ubuntu 18.04