Bitwarden è un gestore di password gratuito e open source che può essere utilizzato per archiviare le password per qualsiasi dispositivo e browser. Bitwarden ti aiuta non solo a creare e gestire le tue password, ma anche a sincronizzarle su tutti i dispositivi. Offre diverse applicazioni client tra cui app mobili, una CLI, un'interfaccia Web, estensioni del browser e applicazioni desktop.
In questo tutorial, ti mostreremo come installare Bitwarden Password Manager sul server Ubuntu 20.04.
Prerequisiti
- Un nuovo VPS Ubuntu 20.04 sulla piattaforma Atlantic.Net Cloud
- Una password di root configurata sul tuo server
Fase 1:crea un server cloud Atlantic.Net
Per prima cosa, accedi al tuo server Atlantic.Net Cloud. Crea un nuovo server, scegliendo Ubuntu 20.04 come sistema operativo con almeno 4 GB di RAM. Collegati al tuo Cloud Server tramite SSH e accedi utilizzando le credenziali evidenziate in alto nella pagina.
Dopo aver effettuato l'accesso al tuo server Ubuntu 20.04, esegui il comando seguente per aggiornare il tuo sistema di base con gli ultimi pacchetti disponibili.
apt-get update -y
Passaggio 2:installazione delle dipendenze richieste
Innanzitutto, dovrai installare alcune dipendenze nel tuo server. Puoi installarli tutti eseguendo il seguente comando:
apt-get install apt-transport-https ca-certificates curl gnupg-agent software-properties-common -y
Una volta installati tutti i pacchetti, puoi procedere al passaggio successivo.
Passaggio 3:installazione di Docker e Docker Compose
Innanzitutto, scarica e aggiungi la chiave GPG con il seguente comando:
curl -fsSL https://download.docker.com/linux/ubuntu/gpg | apt-key add -
Quindi, aggiungi il repository Docker con il seguente comando:
add-apt-repository "deb [arch=amd64] https://download.docker.com/linux/ubuntu $(lsb_release -cs) stable"
Una volta aggiunto il repository, puoi installare Docker e Docker Compose utilizzando il seguente comando:
apt-get install docker-ce docker-ce-cli containerd.io docker-compose -y
Dopo aver installato entrambi i pacchetti, controlla la versione installata di Docker con il seguente comando:
docker --version
Dovresti ottenere il seguente output:
Docker version 19.03.12, build 48a66213fe
Puoi anche verificare la versione Docker Compose con il seguente comando:
docker-compose --version
Dovresti vedere il seguente output:
docker-compose version 1.25.0, build unknown
Fase 4 – Installa Bitwarden
Innanzitutto, dovrai scaricare lo script di installazione di Bitwarden dal loro sito Web ufficiale. Puoi scaricarlo con il seguente comando:
curl -Lso bitwarden.sh https://go.btwrdn.co/bw-sh
Quindi, dai il permesso di esecuzione allo script scaricato:
chmod +x bitwarden.sh
Prima di installare Bitwarden, dovrai generare l'ID e la chiave di installazione di Bitwarden. Puoi generarli dal sito Web di Bitwarden.
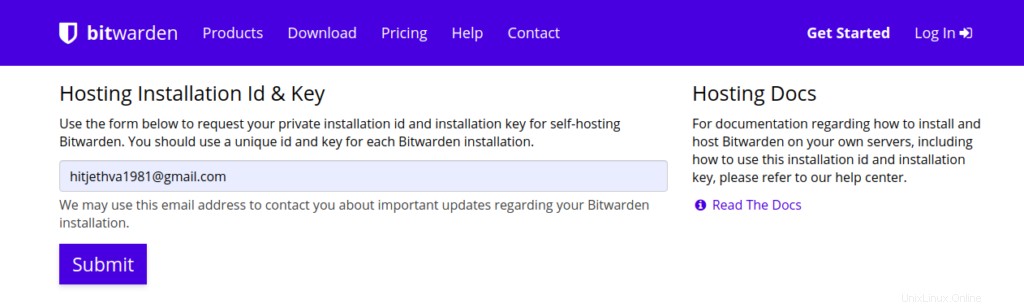
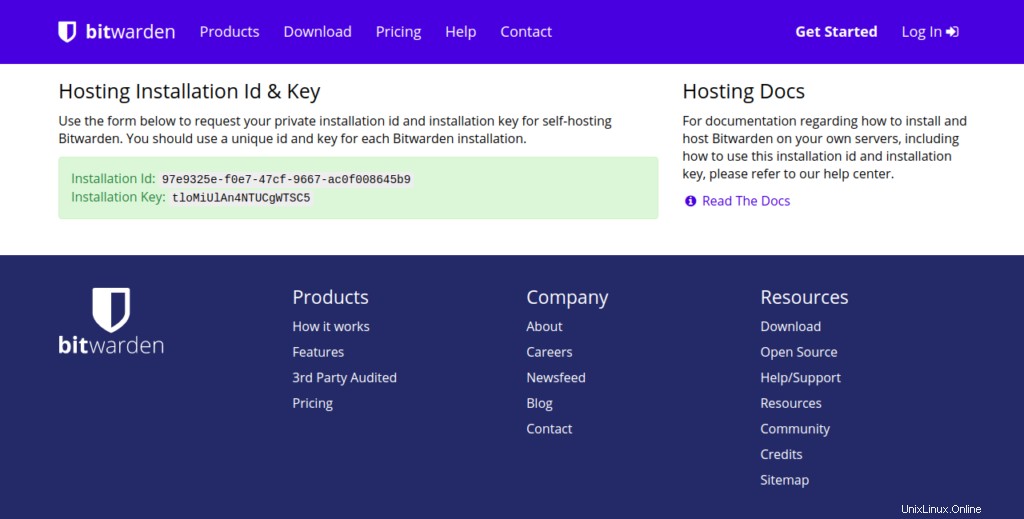
Fornisci il tuo indirizzo email e fai clic su Invia pulsante. Dovresti vedere l'ID e la chiave di installazione nella schermata seguente:
Quindi, avvia l'installazione di Bitwarden con il seguente comando:
./bitwarden.sh install
Durante l'installazione, ti verrà chiesto di fornire l'IP del server, la chiave di installazione e l'ID di installazione come mostrato di seguito:
 _     _ _                         _
| |__ (_) |___      ____ _ _ __ __| | ___ _ __
| '_ \| | __\ \ /\ / / _` | '__/ _` |/ _ \ '_ \
| |_) | | |_ \ V  V / (_| | | | (_| |  __/ | | |
|_.__/|_|\__| \_/\_/ \__,_|_|  \__,_|\___|_| |_|
Open source password management solutions
Copyright 2015-2020, 8bit Solutions LLC
https://bitwarden.com, https://github.com/bitwarden
===================================================
Docker version 19.03.12, build 48a66213fe
docker-compose version 1.25.0, build unknown
(!) Enter the domain name for your Bitwarden instance (ex. bitwarden.example.com): 69.87.216.49
(!) Do you want to use Let's Encrypt to generate a free SSL certificate? (y/n): n
1.36.1: Pulling from bitwarden/setup
6ec8c9369e08: Pull complete
fe8522826504: Pull complete
658bf4619169: Pull complete
0392978bbc2e: Pull complete
33dd02257803: Pull complete
2a69859c8164: Pull complete
d68079cd71ee: Pull complete
7c08df4e94b0: Pull complete
653a8af878c4: Pull complete
d252f877c4a2: Pull complete
Digest: sha256:5b2c43b46c03da54aecc6d19098b0574b5fb205f0cd3046019725925cadfdf29
Status: Downloaded newer image for bitwarden/setup:1.36.1
docker.io/bitwarden/setup:1.36.1
(!) Enter your installation id (get at https://bitwarden.com/host): 97e9325e-f0e7-47cf-9667-ac0f008645b9
(!) Enter your installation key: tloMiUlAn4NTUCgWTSC5
(!) Do you have a SSL certificate to use? (y/n): n
(!) Do you want to generate a self-signed SSL certificate? (y/n): y
Generating self signed SSL certificate.
Generating a RSA private key
........................++++
..................++++
writing new private key to '/bitwarden/ssl/self/69.87.216.49/private.key'
-----
Generating key for IdentityServer.
Generating a RSA private key
.........++++
.......................++++
writing new private key to 'identity.key'
-----
!!!!!!!!!! WARNING !!!!!!!!!!
You are using an untrusted SSL certificate. This certificate will not be
trusted by Bitwarden client applications. You must add this certificate to
the trusted store on each device or else you will receive errors when trying
to connect to your installation.
Building nginx config.
Building docker environment files.
Building docker environment override files.
Building FIDO U2F app id.
Building docker-compose.yml.
Installation complete
If you need to make additional configuration changes, you can modify
the settings in `./bwdata/config.yml` and then run:
`./bitwarden.sh rebuild` or `./bitwarden.sh update`
Next steps, run:
`./bitwarden.sh start`
Una volta completata l'installazione, avvia il servizio Bitwarden con il seguente comando:
./bitwarden.sh start
Puoi vedere tutte le opzioni della riga di comando con il seguente comando:
./bitwarden.sh help
Uscita:
 _     _ _                         _
| |__ (_) |___      ____ _ _ __ __| | ___ _ __
| '_ \| | __\ \ /\ / / _` | '__/ _` |/ _ \ '_ \
| |_) | | |_ \ V  V / (_| | | | (_| |  __/ | | |
|_.__/|_|\__| \_/\_/ \__,_|_|  \__,_|\___|_| |_|
Open source password management solutions
Copyright 2015-2020, 8bit Solutions LLC
https://bitwarden.com, https://github.com/bitwarden
===================================================
Docker version 19.03.12, build 48a66213fe
docker-compose version 1.25.0, build unknown
Available commands:
install
start
restart
stop
update
updatedb
updaterun
updateself
updateconf
renewcert
rebuild
help
Fase 5:accedi a Bitwarden
Ora apri il tuo browser web e accedi a Bitwarden usando l'URL http://your-server-ip. Dovresti vedere la schermata di accesso di Bitwarden:
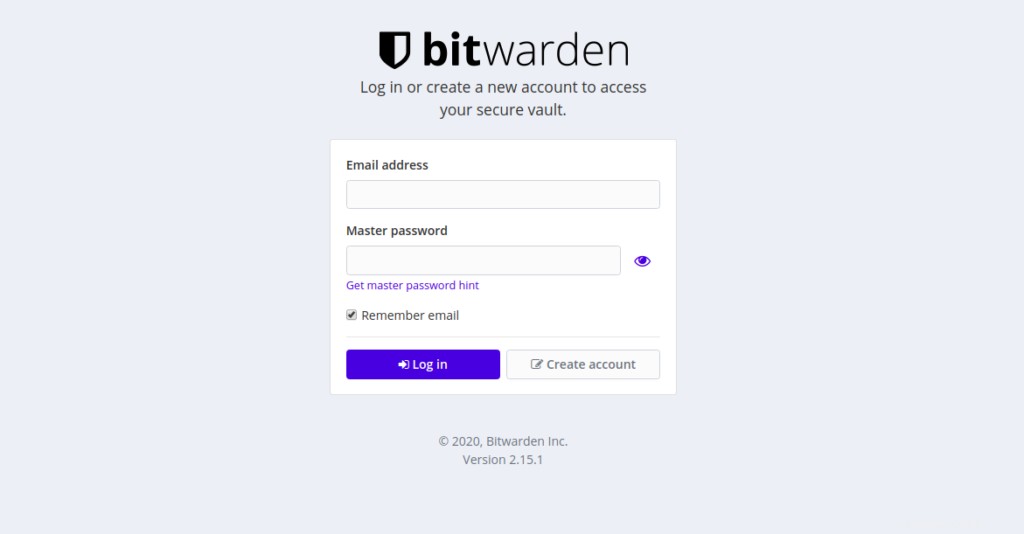
Fai clic su Crea account pulsante. Dovresti vedere la seguente schermata:
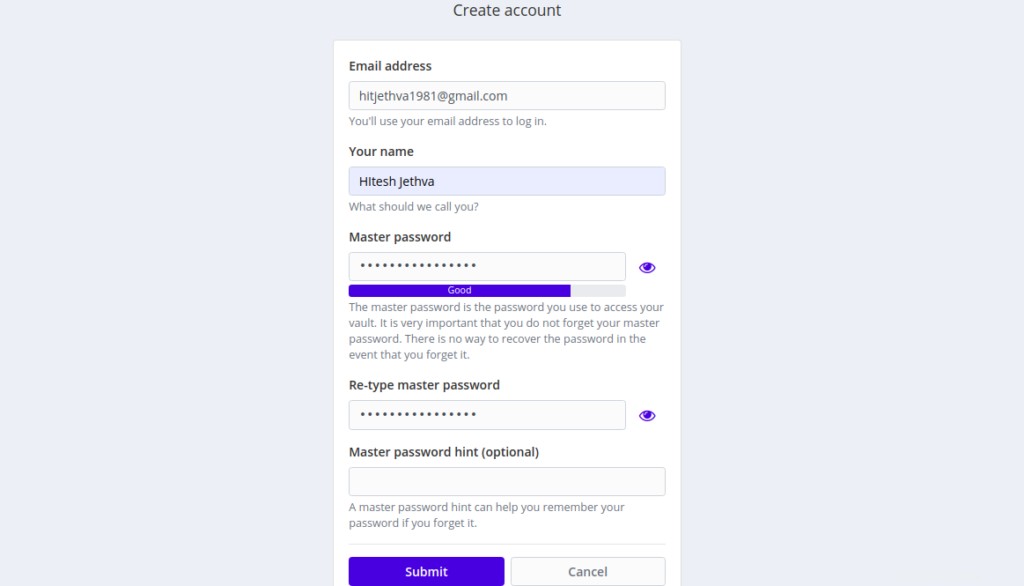
Fornisci il tuo indirizzo email, nome e password principale, quindi fai clic su Invia pulsante. Dovresti vedere la schermata di accesso di Bitwarden:
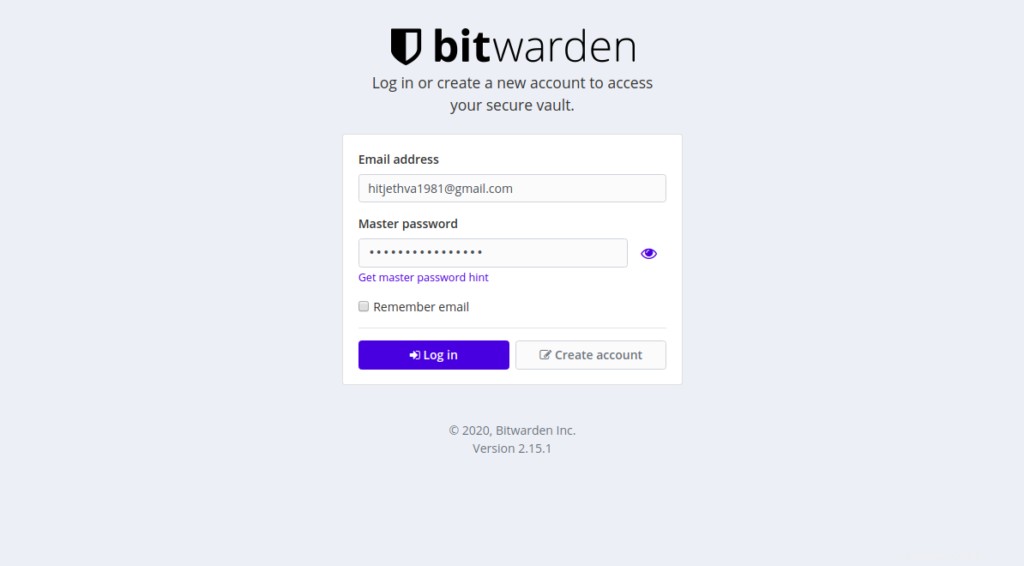
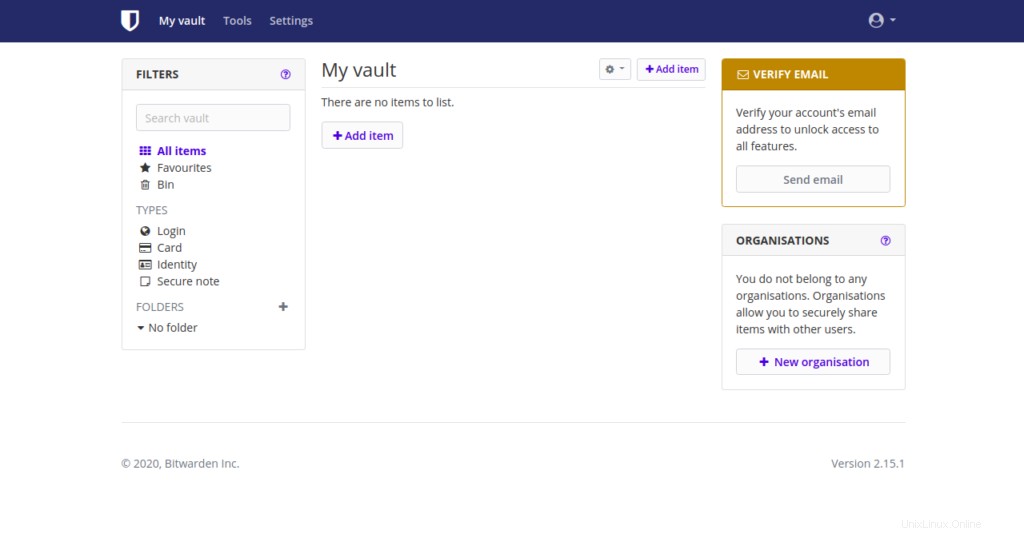
Fornisci il tuo indirizzo e-mail e password e fai clic sul Registro dentro pulsante. Dovresti vedere la dashboard di Bitwarden nella schermata seguente:
Conclusione
Congratulazioni! Hai installato correttamente il gestore password Bitwarden sul server Ubuntu 20.04. Spero che questo ti aiuti a archiviare, gestire e sincronizzare la tua password su tutti i dispositivi. Prova a utilizzare Bitwarden con il tuo account di hosting VPS da Atlantic.Net.
Scopri di più sui nostri servizi di hosting VPS e sui server privati virtuali.