LEMP è un modello open source di stack di servizi Web composto da quattro componenti:Linux, Nginx, MariaDB e PHP. Uno stack LEMP viene utilizzato per lo sviluppo e la distribuzione di applicazioni Web. La maggior parte delle applicazioni Web viene eseguita su uno stack LEMP, quindi è molto importante che un amministratore di sistema sia in grado di proteggere uno stack LEMP con SSL. Se sei un nuovo sviluppatore di siti Web o blogger alla ricerca di un traffico Web organico migliorato, è essenziale disporre di un server Web abilitato SSL per la SEO (ottimizzazione dei motori di ricerca).
Let's Encrypt è un'autorità di certificazione gratuita e open source che fornisce certificati SSL gratuiti. Let's Encrypt è un'autorità di certificazione senza scopo di lucro che mira a creare un Web più sicuro promuovendo l'adozione diffusa di HTTPS.
In questo tutorial impareremo come proteggere un server LEMP con Let's Encrypt SSL gratuito su Ubuntu 18.04 VPS.
Prerequisiti
- Un nuovo server VPS Ubuntu 18.04 su Atlantic.net Cloud.
- Un nome di dominio valido puntato al tuo indirizzo IP VPS. In questo tutorial utilizzeremo example.com.
Fase 1:crea un server cloud Atlantic.Net
Per prima cosa, accedi al tuo server Atlantic.Net Cloud. Crea un nuovo server, scegliendo Ubuntu 18.04 come sistema operativo, con almeno 2GB di RAM. Collegati al tuo Cloud Server tramite SSH e accedi utilizzando le credenziali evidenziate in alto nella pagina.
Dopo aver effettuato l'accesso al tuo server Ubuntu 18.04, esegui il comando seguente per aggiornare il tuo sistema di base con gli ultimi pacchetti disponibili.
apt-get update -y
Fase 2 – Installa LEMP sul server
Innanzitutto, installa LEMP sul server eseguendo il seguente comando:
apt-get install nginx mariadb-server php php-common -y
Una volta installati tutti i pacchetti, avvia il servizio web Nginx e abilitalo all'avvio dopo il riavvio del sistema con il seguente comando:
systemctl start nginx
systemctl enable nginx
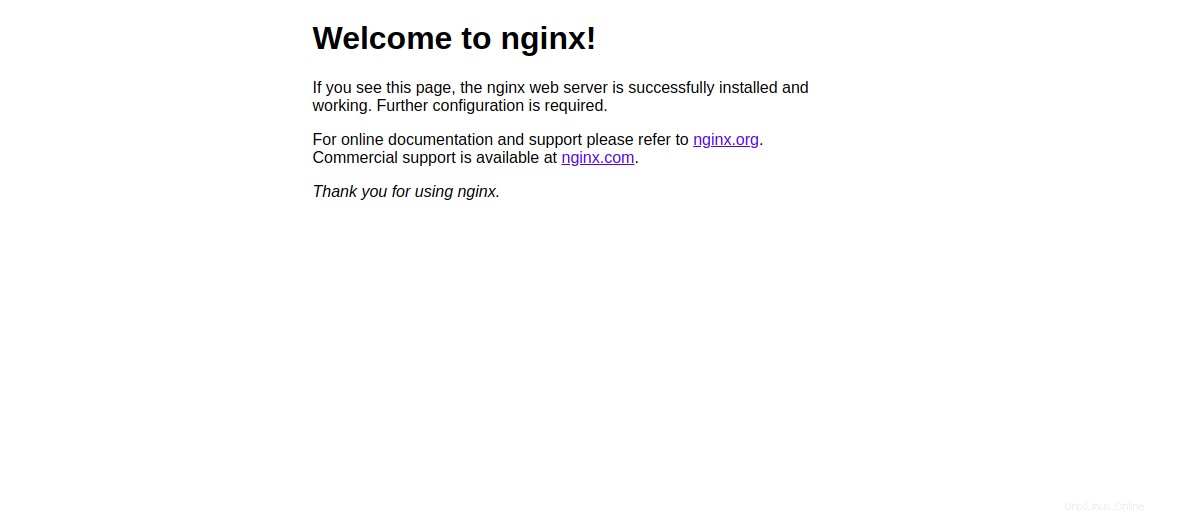
Quindi, apri il tuo browser web e digita l'URL http://example.com. Dovresti vedere la pagina predefinita di Nginx:
Fase 3:crea un sito Nginx per il tuo dominio
Successivamente, dovrai creare un host virtuale Nginx per il tuo dominio. In seguito installeremo Let's Encrypt SSL gratuito su questo sito.
Puoi crearlo con il seguente comando:
nano /etc/nginx/sites-available/example.com.conf
Aggiungi le seguenti righe:
server {
   listen 80;

   root /var/www/html;

   index index.html;

   server_name example.com;

   location / {
      try_files $uri $uri/ =404;
   }

}
Salva e chiudi il file. Quindi, abilita un host virtuale Nginx con il seguente comando:
ln -s /etc/nginx/sites-available/example.com.conf /etc/nginx/sites-enabled/
Quindi, controlla Nginx per eventuali errori di sintassi con il seguente comando:
nginx -t
Se tutto va bene, dovresti vedere il seguente output:
nginx: the configuration file /etc/nginx/nginx.conf syntax is ok
nginx: configuration file /etc/nginx/nginx.conf test is successful
Infine, riavvia il servizio Nginx per applicare le modifiche alla configurazione:
systemctl restart nginx
Quindi, crea un file index.html per il tuo dominio:
nano /var/www/html/index.html
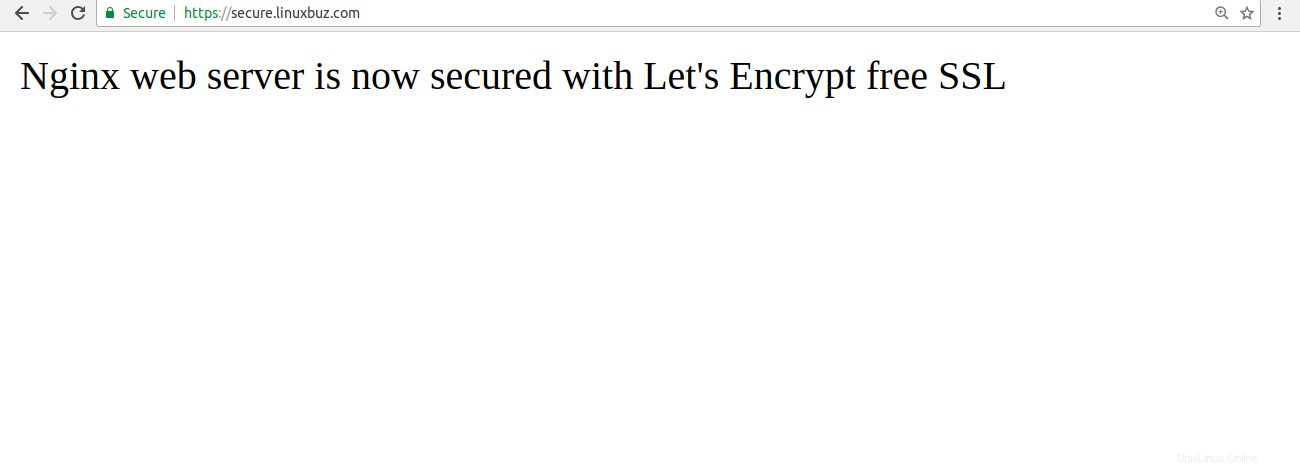
Add the following lines:

<html>
Nginx web server is now secured with Let's Encrypt free SSL
</html>
Salva e chiudi il file. Quindi, cambia la proprietà del file in www-data con il seguente comando:
chown www-data: /var/www/html/index.html
Fase 4:installa Let's Encrypt sul tuo dominio
Nginx è ora installato e funzionante. È ora di proteggerlo con Let's Encrypt SSL gratuito.
Innanzitutto, dovrai installare lo strumento Certbot per ottenere il certificato SSL gratuito da Let's Encrypt e installarlo sul tuo dominio. Certbot è uno strumento gratuito e completo che automatizza il processo di ottenimento e installazione di SSL sul tuo dominio.
Puoi aggiungere il repository usando il seguente comando:
add-apt-repository ppa:certbot/certbot
Una volta aggiunto il repository, aggiorna il repository e installa Certbot con il seguente comando:
apt-get update -y
apt-get install python-certbot-nginx -y
Una volta installato, esegui il seguente comando per ottenere e installare il certificato per il tuo dominio:
certbot --nginx -d example.com
Durante l'installazione, dovrai fornire il tuo indirizzo e-mail e accettare i Termini di servizio come mostrato di seguito:
Saving debug log to /var/log/letsencrypt/letsencrypt.log
Plugins selected: Authenticator nginx, Installer nginx
Enter email address (used for urgent renewal and security notices) (Enter 'c' to
cancel): example@unixlinux.online

- - - - - - - - - - - - - - - - - - - - - - - - - - - - - - - - - - - - - - - -
Please read the Terms of Service at
https://letsencrypt.org/documents/LE-SA-v1.2-November-15-2017.pdf. You must
agree in order to register with the ACME server at
https://acme-v02.api.letsencrypt.org/directory
- - - - - - - - - - - - - - - - - - - - - - - - - - - - - - - - - - - - - - - -
(A)gree/(C)ancel: A

- - - - - - - - - - - - - - - - - - - - - - - - - - - - - - - - - - - - - - - -
Would you be willing to share your email address with the Electronic Frontier
Foundation, a founding partner of the Let's Encrypt project and the non-profit
organization that develops Certbot? We'd like to send you email about our work
encrypting the web, EFF news, campaigns, and ways to support digital freedom.
- - - - - - - - - - - - - - - - - - - - - - - - - - - - - - - - - - - - - - - -
(Y)es/(N)o: N
Digita N e premi Invio continuare. Dovresti vedere il seguente output:
Obtaining a new certificate
Performing the following challenges:
http-01 challenge for example.com
Waiting for verification...
Cleaning up challenges
Deploying Certificate to VirtualHost /etc/nginx/sites-enabled/example.com.conf

Please choose whether or not to redirect HTTP traffic to HTTPS, removing HTTP access.
- - - - - - - - - - - - - - - - - - - - - - - - - - - - - - - - - - - - - - - -
1: No redirect - Make no further changes to the webserver configuration.
2: Redirect - Make all requests redirect to secure HTTPS access. Choose this for
new sites, or if you're confident your site works on HTTPS. You can undo this
change by editing your web server's configuration.
- - - - - - - - - - - - - - - - - - - - - - - - - - - - - - - - - - - - - - - -
Select the appropriate number [1-2] then [enter] (press 'c' to cancel):
Here, you will need to select option 1 or 2. Option 1 only downloads the Let's Encrypt certificate and does not change your web server configuration file.
Option 2 will download the Let's Encrypt certificate and configure your webserver config file to redirect all requests to secure HTTPS access.

Please select option 2 and hit Enter. Once the installation has been completed successfully, you should see the following output:

Redirecting all traffic on port 80 to ssl in /etc/nginx/sites-enabled/example.com.conf

- - - - - - - - - - - - - - - - - - - - - - - - - - - - - - - - - - - - - - - -
Congratulations! You have successfully enabled https://example.com

You should test your configuration at:
https://www.ssllabs.com/ssltest/analyze.html?d=example.com
- - - - - - - - - - - - - - - - - - - - - - - - - - - - - - - - - - - - - - - -

IMPORTANT NOTES:
- Congratulations! Your certificate and chain have been saved at:
/etc/letsencrypt/live/example.com/fullchain.pem
Your key file has been saved at:
/etc/letsencrypt/live/example.com/privkey.pem
Your cert will expire on 2019-11-17. To obtain a new or tweaked
version of this certificate in the future, simply run certbot again
with the "certonly" option. To non-interactively renew *all* of
your certificates, run "certbot renew"
- Your account credentials have been saved in your Certbot
configuration directory at /etc/letsencrypt. You should make a
secure backup of this folder now. This configuration directory will
also contain certificates and private keys obtained by Certbot so
making regular backups of this folder is ideal.
- If you like Certbot, please consider supporting our work by:

Donating to ISRG / Let's Encrypt: https://letsencrypt.org/donate
Donating to EFF: https://eff.org/donate-le
Ora apri il tuo browser web e digita l'URL https://example.com. Noterai che indica che il tuo sito è protetto.
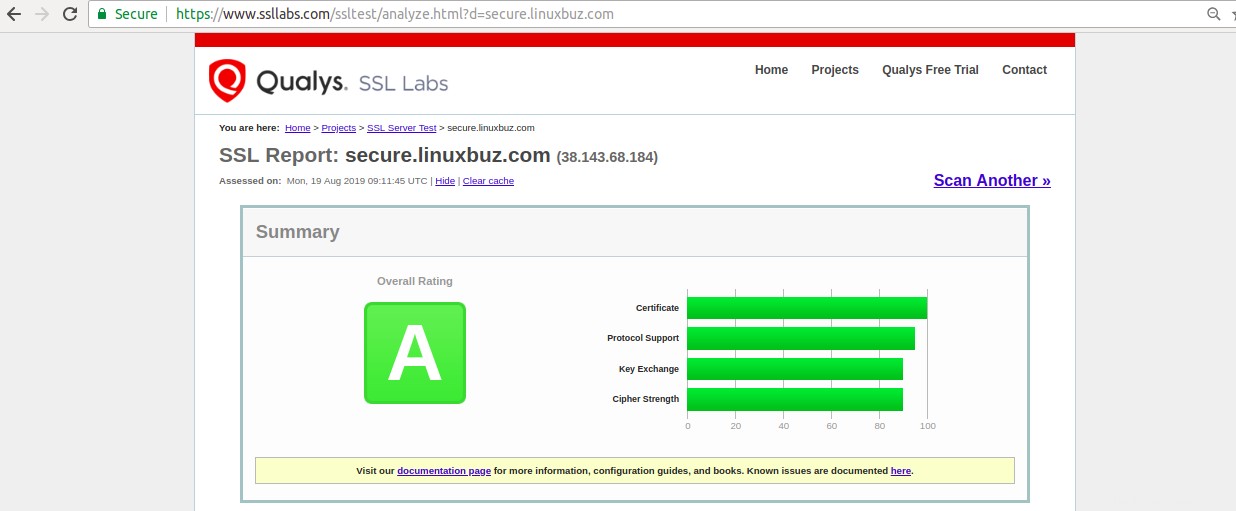
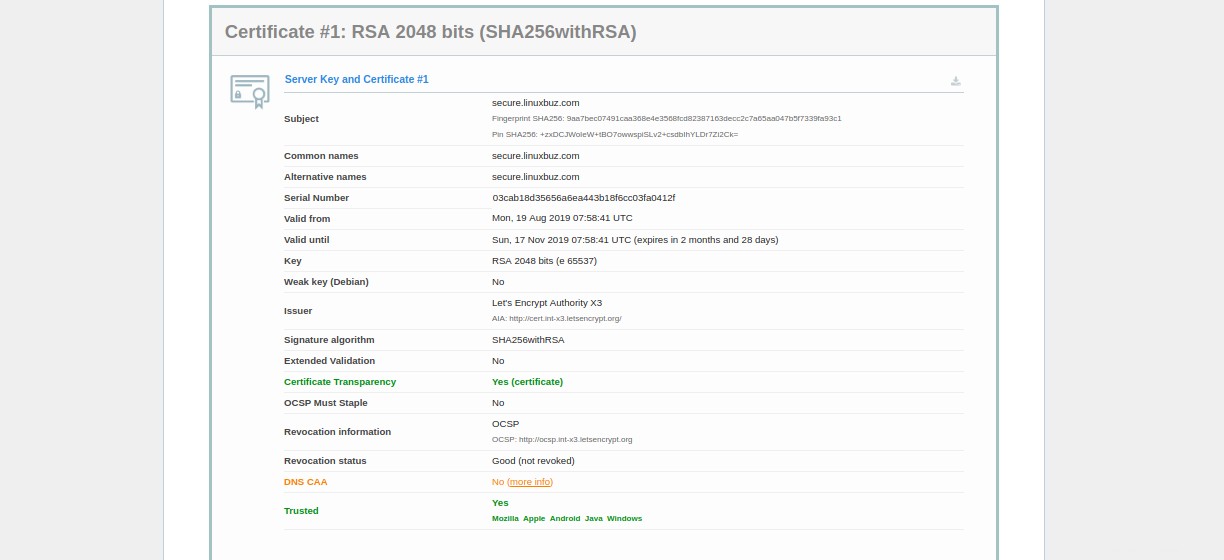
Nel frattempo, puoi anche testare il tuo server utilizzando SSL Labs Server Test :
Passaggio 5:imposta Let's Encrypt per il rinnovo automatico del certificato SSL
Puoi impostare il rinnovo automatico modificando il file crontab come mostrato di seguito:
crontab -e
Aggiungi la seguente riga:
12 8 * * * root /usr/bin/certbot renew >/dev/null 2>&1
Salva e chiudi il file quando hai finito.
Puoi anche rinnovare il certificato SSL manualmente con il seguente comando:
certbot renew --dry-run
Se ricevi un errore, certbot rinnoverà automaticamente il certificato per il tuo sito web. Se il rinnovo automatico non è riuscito, riceverai una notifica all'indirizzo email specificato.
Conclusione
Nell'articolo precedente, hai imparato come proteggere un server LEMP con Let's Encrypt Free SSL su Ubuntu 18.04. Se sei pronto per iniziare con un server privato virtuale per ospitare i tuoi siti web, visita la pagina Hosting VPS di Atlantic.Net per trovare il pacchetto di hosting che fa per te.