LAMP è una piattaforma di sviluppo web gratuita e open source utilizzata per ospitare siti web dinamici e ad alte prestazioni. È costituito da quattro componenti open source:Linux, Apache, MySQL/MariaDB e PHP. LAMP utilizza Linux come sistema operativo, Apache per server web, MySQL/MariaDB come database e PHP come linguaggio di scripting.
In questo tutorial, spiegheremo come installare LAMP e proteggerlo con Let's Encrypt free SSL su Ubuntu 18.04.
Prerequisiti
- Un nuovo VPS Ubuntu 18.04 sulla piattaforma Atlantic.Net Cloud.
- Un nome di dominio valido puntato all'indirizzo IP del tuo server. In questo tutorial utilizzeremo example.com come dominio.
Fase 1:crea un server cloud Atlantic.Net
Per prima cosa, accedi al tuo server Atlantic.Net Cloud. Crea un nuovo server, scegliendo Ubuntu 18.04 come sistema operativo, con almeno 2GB di RAM. Collegati al tuo Cloud Server tramite SSH e accedi utilizzando le credenziali evidenziate in alto nella pagina.
Dopo aver effettuato l'accesso al tuo server Ubuntu 18.04, esegui il comando seguente per aggiornare il tuo sistema di base con gli ultimi pacchetti disponibili.
apt-get update -y
Fase 2 – Installazione del server Web Apache
Innanzitutto, installa il server web Apache con il seguente comando:
apt-get install apache2 -y
Una volta completata l'installazione, avvia il servizio Apache e abilitalo all'avvio dopo il riavvio del sistema con il seguente comando:
systemctl start apache2
systemctl enable apache2
Successivamente, verifica il server web Apache con il seguente comando:
systemctl status apache2
Il server Web Apache è ora in esecuzione e in ascolto sulla porta 80. Apri il browser Web e digita l'URL http://your-server-ip. Dovresti vedere la pagina predefinita di Apache nella schermata seguente:
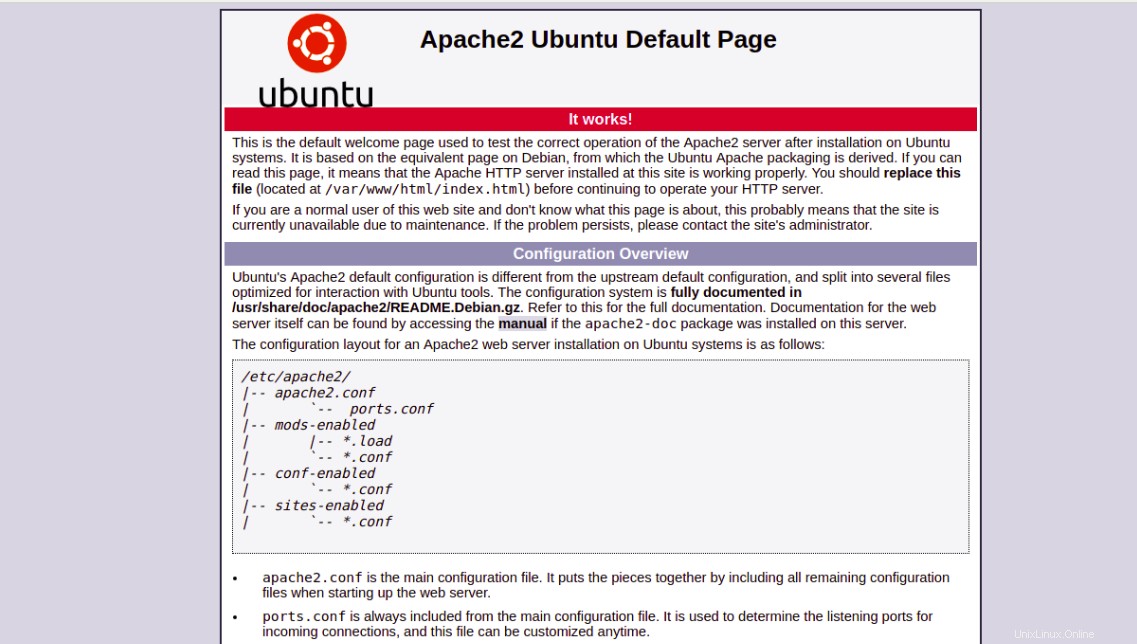
Ciò significa che il server web Apache funziona come previsto.
Fase 3 – Installazione del server di database MariaDB
MariaDB è il fork più popolare del sistema di gestione di database relazionali MySQL. Puoi installarlo eseguendo il seguente comando:
apt-get install mariadb-server mariadb-client -y
Una volta installato, avvia il servizio MariaDB e abilitalo all'avvio dopo il riavvio del sistema con il seguente comando:
systemctl start mariadb
systemctl enable mariadb
mysql_secure_installation
Questo script imposterà la password di root, rimuoverà gli utenti anonimi, non consentirà l'accesso root in remoto e rimuoverà il database di test e l'accesso ad esso, come mostrato di seguito:
Enter current password for root (enter for none): Press the Enter key
Set root password? [Y/n]: Y
New password: Enter password
Re-enter new password: Repeat password
Remove anonymous users? [Y/n]: Y
Disallow root login remotely? [Y/n]: Y
Remove test database and access to it? [Y/n]:  Y
Reload privilege tables now? [Y/n]:  Y
Fase 4 – Installazione di PHP
apt-get install php php-cli php-mysql php-curl php-zip libapache2-mod-php -y
Una volta installati tutti i pacchetti, apri il tuo file php.ini e modifica alcune impostazioni richieste:
nano /etc/php/7.2/apache2/php.ini
Modifica le seguenti righe. I valori seguenti sono ottime impostazioni per un ambiente LAMP:
memory_limit = 256M
upload_max_filesize = 100M
max_execution_time = 360
date.timezone = America/Chicago
Salva e chiudi il file. Quindi, riavvia il server web Apache per applicare la configurazione.
systemctl restart apache2
Quindi, crea un info.php nella directory radice del documento Apache per testare PHP con Apache:
nano /var/www/html/info.php
Aggiungi la seguente riga:
<?php phpinfo( ); ?>
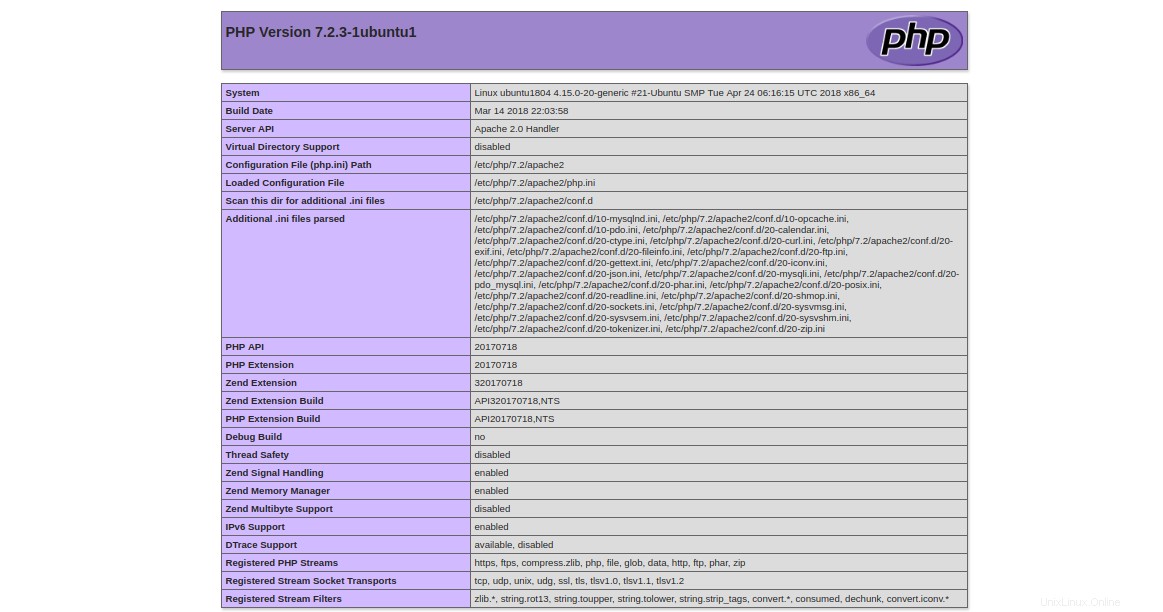
Salva e chiudi il file. Quindi, apri il tuo browser web e visita l'URL http://your-server-ip/info.php. Dovresti vedere la pagina di test PHP predefinita illustrata nella schermata seguente.
Dopo il test, si consiglia di rimuovere il file info.php per motivi di sicurezza.
rm -rf /var/www/html/info.php
Fase 5 – Creazione di un host virtuale
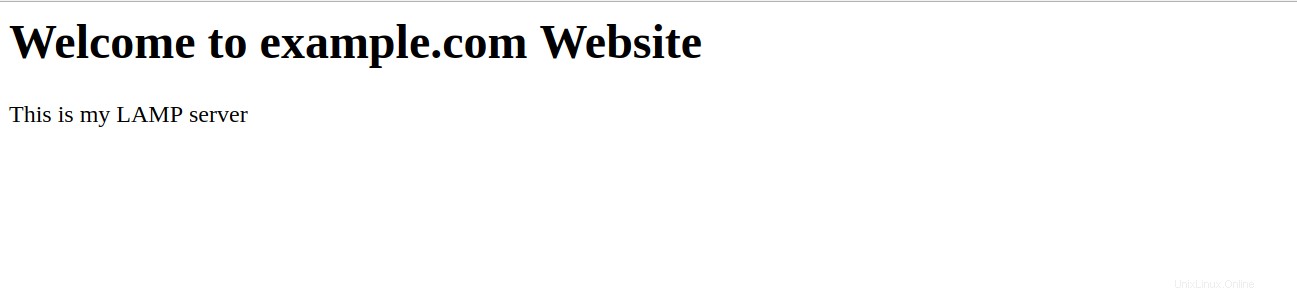
Innanzitutto, crea un file index.html per il tuo dominio example.com.
mkdir /var/www/html/example.com
nano /var/www/html/example.com/index.html
Aggiungi le seguenti righe:
<html>
<title>example.com</title>
<h1>Welcome to example.com Website</h1>
<p>This is my LAMP server</p>
</html>
Salva e chiudi il file. Quindi, cambia la proprietà della directory example.com e concedi le autorizzazioni necessarie:
chown -R www-data:www-data /var/www/html/example.com
chmod -R 755 /var/www/html/example.com
Successivamente, dovrai creare un file di configurazione dell'host virtuale Apache per il tuo dominio, example.com.
nano /etc/apache2/sites-available/example.com.conf
Aggiungi le seguenti righe:
<VirtualHost *:80>
    ServerAdmin example@unixlinux.online
    ServerName example.com
    DocumentRoot /var/www/html/example.com
    DirectoryIndex index.html
    ErrorLog ${APACHE_LOG_DIR}/example.com_error.log
    CustomLog ${APACHE_LOG_DIR}/example.com_access.log combined
</VirtualHost>
Salva e chiudi il file quando hai finito.
Ecco una breve spiegazione di ogni parametro nel file sopra:
- Amministratore server: Specifica un indirizzo email dell'amministratore del server.
- Nome server: Nome di dominio associato all'indirizzo IP del tuo server.
- DocumentRoot: Specifica la posizione del contenuto per il sito web.
- Indice Directory: Specificare una pagina predefinita da visualizzare quando si accede a una directory.
- Registro errori: Posizione del file di registro degli errori.
- Registro personalizzato: Posizione del file di registro degli accessi.
Quindi, abilita l'host virtuale e riavvia il servizio Web Apache per applicare la configurazione:
a2ensite example.com
systemctl restart apache2
Per testare il tuo sito web, apri il browser web e digita l'URL http://example.com. Verrai reindirizzato alla seguente pagina:
Passaggio 6:proteggere il tuo sito Web con Let's Encrypt
A questo punto il tuo sito web funziona bene, ma non è protetto. Dovrai proteggerlo con Let's Encrypt SSL gratuito.
Innanzitutto, dovrai installare un client Certbot sul tuo server. Certbot è un client facile da usare che può essere utilizzato per scaricare un certificato da Let's Encrypt e configurare il server web Apache per utilizzare questo certificato.
apt-get install software-properties-common apt-transport-https ca-certificates -y
add-apt-repository ppa:certbot/certbot
Una volta aggiunto il repository, aggiorna il repository e installa Certbot con il seguente comando:
apt-get update -y
apt-get install certbot python-certbot-apache -y
Quindi, esegui il comando seguente per installare Let's Encrypt SSL gratuito per il sito Web example.com:
certbot --apache -d example.com
Ti verrà chiesto di fornire la tua email e di accettare i termini di servizio, come mostrato di seguito:
Saving debug log to /var/log/letsencrypt/letsencrypt.log
Plugins selected: Authenticator apache, Installer apache
Enter email address (used for urgent renewal and security notices) (Enter 'c' to
cancel): example@unixlinux.online

- - - - - - - - - - - - - - - - - - - - - - - - - - - - - - - - - - - - - - - -
Please read the Terms of Service at
https://letsencrypt.org/documents/LE-SA-v1.2-November-15-2017.pdf. You must
agree in order to register with the ACME server at
https://acme-v02.api.letsencrypt.org/directory
- - - - - - - - - - - - - - - - - - - - - - - - - - - - - - - - - - - - - - - -
(A)gree/(C)ancel: A

- - - - - - - - - - - - - - - - - - - - - - - - - - - - - - - - - - - - - - - -
Would you be willing to share your email address with the Electronic Frontier
Foundation, a founding partner of the Let's Encrypt project and the non-profit
organization that develops Certbot? We'd like to send you email about our work
encrypting the web, EFF news, campaigns, and ways to support digital freedom.
- - - - - - - - - - - - - - - - - - - - - - - - - - - - - - - - - - - - - - - -
(Y)es/(N)o: Y
Obtaining a new certificate
Performing the following challenges:
http-01 challenge for example.com
Enabled Apache rewrite module
Waiting for verification...
Cleaning up challenges
Created an SSL vhost at /etc/apache2/sites-available/example.com-le-ssl.conf
Deploying Certificate to VirtualHost /etc/apache2/sites-available/example.com-le-ssl.conf
Enabling available site: /etc/apache2/sites-available/example.com-le-ssl.conf

Please choose whether or not to redirect HTTP traffic to HTTPS, removing HTTP access.
- - - - - - - - - - - - - - - - - - - - - - - - - - - - - - - - - - - - - - - -
1: No redirect - Make no further changes to the webserver configuration.
2: Redirect - Make all requests redirect to secure HTTPS access. Choose this for
new sites, or if you're confident your site works on HTTPS. You can undo this
change by editing your web server's configuration.
- - - - - - - - - - - - - - - - - - - - - - - - - - - - - - - - - - - - - - - -
Select the appropriate number [1-2] then [enter] (press 'c' to cancel): 2
Quindi, seleziona l'opzione 2 e premi invio per scaricare il certificato Let's Encrypt e configurare il server web Apache per utilizzare questo certificato. Una volta completato il processo di installazione, dovresti vedere il seguente output:
Enabled Apache rewrite module
Redirecting vhost in /etc/apache2/sites-enabled/example.com.conf to ssl vhost in /etc/apache2/sites-available/example.com-le-ssl.conf

- - - - - - - - - - - - - - - - - - - - - - - - - - - - - - - - - - - - - - - -
Congratulations! You have successfully enabled https://example.com

You should test your configuration at:
https://www.ssllabs.com/ssltest/analyze.html?d=example.com
- - - - - - - - - - - - - - - - - - - - - - - - - - - - - - - - - - - - - - - -

IMPORTANT NOTES:
 - Congratulations! Your certificate and chain have been saved at:
   /etc/letsencrypt/live/example.com/fullchain.pem
   Your key file has been saved at:
   /etc/letsencrypt/live/example.com/privkey.pem
   Your cert will expire on 2019-10-22. To obtain a new or tweaked
   version of this certificate in the future, simply run certbot again
   with the "certonly" option. To non-interactively renew *all* of
   your certificates, run "certbot renew"
 - Your account credentials have been saved in your Certbot
   configuration directory at /etc/letsencrypt. You should make a
   secure backup of this folder now. This configuration directory will
   also contain certificates and private keys obtained by Certbot so
   making regular backups of this folder is ideal.
 - If you like Certbot, please consider supporting our work by:

   Donating to ISRG / Let's Encrypt:   https://letsencrypt.org/donate
   Donating to EFF:                    https://eff.org/donate-le
Ora apri il tuo browser web e accedi al tuo sito web in modo sicuro con l'URL https://example.com.
Conclusione
Nel tutorial sopra, abbiamo imparato come installare il server LAMP su Ubuntu 18.04 VPS. Abbiamo anche imparato come proteggere un server LAMP con Let's Encrypt SSL gratuito. Ora puoi installare facilmente un server LAMP e proteggerlo con Let's Encrypt SSL gratuito su Ubuntu 18.04 utilizzando i nostri servizi di hosting VPS.