LAMPADA Sta per Linux , Apache , MySQL e PHP . La maggior parte dei siti Web funziona con la combinazione di cui sopra. Se pensi che la combinazione di cui sopra sarà solo sui server in cui è stato creato l'hosting, è sbagliato puoi farlo sul tuo PC che ha Linux.
L'installazione dello stack LAMP su Ubuntu è semplice e silenziosa rispetto ad altri ambienti Linux.
In altri ambienti Linux, è necessario installare i pacchetti separatamente, uno per uno. Ma in Ubuntu, puoi installare lo stack con un unico comando.
Qui verrà installato stack LAMP su Ubuntu 16.04 / Ubuntu 14.04 .
Installa Linux
Puoi trovare il tutorial sull'installazione di Ubuntu 16.04, qui .
Installa lo stack AMP (Apache, MySQL e PHP)
Aggiorna la cache del repository usando il seguente comando.
sudo apt-get update
Copia e incolla la riga sul terminale e premi invio.
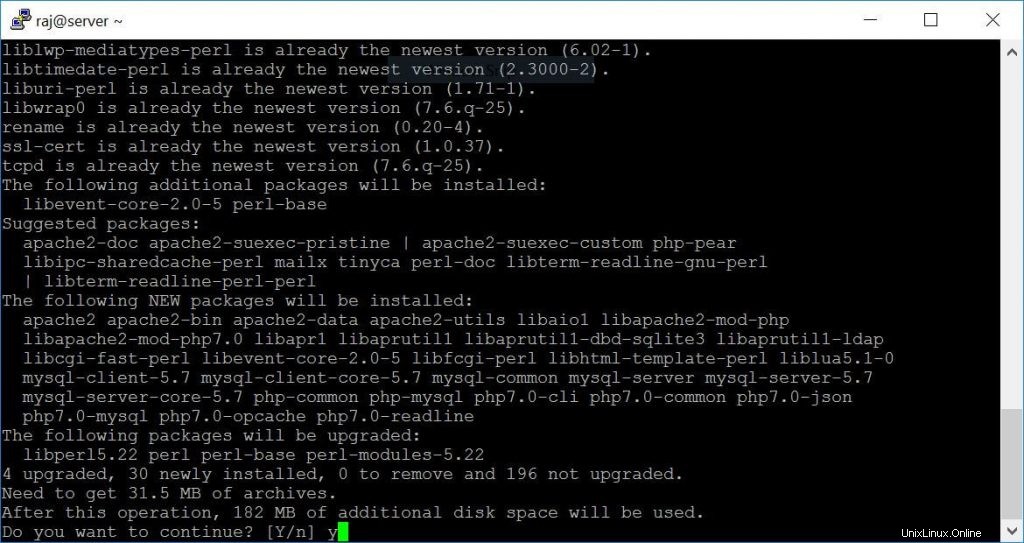
sudo apt-get install lamp-server^
Il comando precedente cercherà il pacchetto richiesto per il server LAMP e inizierà a installare quei pacchetti. Dovresti vedere messaggi come di seguito.
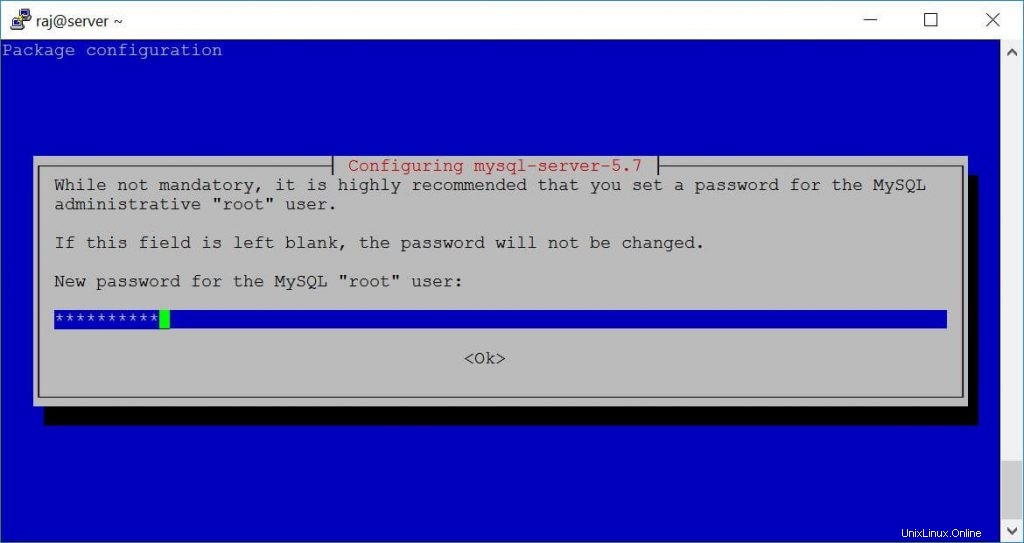
Dopo l'installazione di tutti i pacchetti, ti verrà chiesto di configurare la password di root di MySQL. Digita la nuova password di root per MySQL nella schermata successiva.
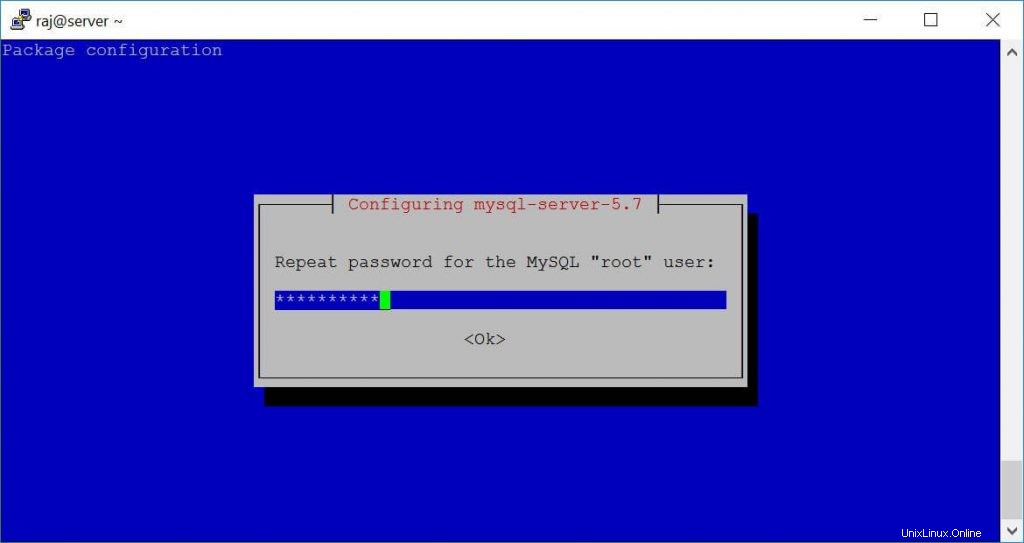
Ripetere la password di root.
Successivamente, continuerà a installare gli altri pacchetti necessari per lo stack AMP.
Ora controlla lo stato del servizio Apache e MySQL.
Apache:
sudo service apache2 status
Risultato:
● apache2.service - LSB: Apache2 web server
   Loaded: loaded (/etc/init.d/apache2; bad; vendor preset: enabled)
  Drop-In: /lib/systemd/system/apache2.service.d
           └─apache2-systemd.conf
   Active: active (running) since Tue 2018-02-13 13:58:21 IST; 23min ago
     Docs: man:systemd-sysv-generator(8)
  Process: 5823 ExecStop=/etc/init.d/apache2 stop (code=exited, status=0/SUCCESS)
  Process: 5845 ExecStart=/etc/init.d/apache2 start (code=exited, status=0/SUCCESS)
   CGroup: /system.slice/apache2.service
           ├─5862 /usr/sbin/apache2 -k start
           ├─5865 /usr/sbin/apache2 -k start
           ├─5866 /usr/sbin/apache2 -k start
           ├─5867 /usr/sbin/apache2 -k start
           ├─5868 /usr/sbin/apache2 -k start
           ├─5869 /usr/sbin/apache2 -k start
           └─5889 /usr/sbin/apache2 -k start

Feb 13 13:58:20 server.itzgeek.local systemd[1]: Stopped LSB: Apache2 web server.
Feb 13 13:58:20 server.itzgeek.local systemd[1]: Starting LSB: Apache2 web server...
Feb 13 13:58:20 server.itzgeek.local apache2[5845]:  * Starting Apache httpd web server apache2
Feb 13 13:58:21 server.itzgeek.local apache2[5845]:  *
Feb 13 13:58:21 server.itzgeek.local systemd[1]: Started LSB: Apache2 web server.
MySQL:
sudo service mysql status
Risultato:
● mysql.service - MySQL Community Server
   Loaded: loaded (/lib/systemd/system/mysql.service; enabled; vendor preset: enabled)
   Active: active (running) since Tue 2018-02-13 14:17:20 IST; 4min 11s ago
  Process: 6184 ExecStartPost=/usr/share/mysql/mysql-systemd-start post (code=exited, status=0/
  Process: 6175 ExecStartPre=/usr/share/mysql/mysql-systemd-start pre (code=exited, status=0/SU
 Main PID: 6183 (mysqld)
   CGroup: /system.slice/mysql.service
           └─6183 /usr/sbin/mysqld

Feb 13 14:17:19 server.itzgeek.local systemd[1]: Stopped MySQL Community Server.
Feb 13 14:17:19 server.itzgeek.local systemd[1]: Starting MySQL Community Server...
Feb 13 14:17:20 server.itzgeek.local systemd[1]: Started MySQL Community Server.
Testa Apache
Per assicurarci che tutto sia installato correttamente, testeremo ora Apache accedendovi tramite il browser web.
1. Prima di testare Apache, riavvia il server Apache.
sudo service apache2 restart
2. Apri qualsiasi browser web e quindi inserisci quanto segue nell'indirizzo web:
http://localhost/O
http://tuo.ip.addr.essOtterrai la seguente pagina e questo conferma che il server Apache funziona correttamente.

La radice del documento predefinita di Apache è /var/www/html su Ubuntu, il file di configurazione è /etc/apache2/apache2.conf . Ulteriori file di configurazione sono archiviati in /etc/apache2/*-disponibile directory
Verifica PHP
Per testare il PHP, posiziona un file PHP nella directory predefinita di Apache.
Passaggio 1. Nel terminale copia/incolla la seguente riga:
sudo nano /var/www/html/phpinfo.php
Questo aprirà un file chiamato phpinfo.php.
Passaggio 2. Copia/incolla questa riga nel file phpinfo:
<?php phpinfo(); ?>
Passaggio 3. Ora apri il tuo browser web e digita quanto segue nell'indirizzo web:
http://localhost/phpinfo.phpO
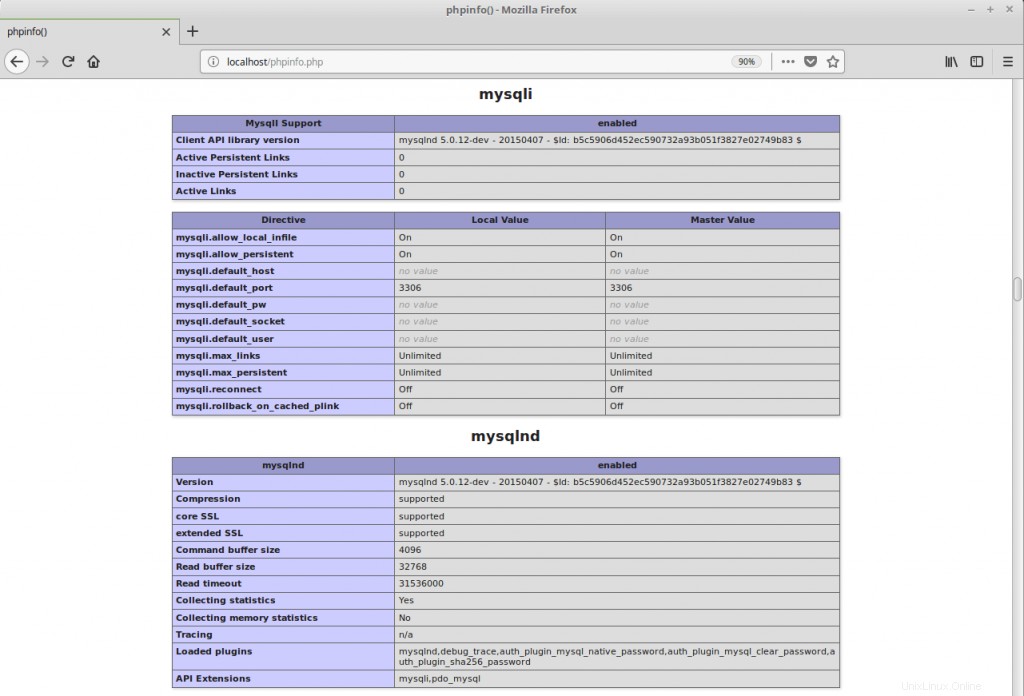
http://il-tuo-indirizzo-ip.ess/phpinfo.phpLa pagina apparirà come sotto.
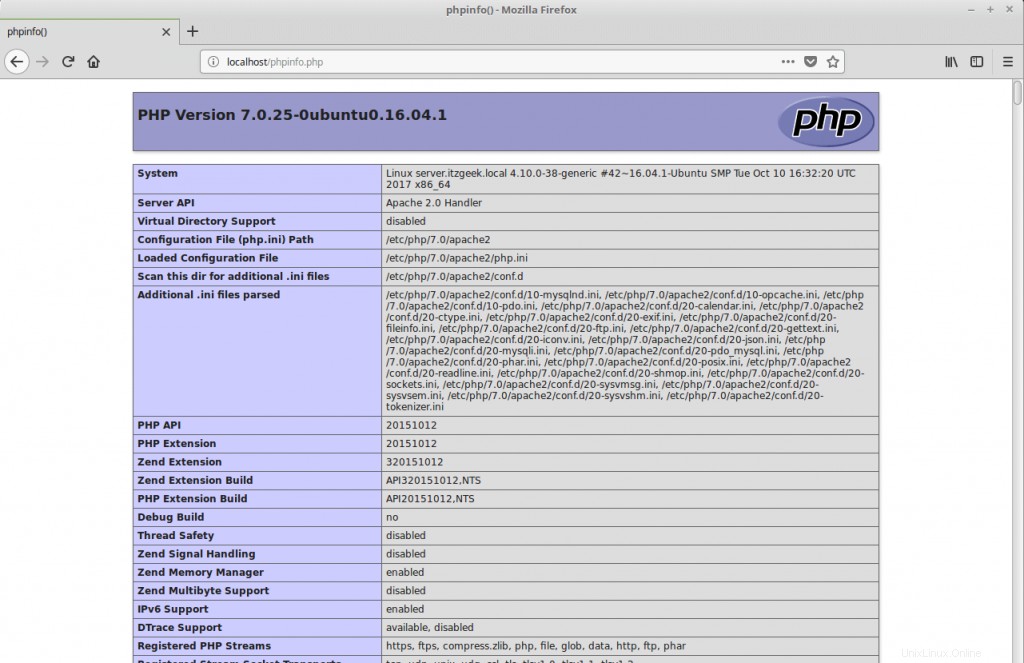
Se scorri la pagina verso il basso, vedrai le informazioni sulle estensioni PHP incluso MySQL.
Questo è tutto.