FreeIPA è un sistema centralizzato di autenticazione, autorizzazione e informazioni sull'account. FreeIPA sta per Free Identity, Policy, Audit ed è una soluzione di gestione dell'identità open source basata su una directory LDAP e Kerberos con componenti opzionali come server DNS, autorità di certificazione e altro. Può gestire un dominio con utenti, computer, criteri e relazioni di trust. È simile a Microsoft Active Directory.
FreeIPA può anche configurare un trust da foresta a foresta con le foreste di Active Directory esistenti e persino risiedere in una zona DNS al di sotto di una zona gestita da Active Directory, purché non si sovrappongano. Consiste in un'interfaccia web e strumenti di amministrazione a riga di comando.
Controlla anche:
- Come installare il server Puppet 7 su Rocky Linux/Centos 8
- Come gestire utenti e gruppi in FreeIPA Server
- Come installare il client FreeIPA su Fedora 35
- Come configurare la replica FreeIPA su Rocky Linux/Alma Linux/Centos 8
- Come installare e configurare FreeIPA su Rocky Linux/Centos
- Come installare e configurare il client FreeIPA su Ubuntu 20.04
Prerequisiti
Per seguire bene, assicurati di avere:
- Un server basato su RHEL 8 come Rocky Linux
- Il server dovrebbe avere almeno 1 GB di RAM, 2 GB per prestazioni ottimali
- Il server dovrebbe avere almeno 10 GB di spazio su disco
- Accesso root o utente con accesso sudo
- Imposta un nome di dominio completo come nome host. Useremo il sottodominio
ipa.citizix.comnel nostro caso
Indice dei contenuti
- Aggiorna sistema, imposta nome host e fuso orario
- Installazione del server FreeIPA
- Esecuzione del programma di installazione del server FreeIPA
- Configura Firewall Linux
- Accedi all'interfaccia web di FreeIPA Gui
- Utilizzo dell'interfaccia CLI di FreeIPA per eseguire operazioni di base
1. Aggiorna il sistema, imposta nome host e fuso orario
Usa questo comando per assicurarti che i nostri pacchetti di sistema siano aggiornati:
sudo dnf -y update
Dobbiamo impostare l'FQDN (nome di dominio completo) che vogliamo utilizzare per puntare al nostro server. Dobbiamo impostare il sottodominio (ipa.citizix.com ) DNS da risolvere sul nostro server. se non disponi di un server DNS, dobbiamo aggiungere manualmente voci nel file host del nostro server per risolvere l'indirizzo IP di sistema per il nostro nome host completo.
Imposta nome host:
sudo hostnamectl set-hostname ipa.citizix.comSostituisci ipa.citizix.com con quello che vuoi impostare per il nome host del tuo server.
Conferma il nome host:
$ hostnamectl
   Static hostname: ipa.citizix.com
         Icon name: computer-vm
           Chassis: vm
        Machine ID: ee3563997878469ebfcc3f721aec3c66
           Boot ID: 029a7962df24475091296d32b222f166
    Virtualization: kvm
  Operating System: Rocky Linux 8.4 (Green Obsidian)
       CPE OS Name: cpe:/o:rocky:rocky:8.4:GA
            Kernel: Linux 4.18.0-305.3.1.el8_4.x86_64
      Architecture: x86-64

$ hostname
ipa.citizix.com
Il dominio utilizzato per il nome host deve risolvere l'indirizzo IP per raggiungere il server. Quindi, punta l'indirizzo IP del tuo server su hostname, ovvero nome di dominio completo, nel file Host.
echo "10.2.40.149 ipa.citizix.com ipa" | sudo tee -a /etc/hosts
Sostituisci 10.2.40.149 con l'indirizzo IP del tuo server e ipa.citizix.com con il tuo nome host FQDN.
Una volta terminato, conferma che il sistema può eseguire il ping dell'host per risolvere lo stesso.
ping -c 2 ipa.citizix.com
Output sulla mia macchina
# ping -c 2 ipa.citizix.com
PING ipa.citizix.com (10.2.40.149) 56(84) bytes of data.
64 bytes from ipa.citizix.com (10.2.40.149): icmp_seq=1 ttl=64 time=0.033 ms
64 bytes from ipa.citizix.com (10.2.40.149): icmp_seq=2 ttl=64 time=0.029 ms

--- ipa.citizix.com ping statistics ---
2 packets transmitted, 2 received, 0% packet loss, time 1039ms
rtt min/avg/max/mdev = 0.029/0.031/0.033/0.002 ms
Infine, impostiamo il fuso orario in modo che corrisponda alla regione in cui ti trovi. Per me sono nel Africa/Nairobi timezone, userò questo comando:
sudo timedatectl set-timezone Africa/NairobiConferma che è stato configurato come previsto:
$ timedatectl
               Local time: Tue 2021-11-09 07:58:09 EAT
           Universal time: Tue 2021-11-09 04:58:09 UTC
                 RTC time: Tue 2021-11-09 04:58:08
                Time zone: Africa/Nairobi (EAT, +0300)
System clock synchronized: yes
              NTP service: active
          RTC in local TZ: no
2. Installazione del server FreeIPA
Non è richiesto alcun repository RPM aggiuntivo, tutti i pacchetti e le dipendenze sono disponibili nei repository predefiniti del sistema operativo predefinito.
Nei sistemi basati su EL8, i pacchetti necessari per l'installazione del server FreeIPA vengono spediti in un flusso di moduli chiamato flusso DL1 . Dovrai abilitare lo stream prima di eseguire l'installazione dei pacchetti dallo stream.
Puoi utilizzare il comando seguente per elencare i moduli che contengono pacchetti IdM.
$ sudo yum module list idm

Rocky Linux 8 - AppStream
Name Stream     Profiles                        Summary
idm  DL1        adtrust, client, common [d], dn The Red Hat Enterprise Linux Identity Management syst
                s, server                       em module
idm  client [d] common [d]                      RHEL IdM long term support client module

Hint: [d]efault, [e]nabled, [x]disabled, [i]nstalled
Puoi controllare di più sullo Stream usando il comando:
sudo dnf module info idm:DL1Ora abilita idm:DL1 streaming:
sudo dnf module enable idm:DL1Output sul mio sistema
$ sudo dnf module enable idm:DL1
Last metadata expiration check: 0:45:05 ago on Tue 09 Nov 2021 07:22:21 AM EAT.
Dependencies resolved.
=====================================================================================================
 Package                Architecture          Version                   Repository              Size
=====================================================================================================
Enabling module streams:
 389-ds                                       1.4
 httpd                                        2.4
 idm                                          DL1
 pki-core                                     10.6
 pki-deps                                     10.6

Transaction Summary
=====================================================================================================

Is this ok [y/N]: y
Complete!
Scegli una delle seguenti opzioni, a seconda dei tuoi requisiti IdM:
- Installazione in corso Server IdM senza DNS integrato:
sudo dnf module install idm:DL1/server- Installazione del server FreeIPA con DNS integrato:
sudo dnf module install idm:DL1/dns- Installazione in corso Server FreeIPA che ha un accordo di fiducia con Active Directory:
sudo dnf module install idm:DL1/adtrust- Per più profili, ad esempio dns e profili adtrust:
sudo dnf module install idm:DL1/{dns,adtrust}- Per il cliente FreeIPA
sudo dnf module install idm:DL1/client3. Esecuzione del programma di installazione di FreeIPA Server
Con i pacchetti FreeIPA installati, ora possiamo eseguire l'utility ipa-server-install. Lo script di installazione creerà un file di registro in /var/log/ipaserver-install.log:
sudo ipa-server-installLo script richiede diverse impostazioni richieste e offre i valori predefiniti consigliati tra parentesi.
Per accettare un valore predefinito, premere Invio. Per fornire un valore personalizzato, inserisci il valore richiesto. Per l'installazione non interattiva per IdM senza DNS utilizzare questo:
sudo ipa-server-install \
  --realm IPA.CITIZIX.COM \
  -domain ipa.citizix.com \
  --ds-password ds_password \
  --admin-password admin_password \
  --unattended
Le opzioni minime richieste per l'installazione non interattiva sono:
--realmper fornire il nome del regno di Kerberos--ds-passwordper fornire la password per Directory Manager (DM), il super utente di Directory Server--admin-passwordper fornire la password per l'amministratore, l'amministratore IdM--unattendedper consentire al processo di installazione di selezionare le opzioni predefinite per il nome host e il nome di dominio
Per l'installazione non interattiva per IdM con DNS integrato, utilizzare questo:
sudo ipa-server-install \
    --domain ipa.citizix.com \
    --realm IPA.CITIZIX.COM \
    --reverse-zone=40.2.10.in-addr.arpa. \
    --no-forwarders \
    --no-ntp \
    --setup-dns \
    --ds-password ds_password \
    --admin-password admin_password \
    --unattended
Questo è l'output di una sessione interattiva sul mio server:
$ sudo ipa-server-install

The log file for this installation can be found in /var/log/ipaserver-install.log
==============================================================================
This program will set up the IPA Server.
Version 4.9.2

This includes:
  * Configure a stand-alone CA (dogtag) for certificate management
  * Configure the NTP client (chronyd)
  * Create and configure an instance of Directory Server
  * Create and configure a Kerberos Key Distribution Center (KDC)
  * Configure Apache (httpd)
  * Configure the KDC to enable PKINIT

To accept the default shown in brackets, press the Enter key.

Do you want to configure integrated DNS (BIND)? [no]: no

Enter the fully qualified domain name of the computer
on which you're setting up server software. Using the form
<hostname>.<domainname>
Example: master.example.com.


Server host name [ipa.citizix.com]: ipa.citizix.com

The domain name has been determined based on the host name.

Please confirm the domain name [citizix.com]: ipa.citizix.com

The kerberos protocol requires a Realm name to be defined.
This is typically the domain name converted to uppercase.

Please provide a realm name [IPA.CITIZIX.COM]: IPA.CITIZIX.COM
Certain directory server operations require an administrative user.
This user is referred to as the Directory Manager and has full access
to the Directory for system management tasks and will be added to the
instance of directory server created for IPA.
The password must be at least 8 characters long.

Directory Manager password:
Password (confirm):

The IPA server requires an administrative user, named 'admin'.
This user is a regular system account used for IPA server administration.

IPA admin password:
Password (confirm):

Do you want to configure chrony with NTP server or pool address? [no]: no

The IPA Master Server will be configured with:
Hostname:       ipa.citizix.com
IP address(es): 10.2.40.149
Domain name:    ipa.citizix.com
Realm name:     IPA.CITIZIX.COM

The CA will be configured with:
Subject DN:   CN=Certificate Authority,O=IPA.CITIZIX.COM
Subject base: O=IPA.CITIZIX.COM
Chaining:     self-signed

Continue to configure the system with these values? [no]: yes

The following operations may take some minutes to complete.
Please wait until the prompt is returned.

Disabled p11-kit-proxy
Synchronizing time
No SRV records of NTP servers found and no NTP server or pool address was provided.
Using default chrony configuration.
Attempting to sync time with chronyc.
Time synchronization was successful.
Configuring directory server (dirsrv). Estimated time: 30 seconds
  [1/41]: creating directory server instance
  [2/41]: tune ldbm plugin
  [3/41]: adding default schema
...
Al termine dell'installazione:
...
Client configuration complete.
The ipa-client-install command was successful

Please add records in this file to your DNS system: /tmp/ipa.system.records.87gb3voq.db
==============================================================================
Setup complete

Next steps:
	1. You must make sure these network ports are open:
		TCP Ports:
		  * 80, 443: HTTP/HTTPS
		  * 389, 636: LDAP/LDAPS
		  * 88, 464: kerberos
		UDP Ports:
		  * 88, 464: kerberos
		  * 123: ntp

	2. You can now obtain a kerberos ticket using the command: 'kinit admin'
	   This ticket will allow you to use the IPA tools (e.g., ipa user-add)
	   and the web user interface.

Be sure to back up the CA certificates stored in /root/cacert.p12
These files are required to create replicas. The password for these
files is the Directory Manager password
The ipa-server-install command was successful
4. Configura Linux Firewall
Se hai un firewalld installato e un firewall abilitato nel tuo sistema, devi aprire le porte di FreeIPA per l'accesso.
Devi assicurarti che queste porte di rete siano aperte:
Porte TCP:
80, 443:HTTP/HTTPS
389, 636:LDAP/LDAPS
88, 464:Kerberos
Porte UDP:
88, 464:Kerberos
123:NTP
Per aprire le porte usando firewalld, usa questi comandi:
sudo firewall-cmd --add-service={http,https,dns,ntp,freeipa-ldap,freeipa-ldaps} --permanent
sudo firewall-cmd --reload
5. Accedi all'interfaccia Web della GUI di FreeIPA
Una volta completata l'installazione dallo script, apri il browser di sistema e puntalo al nome host FQDN che hai impostato per il sistema all'inizio, ad esempio https://ipa.citizix.com o anche se digiti https://your-server-ip questo lo reindirizzerà automaticamente all'FQDN.
Ignora l'avviso SSL facendo clic su "Avanzate ”> “Procedi su ipa.citizix.com (non sicuro) ” se lo capisci.
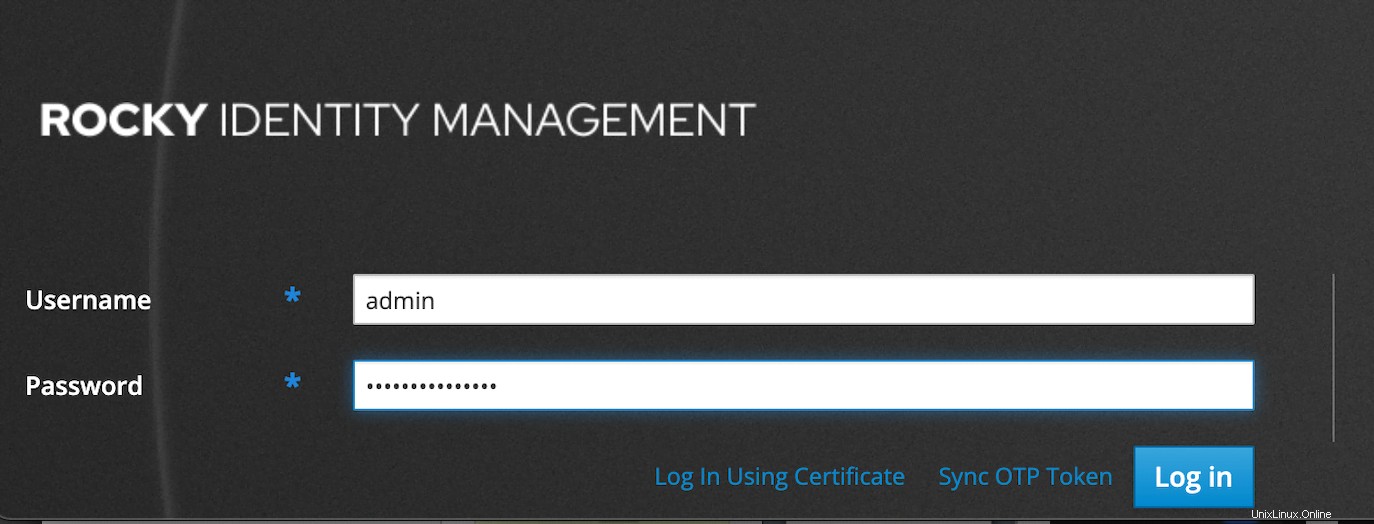
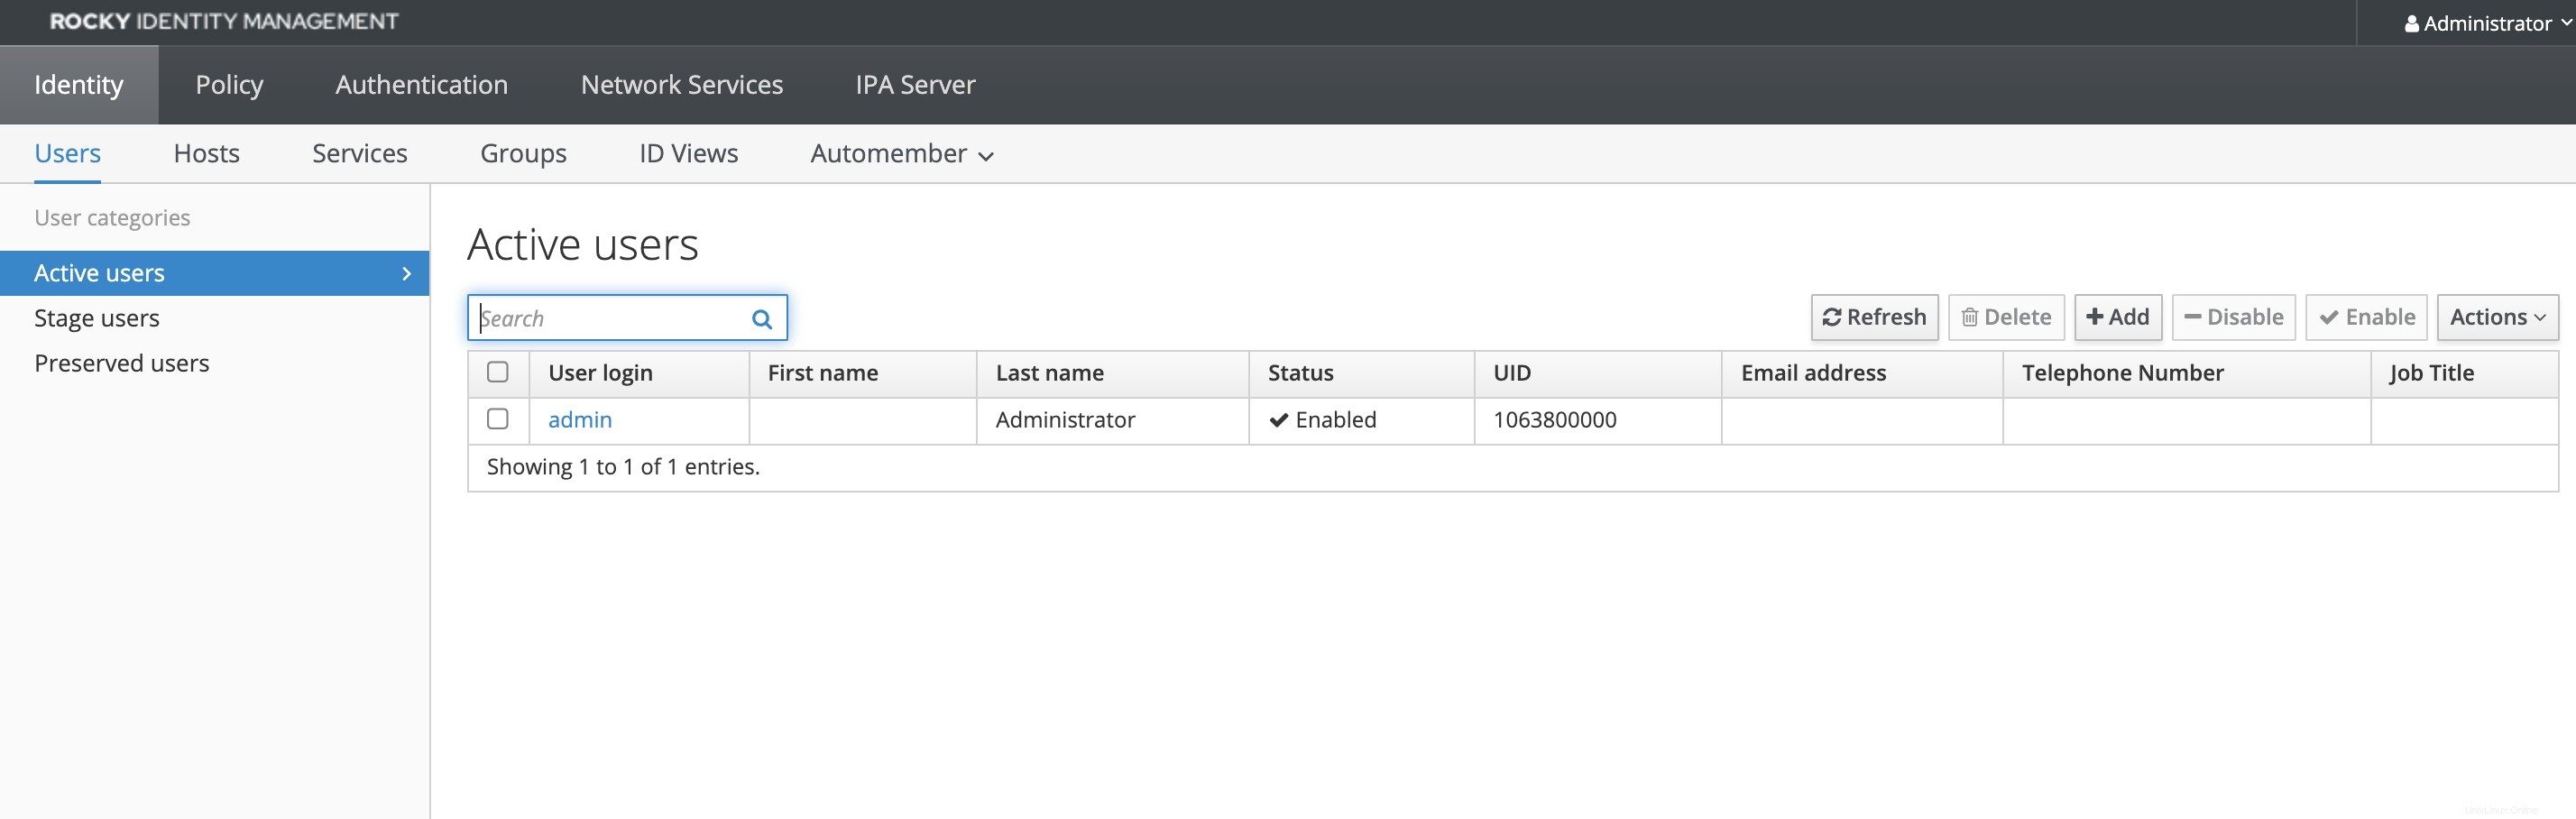
Dopo aver effettuato l'accesso, ti viene presentata l'interfaccia di Identity Dashboard
6. Utilizzo dell'interfaccia CLI di FreeIPA per eseguire operazioni di base
Il ipa il comando può essere utilizzato per eseguire tutte le operazioni del server FreeIPA.
Ma prima, ottieni il ticket Kerberos dell'utente amministratore:
$ sudo kinit admin
Password for [email protected]:
Controlla le informazioni sulla scadenza del biglietto utilizzando klist.
$ sudo klist
Ticket cache: KCM:0
Default principal: [email protected]

Valid starting       Expires              Service principal
11/09/2021 09:03:25 11/10/2021 09:03:19 krbtgt/[email protected]- Imposta la shell predefinita dell'utente su
/bin/bash.
$ sudo ipa config-mod --defaultshell=/bin/bash
  Maximum username length: 32
  Maximum hostname length: 64
  Home directory base: /home
  Default shell: /bin/bash
  Default users group: ipausers
  Default e-mail domain: ipa.citizix.com
  Search time limit: 2
  Search size limit: 100
  User search fields: uid,givenname,sn,telephonenumber,ou,title
  Group search fields: cn,description
  Enable migration mode: FALSE
  Certificate Subject base: O=IPA.CITIZIX.COM
  Password Expiration Notification (days): 4
  Password plugin features: AllowNThash, KDC:Disable Last Success
  SELinux user map order: guest_u:s0$xguest_u:s0$user_u:s0$staff_u:s0-s0:c0.c1023$sysadm_u:s0-s0:c0.c1023$unconfined_u:s0-s0:c0.c1023
  Default SELinux user: unconfined_u:s0-s0:c0.c1023
  Default PAC types: MS-PAC, nfs:NONE
  IPA masters: ipa.citizix.com
  IPA master capable of PKINIT: ipa.citizix.com
  IPA CA servers: ipa.citizix.com
  IPA CA renewal master: ipa.citizix.com
2. Aggiungi un utente a FreeIPA
$ sudo ipa user-add etowett --first=Eutychus --last=Towett \
> [email protected] --password

Password:
Enter Password again to verify:
--------------------
Added user "etowett"
--------------------
  User login: etowett
  First name: Eutychus
  Last name: Towett
  Full name: Eutychus Towett
  Display name: Eutychus Towett
  Initials: ET
  Home directory: /home/etowett
  GECOS: Eutychus Towett
  Login shell: /bin/bash
  Principal name: [email protected]
  Principal alias: [email protected]
  User password expiration: 20211109060518Z
  Email address: [email protected]
  UID: 1063800001
  GID: 1063800001
  Password: True
  Member of groups: ipausers
  Kerberos keys available: True
3. Elenca gli account utente in FreeIPA
$ sudo ipa user-find
---------------
2 users matched
---------------
  User login: admin
  Last name: Administrator
  Home directory: /home/admin
  Login shell: /bin/bash
  Principal alias: [email protected], [email protected]
  UID: 1063800000
  GID: 1063800000
  Account disabled: False

  User login: etowett
  First name: Eutychus
  Last name: Towett
  Home directory: /home/etowett
  Login shell: /bin/bash
  Principal name: [email protected]
  Principal alias: [email protected]
  Email address: [email protected]
  UID: 1063800001
  GID: 1063800001
  Account disabled: False
----------------------------
Number of entries returned 2
----------------------------
4. Accedi come l'etowett di creazione utente. Al tuo primo accesso, ti verrà chiesto di cambiare la tua password:
$ ssh [email protected]
Password:

Password expired. Change your password now.
Current Password:
New password:
Retype new password:

$ id
uid=1063800001(etowett) gid=1063800001(etowett) groups=1063800001(etowett) context=unconfined_u:unconfined_r:unconfined_t:s0-s0:c0.c1023
Conclusione
In questa guida, siamo riusciti a configurare FreeIPA nel nostro sistema Rocky Linux. Puoi giocare con l'interfaccia per comprendere il posizionamento delle varie funzioni di gestione di FreeIPA.