Introduzione
Panel Plesk è un software di automazione per data center di server e web hosting commerciale. In questo articolo imparerai come installare Plesk Obsidian su CentOS / RHEL 8.
È un pannello di controllo centralizzato.
Puoi creare e gestire più siti da un'unica dashboard. Puoi anche eseguire aggiornamenti, monitorare le prestazioni e inserire nuovi potenziali clienti dallo stesso posto.
Plesk, con l'ultima versione Obsidian 18.x, è disponibile nelle seguenti configurazioni di licenza:
- Edizione Plesk Web Admin: Fino a 10 domini. Per la gestione di base di siti Web semplici, senza gli strumenti e le funzionalità estesi.
- Edizione Plesk Web Pro: Per gestire fino a 30 domini. Include anche Plesk WordPress Toolkit con funzionalità complete.
- Edizione Plesk Web Host: Domini illimitati. L'amministratore può anche creare account rivenditore aggiuntivi.
Il prezzo della licenza distingue anche se una licenza può essere utilizzata per un server dedicato o un server virtualizzato. Le licenze per i server dedicati sono generalmente leggermente più costose.
Plesk vende direttamente tutte e tre le licenze a un prezzo mensile o annuale. Tutte e tre le edizioni possono essere ottenute anche dai rivenditori di licenza ufficiali. I prezzi dettagliati di Plesk sono disponibili sul loro sito Web ufficiale.
Aggiorna i pacchetti di server Linux
Aggiorna il tuo sistema operativo Linux eseguendo il comando seguente.
# dnf update -yInstalla Plesk Panel su CentOS 8
Qui stiamo installando Plesk Panel (Obsidian) utilizzando la Console di installazione.
Scarica il programma di installazione di Plesk Obsidian con il comando wget
[root@unixcop ~]#  wget https://autoinstall.plesk.com/plesk-installer
--2021-08-24 07:51:56--  https://autoinstall.plesk.com/plesk-installer
Resolving autoinstall.plesk.com (autoinstall.plesk.com)... 185.93.2.19, 185.93.2.27, 185.93.2.6, ...
Connecting to autoinstall.plesk.com (autoinstall.plesk.com)|185.93.2.19|:443... connected.
HTTP request sent, awaiting response... 200 OK
Length: 15740 (15K) [application/octet-stream]
Saving to: 'plesk-installer'

plesk-installer                       100%[=======================================================================>]  15.37K  --.-KB/s    in 0s

2021-08-24 07:51:57 (282 MB/s) - 'plesk-installer' saved [15740/15740]

[root@unixcop ~]#
Rendi eseguibile il file scaricato.
# chmod +x plesk-installerInstalla e configura Parallels Plesk Panel e i componenti software dipendenti con il seguente script di download.
[root@unixcop ~]# ./plesk-installer

The Plesk Installation and Upgrade Wizard will guide you through
the installation or upgrade process.
===============================================================================

------ IMPORTANT ------

* New installation of product(s) should be performed on clean servers only.

* Before upgrading Plesk, be sure to back up your data.

* By using this Wizard you agree to the terms and conditions described at
  http://www.plesk.com/legal/terms/ and those of the Plesk End User
  License Agreement.

Available actions:
(F) Go forward
(Q) Cancel installation

Select an action [F/q]: F
Checking for installed packages...
Downloading file products.inf3: 100% was finished.
Downloading file pool/PSA_18.0.37_6686/release.inf3: 100% was finished.
Downloading file pool/PSA_18.0.36_6324/release.inf3: 100% was finished.
Downloading file pool/PSA_18.0.35_6216/release.inf3: 100% was finished.
Downloading file pool/PSA_18.0.34_5691/release.inf3: 100% was finished.
Downloading file pool/PSA_18.0.33_5467/release.inf3: 100% was finished.
Downloading file pool/PSA_18.0.32_4963/release.inf3: 100% was finished.
Downloading file pool/PSA_18.0.31_4832/release.inf3: 100% was finished.
Downloading file plesk.inf3: 100% was finished.
Downloading file ppsmbe.inf3: 100% was finished.
Downloading file sitebuilder.inf3: 100% was finished.
Downloading file sso.inf3: 100% was finished.
Downloading file PHP80_17/release.inf3: 100% was finished.
Downloading file php80.inf3: 100% was finished.
Downloading file php72.inf3: 100% was finished.
Downloading file PHP74_17/release.inf3: 100% was finished.
Downloading file php74.inf3: 100% was finished.
Downloading file PHP73_17/release.inf3: 100% was finished.
Downloading file php73.inf3: 100% was finished.
Downloading file php71.inf3: 100% was finished.
Downloading file setemplates.inf3: 100% was finished.
Downloading file pp-sitebuilder.inf3: 100% was finished.
Downloading file billing.inf3: 100% was finished.
Downloading file mysql.inf3: 100% was finished.
Downloading file apache.inf3: 100% was finished.
Downloading file nginx.inf3: 100% was finished.
Downloading file php70.inf3: 100% was finished.
Downloading file php56.inf3: 100% was finished.
Downloading file php55.inf3: 100% was finished.
Downloading file php54.inf3: 100% was finished.
Downloading file php53.inf3: 100% was finished.
Downloading file php52.inf3: 100% was finished.
Downloading file pmm.inf3: 100% was finished.
Downloading file pool/PSA_18.0.37_6686/plesk-18.0.37-cos8-x86_64.inf3: 100% was finished.
Downloading Extensions Catalog feed...
Downloading file https://ext.plesk.com/api/v4/packages?platform=unix&version=18.0.37&ai-compatible: 0%
Downloading file pool/PHP_7.1.33_96/php71-cos8-x86_64.inf3: 100% was finished.
Downloading file pool/PHP_7.2.34_150/php72-cos8-x86_64.inf3: 100% was finished.
Downloading file PHP73_17/php73-cos8-x86_64.inf3: 100% was finished.
Downloading file PHP74_17/php74-cos8-x86_64.inf3: 100% was finished.
Downloading file PHP80_17/php80-cos8-x86_64.inf3: 100% was finished.
Downloading file SITEBUILDER_18.0.29/sitebuilder-18.0.29-rhall-all.inf3: 100% was finished.
gpg-pubkey-8483c65d-5ccc5b19 gpg(CentOS (CentOS Official Signing Key) <security@centos.org>)
gpg-pubkey-914bdf7e-55c05220 gpg(Plesk Team <info@plesk.com>)
Lo script di installazione mostra il collegamento alla licenza Plesk Obsidian. Premi F chiave per andare avanti.
Select the installation type for Plesk Obsidian
===============================================================================

Installation types for the product:

 1. (*) Recommended
       Install typically used components. Recommended for general use.

 2. ( ) Full
       Install all available components.

 3. ( ) Custom
       Custom components selection. Recommended only for experienced users.


Available actions:
(F) Go forward
(B) Go back
(Q) Cancel installation

Select an action or a number [F/b/q/1-3]: F
gpg-pubkey-8483c65d-5ccc5b19 gpg(CentOS (CentOS Official Signing Key) <security@centos.org>)
gpg-pubkey-914bdf7e-55c05220 gpg(Plesk Team <info@plesk.com>)
Retrieving information about the installed license key...
Launching component and product checkers...
Downloading file pool/PSA_18.0.37_6686/examiners/repository_check.sh: 100% was finished.
Downloading file pool/PSA_18.0.37_6686/examiners/disk_space_check.sh: 100% was finished.
Downloading file pool/PSA_18.0.37_6686/examiners/sh_cmd.sh: 100% was finished.
Start downloading 1 files of unknown size and 0 delta RPMs
Downloading CentOS Linux 8 - PowerTools 2105086/2451404 [total 2105086/unknown B 0/1 files]
Download CentOS Linux 8 - PowerTools   2451404B 0:00:18 [total 0/unknown B 1/1 files]
Start downloading 1 files of unknown size and 0 delta RPMs
Downloading PLESK_18_0_37 dist 0/0 [total 0/unknown B 0/1 files]
Download PLESK_18_0_37 dist   3091B 0:00:30 [total 0/unknown B 1/1 files]
Start downloading 1 files of unknown size and 0 delta RPMs
Seleziona il tipo di installazione. L'impostazione predefinita Consiglia l'opzione è buona per te, premi "F" per continuare.
Preparing Your System for Product Installation
===============================================================================

There are 368 packages required for the product to function properly which
were not found in your system.

There are 0 packages that need to be upgraded
in order to install the product.


Available actions:
(F) Go forward
(B) Go back
(Q) Cancel installation
(S) Show the list of packages

Select an action [F/b/q/s]: F
Installing packages
Last metadata expiration check: 0:00:07 ago on Tue Aug 24 08:28:47 2021.
Start downloading 71 files of 61853988 size and 0 delta RPMs
Download libjpeg-turbo-1.5.3-10.el8.x86_64.rpm   159432B [total 415324/61853988B 1/71 files]
Download psmisc-23.1-5.el8.x86_64.rpm   154364B [total 437255/61853988B 2/71 files]
Download perl-libnet-3.11-3.el8.noarch.rpm   123784B [total 693470/61853988B 3/71 files]
Download libpq-13.3-1.el8_4.x86_64.rpm   201952B [total 1200486/61853988B 4/71 files]
Download plesk-libboost-1.65-1.65.1-1centos.8.191004.1513.x86_64.rpm   7934B [total 1398572/61853988B 5/71 files]
Download plesk-libboost-date-time1.65-1.65.1-1centos.8.191004.1513.x86_64.rpm   28928B [total 1614916/61853988B 6/71 files]
Download plesk-libboost-filesystem1.65-1.65.1-1centos.8.191004.1513.x86_64.rpm   59098B [total 1884686/61853988B 7/71 files]
Download sqlite-3.26.0-13.el8.x86_64.rpm   683476B 0:00:05 [total 1948721/61853988B 8/71 files]
Quindi premi F per andare avanti come mostrato sopra.
Components and product check results:
Installation is finished

  	                           Congratulations!

  	The installation has been finished. Plesk is now running on your server.

  	To complete the configuration process, browse either of URLs:
  	  * https://recursing-mendel.156-217-118-33.plesk.page/login?secret=EuF_wUNNPilzfym-fP-Gs-Hl9eceHNG3sPbTkLUMFWrGlAnG
  	  * https://192.168.13.131/login?secret=EuF_wUNNPilzfym-fP-Gs-Hl9eceHNG3sPbTkLUMFWrGlAnG

  	Use the username 'admin' to log in. To log in as 'admin', use the 'plesk login' command.
  	You can also log in as 'root' using your 'root' password.

  	Use the 'plesk' command to manage the server. Run 'plesk help' for more info.

  	Use the following commands to start and stop the Plesk web interface:
  	'service psa start' and 'service psa stop' respectively.

  	If you would like to migrate your subscriptions from other hosting panel
  	or older Plesk version to this server, please check out our assistance
  	options: https://www.plesk.com/professional-services/


The changes were applied successfully.


[root@unixcop ~]#
Quindi Plesk Panel è stato installato correttamente
Nota
L'URL sopra al termine dell'installazione verrà utilizzato per accedere a Plesk Obsidian per la prima volta.
Nota
il PSA service potrebbe esprimere un problema all'avvio, quindi è necessario controllare l'unità di servizio systemd per PSA.
Avvialo anche con il comando seguente, quindi controlla se è in esecuzione o meno con lo stato systemctl comando.
[root@unixcop ~]# systemctl start psa.service
[root@unixcop ~]# systemctl status psa.service
● psa.service - Plesk Panel
   Loaded: loaded (/usr/lib/systemd/system/psa.service; enabled; vendor preset: disabled)
   Active: active (exited) since Tue 2021-08-24 09:00:58 EDT; 44min ago
 Main PID: 33013 (code=exited, status=0/SUCCESS)
    Tasks: 0 (limit: 6242)
   Memory: 0B
   CGroup: /system.slice/psa.service

Aug 24 09:00:58 recursing-mendel.156-217-118-33.plesk.page systemd[1]: Starting Plesk Panel...
Aug 24 09:00:58 recursing-mendel.156-217-118-33.plesk.page systemd[1]: Started Plesk Panel.
[root@unixcop ~]#
Per me non ci sono problemi.
Se lo stato del servizio PSA è morto o inattivo quindi modifica l'unità di sistema PSA con l'editor.
# vim /etc/systemd/system/multi-user.target.wants/psa.servicee cambia tipo da one-shot a semplice come mostrato di seguito.
[Unit]
Description=Plesk Panel
Wants=sw-cp-server.service sw-engine.service
Wants=mariadb.service mysql.service
After=network.target mariadb.service mysql.service

[Service]
Type=simple
RemainAfterExit=yes
ExecStart=/bin/true

[Install]
WantedBy=multi-user.target
Quindi ricarica il demone per avviare il servizio PSA ora con i comandi seguenti:
# systemctl daemon-reload
# systemctl start psa.service
Ricontrolla anche lo stato del servizio PSA. Scoprirai che il servizio PSA è stato avviato correttamente.
Configura Firewall Linux
Plesk Panel funziona sulla porta HTTP. per questo motivo è necessario abilitarlo nel firewall di Linux con i seguenti comandi:
[root@unixcop ~]# firewall-cmd --permanent --add-service=http
success
[root@unixcop ~]# firewall-cmd --reload
success
[root@unixcop ~]#
Accedi a Plesk Panel
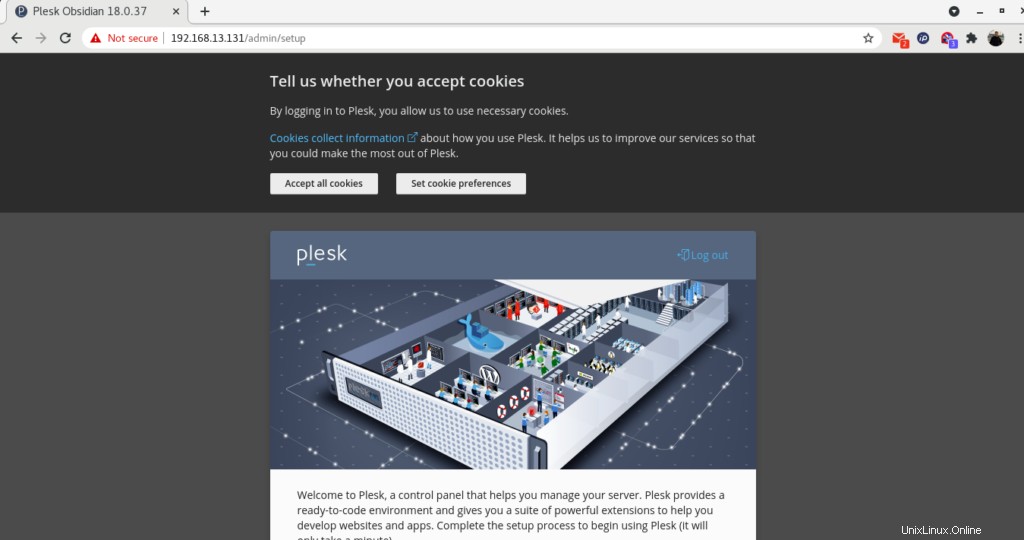
Usa l'URL fornito dal programma di installazione di Plesk che abbiamo menzionato sopra e Nota per accedere all'interfaccia web di Obsidian.
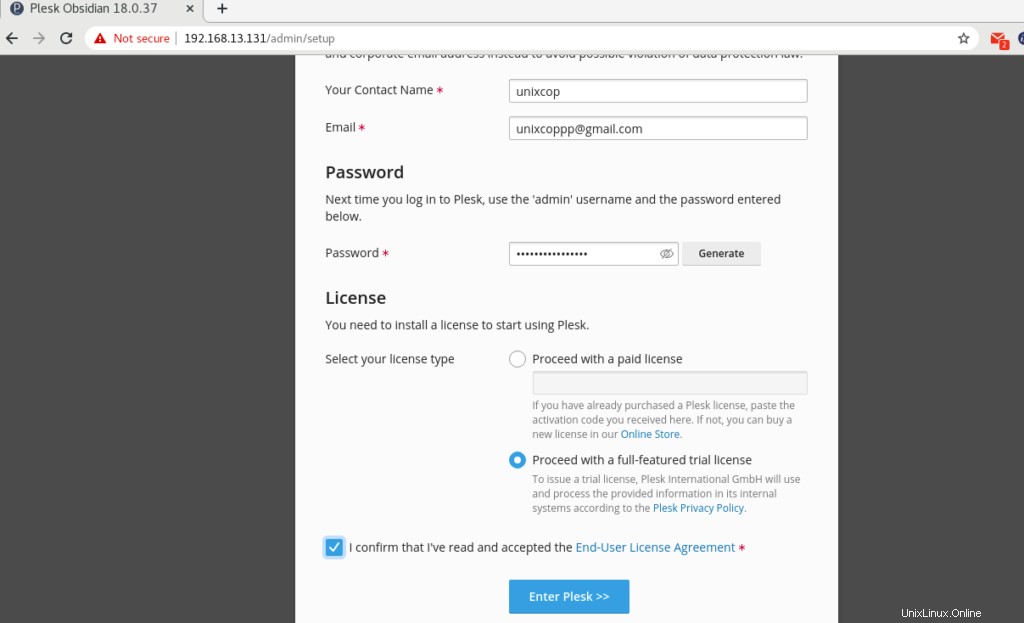
Quindi fornisci le informazioni di contatto, imposta la password per l'utente amministratore e seleziona il tipo di licenza. (opzione:Procedi con una licenza di prova completa) come mostrato di seguito.
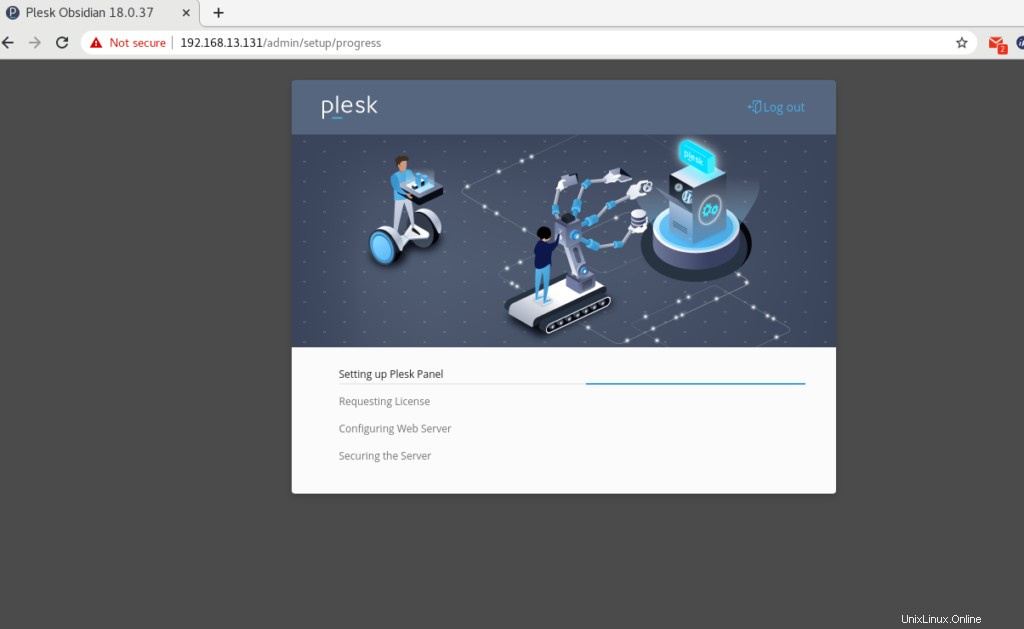
Plesk sta configurando Plesk Panel per te.
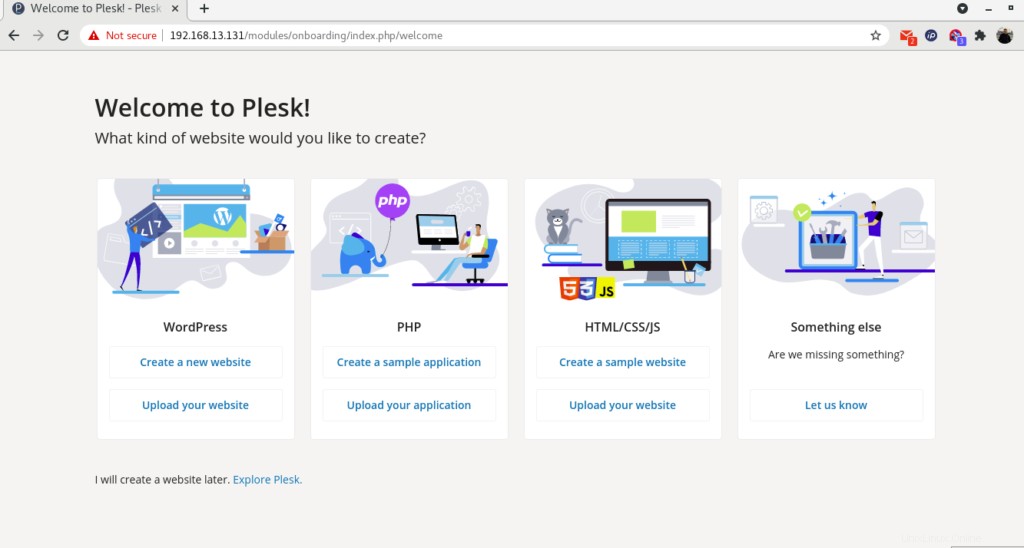
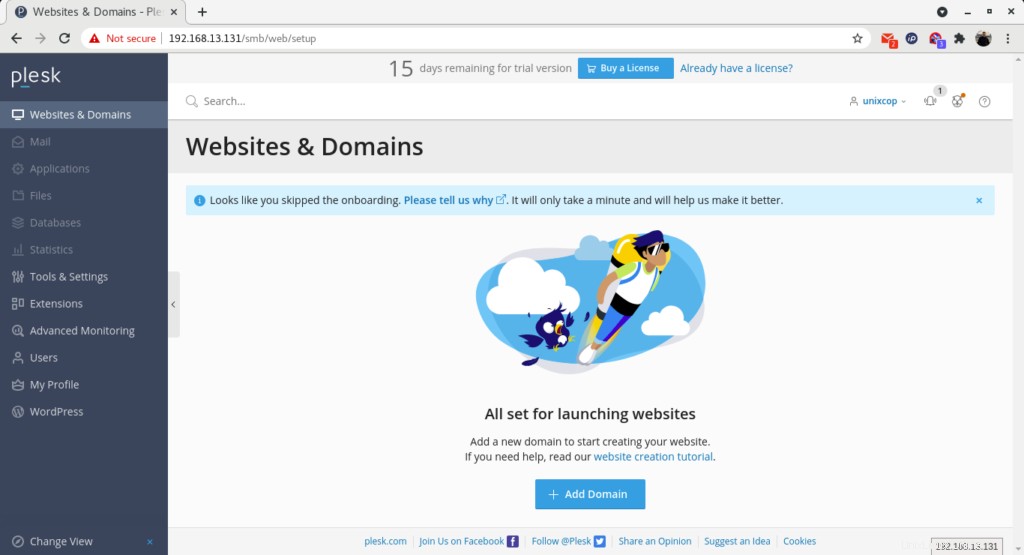
Una volta completata la configurazione, Plesk ti reindirizzerà alla pagina di introduzione come mostrato sopra.
Fare clic su "Esplora Plesk ” per passare alla dashboard di Plesk.
Versione Plesk
Puoi controllare la versione di plesk con il comando
[root@unixcop ~]# plesk -v
Product version: Plesk Obsidian 18.0.37.2
     OS version: CentOS 8.4.2105 x86_64
     Build date: 2021/08/09 18:00
       Revision: 1dff6684b76d24eb5432e13e6870e5795482e0a1
[root@unixcop ~]#
Conclusione
Quindi hai installato con successo Parallel Plesk Panel (Obsidian) su CentOS / RHEL 8.
Per ulteriori informazioni su Plesk, puoi visitare il suo sito Web ufficiale qui.