Introduzione
JIRA è uno strumento di gestione dei progetti sviluppato da Atlassian. Viene anche utilizzato per il monitoraggio dei problemi e dei bug relativi allo sviluppo del software e ad altri progetti. Questa guida ti guiderà attraverso l'installazione di Jira su CentOS 8 / RHEL 8 Linux.
Installa Java
Jira richiede Java installato nella tua macchina CentOS 8 / RHEL 8 per funzionare. quindi esegui questo comando per installare java-openjdk.
[root@unixcop ~]# yum install java-11-openjdk.x86_64Conferma l'installazione con la versione Java:
[root@unixcop ~]# java -version
openjdk version "11.0.12" 2021-07-20 LTS
OpenJDK Runtime Environment 18.9 (build 11.0.12+7-LTS)
OpenJDK 64-Bit Server VM 18.9 (build 11.0.12+7-LTS, mixed mode, sharing)
[root@unixcop ~]#
Jira non funziona con il server di database MySQL 8, quindi installa MySQL 5.7 .
Una volta installato il server di database, avvialo e accedi come utente root e crea database e utente per Jira:
[root@unixcop ~]# mysql -u root -p
Enter password:
Welcome to the MySQL monitor.  Commands end with ; or \g.
Your MySQL connection id is 8
Server version: 8.0.21 Source distribution

Copyright (c) 2000, 2020, Oracle and/or its affiliates. All rights reserved.

Oracle is a registered trademark of Oracle Corporation and/or its
affiliates. Other names may be trademarks of their respective
owners.

Type 'help;' or '\h' for help. Type '\c' to clear the current input statement.

mysql>
mysql> CREATE DATABASE jira CHARACTER SET utf8mb4 COLLATE utf8mb4_bin;
Query OK, 1 row affected (0.01 sec)

mysql> CREATE USER 'jira'@'localhost' IDENTIFIED BY 'strong@UnIxcop(PasswoRD@';
Query OK, 0 rows affected (0.00 sec)

mysql> GRANT ALL ON jira.* TO 'jira'@'localhost';
Query OK, 0 rows affected (0.01 sec)

mysql> FLUSH PRIVILEGES;
Query OK, 0 rows affected (0.00 sec)

mysql> \q
Bye
[root@unixcop ~]#
Scarica e installa JIRA
Abbiamo installato Java e un server di database, l'azione successiva è scaricare il file binario di JIRA. Controlla l'ultima versione nella pagina dei download di Jira.
L'ultima versione di jira in questo momento è 8.18x. ma jira-8.13 è un supporto a lungo termine, quindi lo scaricheremo e lo installeremo.
[root@unixcop ~]# wget https://product-downloads.atlassian.com/software/jira/downloads/atlassian-jira-software-8.8.1-x64.bin -O atlassian-jira-software.bin

--2021-08-23 11:00:13--  https://product-downloads.atlassian.com/software/jira/downloads/atlassian-jira-software-8.8.1-x64.bin
Resolving product-downloads.atlassian.com (product-downloads.atlassian.com)... 52.222.144.160, 2600:9000:20fe:a600:1f:ab86:b4a:17e1, 2600:9000:20fe:4200:1f:ab86:b4a:17e1, ...
Connecting to product-downloads.atlassian.com (product-downloads.atlassian.com)|52.222.144.160|:443... connected.
HTTP request sent, awaiting response... 200 OK
Length: 402401644 (384M) [application/octet-stream]
Saving to: 'atlassian-jira-software.bin'

atlassian-jira-software.bin           100%[=======================================================================>] 383.76M   943KB/s    in 12m 54s

2021-08-23 11:13:07 (263 KB/s) - 'atlassian-jira-software.bin' saved [402401644/402401644]

[root@unixcop ~]#
Concedi il permesso di esecuzione del file
chmod +x atlassian-jira-software.binQuindi avvia il programma di installazione:
Per avviare la configurazione di Jira, premi INVIO:
Quindi premere [1] per utilizzare le impostazioni di installazione rapida:
Digita i tasto o Invio per avviare l'installazione.
Infine Accetta per avviare i servizi Jira.
[root@unixcop ~]# ./atlassian-jira-software.bin
Unpacking JRE ...
Starting Installer ...

This will install Jira Software 8.8.1 on your computer.
OK [o, Enter], Cancel [c]

Click Next to continue, or Cancel to exit Setup.

Choose the appropriate installation or upgrade option.
Please choose one of the following:
Express Install (use default settings) [1], Custom Install (recommended for advanced users) [2, Enter], Upgrade an existing Jira installation [3]
1

Select the folder where you would like Jira Software to be installed.
Where should Jira Software be installed?
[/opt/atlassian/jira]


Default location for Jira Software data
[/var/atlassian/application-data/jira]


Configure which ports Jira Software will use.
Jira requires two TCP ports that are not being used by any other
applications on this machine. The HTTP port is where you will access Jira
through your browser. The Control port is used to startup and shutdown Jira.
Use default ports (HTTP: 8080, Control: 8005) - Recommended [1, Enter], Set custom value for HTTP and Control ports [2]


Jira can be run in the background.
You may choose to run Jira as a service, which means it will start
automatically whenever the computer restarts.
Install Jira as Service?
Yes [y, Enter], No [n]


Details on where Jira Software will be installed and the settings that will be used.
Installation Directory: /opt/atlassian/jira
Home Directory: /var/atlassian/application-data/jira
HTTP Port: 8080
RMI Port: 8005
Install as service: Yes
Install [i, Enter], Exit [e]
i

Extracting files ...


Please wait a few moments while Jira Software is configured.

Installation of Jira Software 8.8.1 is complete
Start Jira Software 8.8.1 now?
Yes [y, Enter], No [n]


Please wait a few moments while Jira Software starts up.
Launching Jira Software ...


Installation of Jira Software 8.8.1 is complete
Your installation of Jira Software 8.8.1 is now ready and can be accessed
via your browser.
Jira Software 8.8.1 can be accessed at http://localhost:8080
Finishing installation ...
[root@unixcop ~]#
Installa il connettore Java MySQL
[root@unixcop ~]# wget https://dev.mysql.com/get/Downloads/Connector-J/mysql-connector-java-8.0.18.zip
--2021-08-23 11:32:23--  https://dev.mysql.com/get/Downloads/Connector-J/mysql-connector-java-8.0.18.zip
Resolving dev.mysql.com (dev.mysql.com)... 137.254.60.11
Connecting to dev.mysql.com (dev.mysql.com)|137.254.60.11|:443... connected.
HTTP request sent, awaiting response... 302 Found
Location: https://cdn.mysql.com//archives/mysql-connector-java-8.0/mysql-connector-java-8.0.18.zip [following]
--2021-08-23 11:32:24--  https://cdn.mysql.com//archives/mysql-connector-java-8.0/mysql-connector-java-8.0.18.zip
Resolving cdn.mysql.com (cdn.mysql.com)... 2.18.1.85
Connecting to cdn.mysql.com (cdn.mysql.com)|2.18.1.85|:443... connected.
HTTP request sent, awaiting response... 200 OK
Length: 4573467 (4.4M) [application/zip]
Saving to: 'mysql-connector-java-8.0.18.zip'

mysql-connector-java-8.0.18.zip       100%[=======================================================================>]   4.36M   333KB/s    in 13s

2021-08-23 11:32:37 (357 KB/s) - 'mysql-connector-java-8.0.18.zip' saved [4573467/4573467]

[root@unixcop ~]#
Quindi riavvia Jira con i seguenti comandi:
Smettila.
# /etc/init.d/jira stopQuindi inizia con:
[root@unixcop ~]# /etc/init.d/jira start

To run Jira in the foreground, start the server with start-jira.sh -fg
executing using dedicated user: jira

                  `sMMMMMMMMMMMMMM+
                     MMMMMMMMMMMMMM
                     :sdMMMMMMMMMMM
                             MMMMMM
          `sMMMMMMMMMMMMMM+  MMMMMM
             MMMMMMMMMMMMMM  +MMMMM
              :sMMMMMMMMMMM   MMMMM
                     MMMMMM    `UOJ
   `sMMMMMMMMMMMMM+  MMMMMM
     MMMMMMMMMMMMMM  +MMMMM
      :sdMMMMMMMMMM   MMMMM
             MMMMMM    `UOJ
             MMMMMM
             +MMMMM
              MMMMM
               `UOJ

      Atlassian Jira
      Version : 8.8.1


If you encounter issues starting or stopping Jira, please see the Troubleshooting guide at https://docs.atlassian.com/jira/jadm-docs-088/Troubleshooting+installation


Server startup logs are located in /opt/atlassian/jira/logs/catalina.out
Using CATALINA_BASE:   /opt/atlassian/jira
Using CATALINA_HOME:   /opt/atlassian/jira
Using CATALINA_TMPDIR: /opt/atlassian/jira/temp
Using JRE_HOME:        /opt/atlassian/jira/jre/
Using CLASSPATH:       /opt/atlassian/jira/bin/bootstrap.jar:/opt/atlassian/jira/bin/tomcat-juli.jar
Using CATALINA_PID:    /opt/atlassian/jira/work/catalina.pid
Tomcat started.
[root@unixcop ~]#
Configurazione di Nginx Proxy per JIRA
Installa Nginx e abilita il servizio.
# yum -y install nginx
# systemctl enable --now nginx
Configura Nginx
Crea un nuovo file di configurazione Nginx per Jira.
# vim /etc/nginx/conf.d/jira.confAggiungi quanto segue:
server {
    listen 80;
    server_name jira.unixcop.com;
    location / {
        proxy_set_header X-Forwarded-Host $host;
        proxy_set_header X-Forwarded-Server $host;
        proxy_set_header X-Forwarded-For $proxy_add_x_forwarded_for;
        proxy_pass http://localhost:8080;
        client_max_body_size 10M;
    }
}
Disabilita Nginx e riavvialo oltre a Jira
# setenforce 0
# systemctl restart jira
# systemctl restart nginx
Consenti anche la porta http nel firewall:
[root@unixcop ~]# firewall-cmd --add-service=http --permanent
success
[root@unixcop ~]# firewall-cmd --reload
success
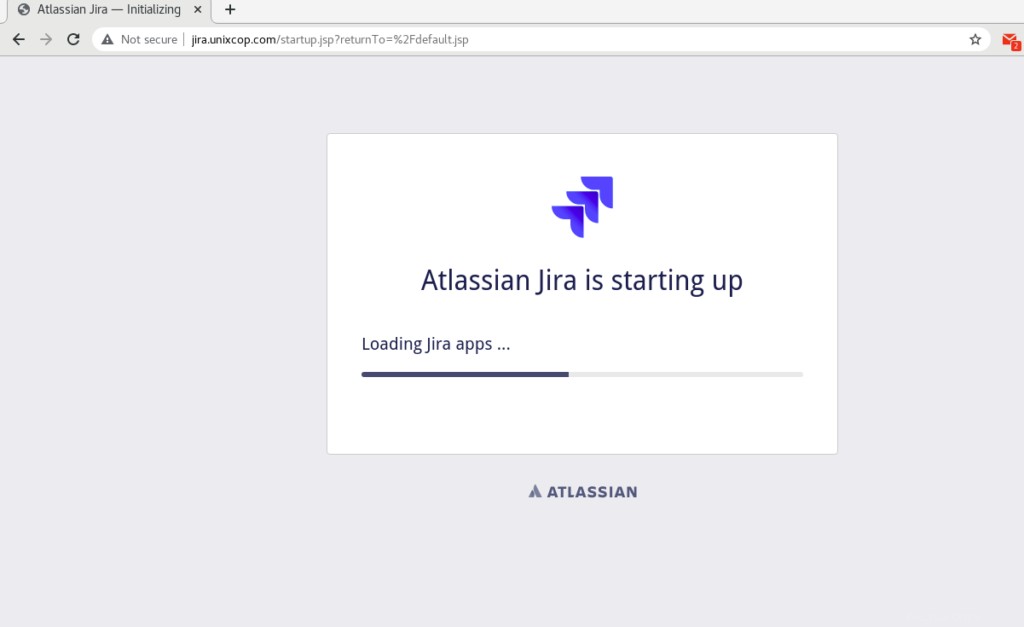
[root@unixcop ~]#Una volta completata l'installazione, vai su jira.unixcop.com nel browser per iniziare il processo di configurazione.
Metodo di installazione di MyAltassian "Configuralo per me":
La selezione predefinita è "Configuralo per me".
Come mostrato di seguito, MyAtlassian eseguirà una rapida configurazione per te.

Quindi fare clic per continuare o MyAtlassian .

Fare clic su Avanti per configurare le proprietà dell'applicazione.
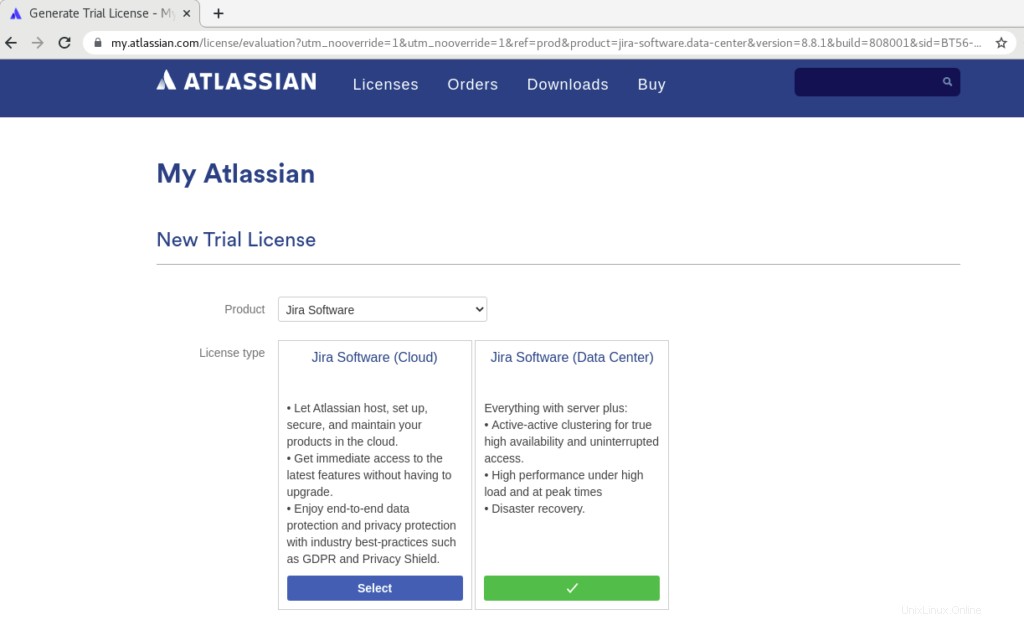
Verrai reindirizzato al sito ufficiale ATLASSIAN per ottenere una nuova licenza di prova come mostrato sopra.
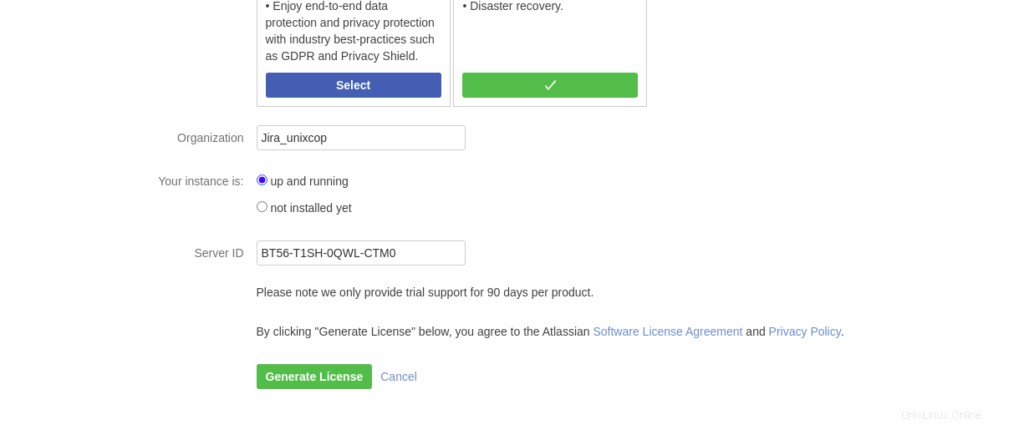
Aggiungi il nome dell'organizzazione e fai clic su Genera licenza .
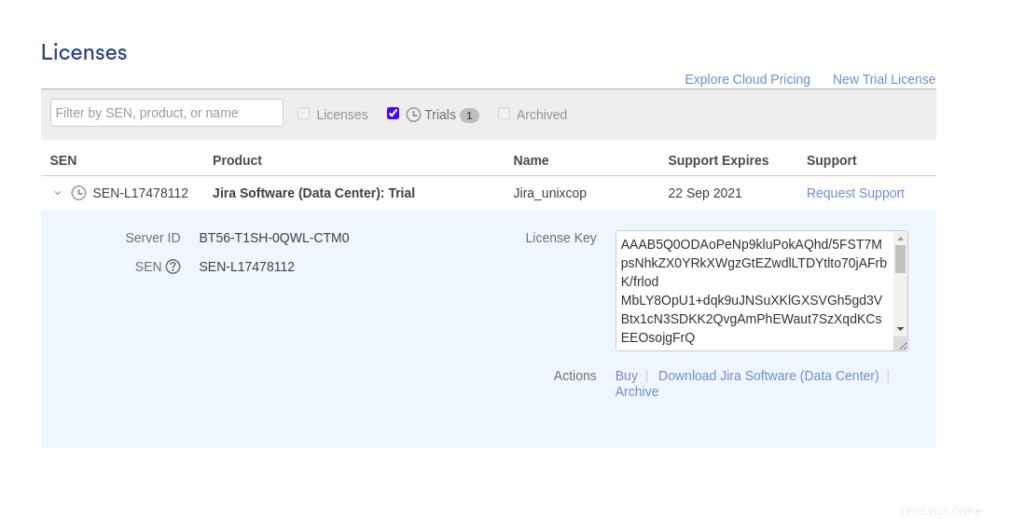
Copia la chiave di licenza, quindi torna indietro per continuare la configurazione.
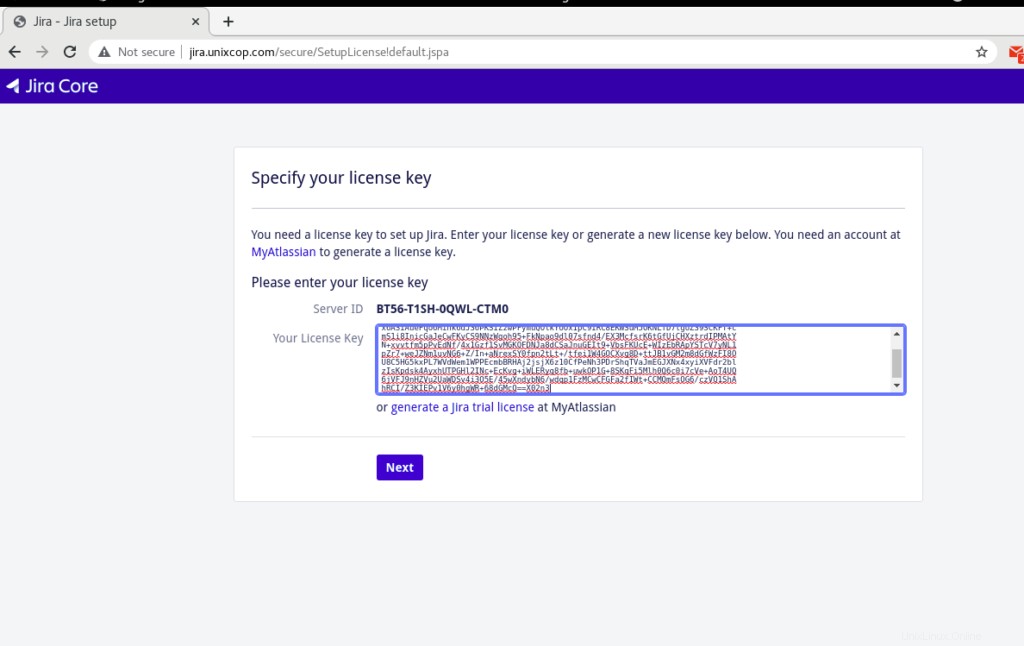
Incolla la chiave di licenza come mostrato sopra, quindi fai clic su Avanti.
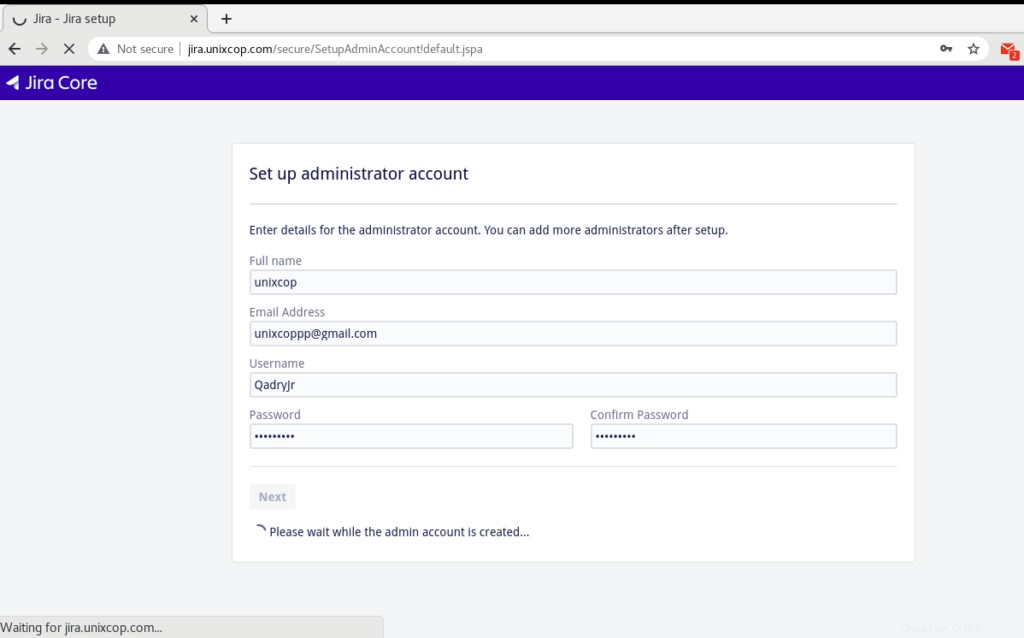
La finale consiste nell'impostare un account amministratore.
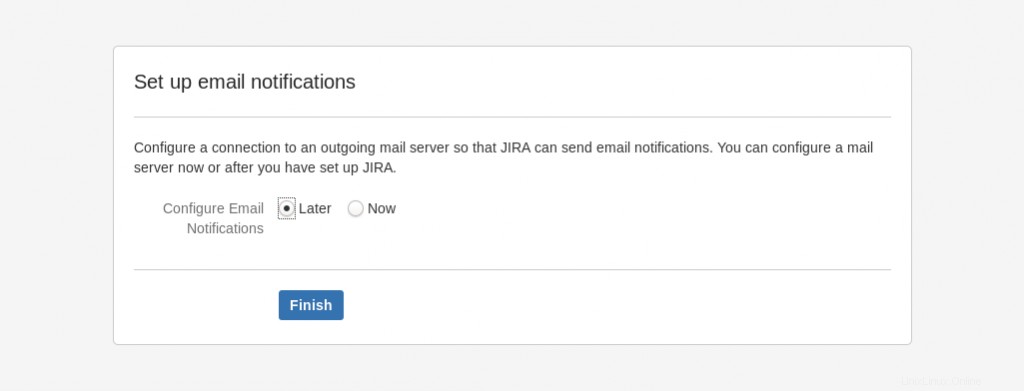
Quindi scegli se impostare o meno la notifica e-mail e fai clic sul pulsante "Fine".
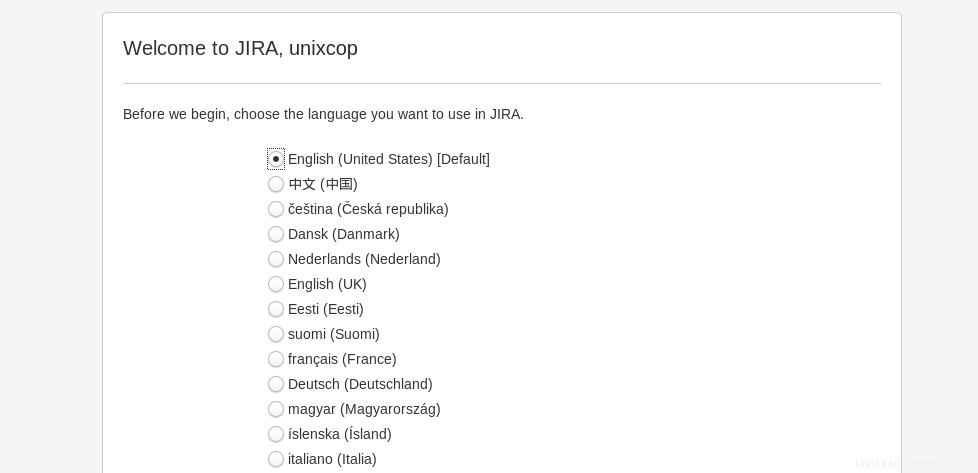
seleziona la tua lingua e fai clic su Avanti come mostrato di seguito.

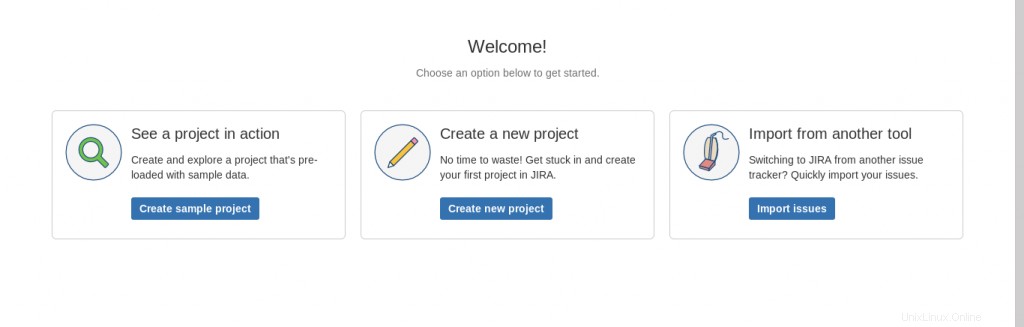
Quindi verrai indirizzato alla dashboard.
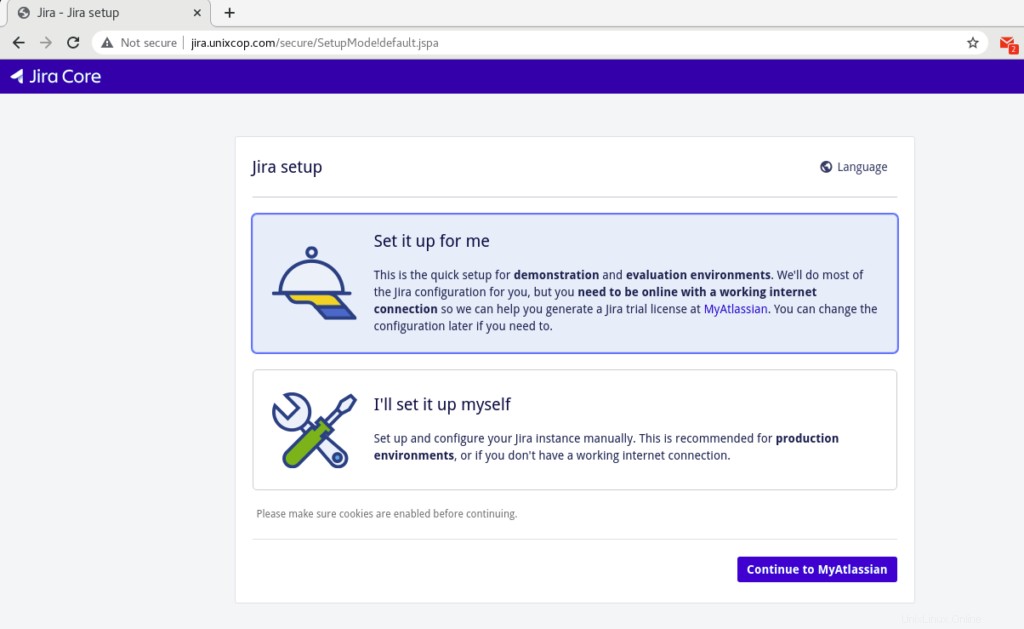
Lo configurerò io stesso Metodo di installazione:
Inoltre puoi selezionare "Lo configurerò io stesso “ nello screenshot qui sotto al primo passaggio dell'installazione.
Fare clic su "Avanti" e fornire le credenziali del database MySQL. Per il tipo, scegli "My Own Database"
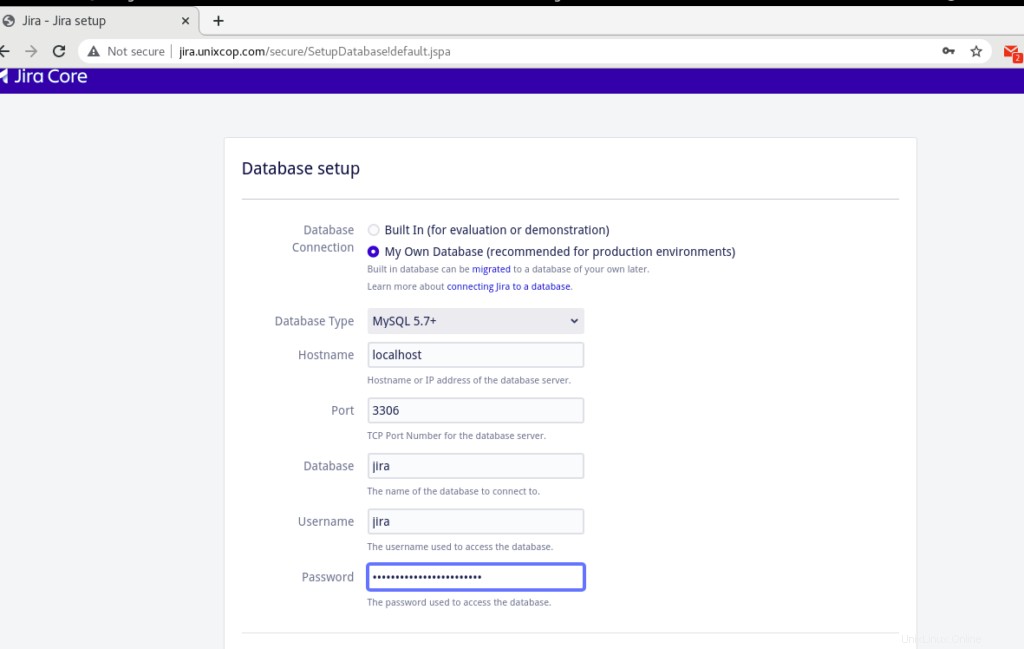
Fai clic su Verifica connessione e dovrebbe essere visualizzato un messaggio di connessione riuscita.
Nelle pagine successive, compila il 'Titolo della domanda ', 'Modalità ', Licenza JIRA, Account amministratore, notifica e-mail. L'ultima pagina ti chiederà di selezionare la lingua predefinita.
Quindi accedi alla dashboard di Jira Admin per creare più utenti.
Conclusione
JIRA può essere un'ottima fonte di informazioni o per conoscere lo stato del progetto in corso. Come l'intero team che ci lavora, e sarebbe d'accordo sui punti menzionati in esso. Continua a fornire promemoria o aggiornarsi con lo stato di esecuzione del progetto. Quindi, se non conosci JIRA e stai lavorando nello sviluppo o nel test di software e non sei a conoscenza di come installare e utilizzare JIRA in modo efficace, speriamo che alla fine di questo tutorial tu sia ora in grado di installare JIRA senza alcun problema. Se riscontri ancora problemi, non esitare a contattarci qui.