Per installare il sistema operativo Ubuntu 19.04 segui i passaggi seguenti:
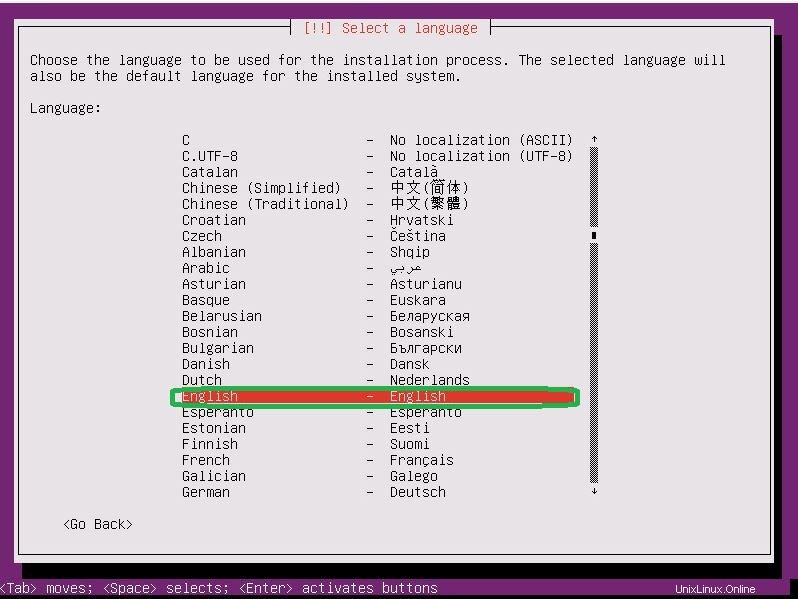
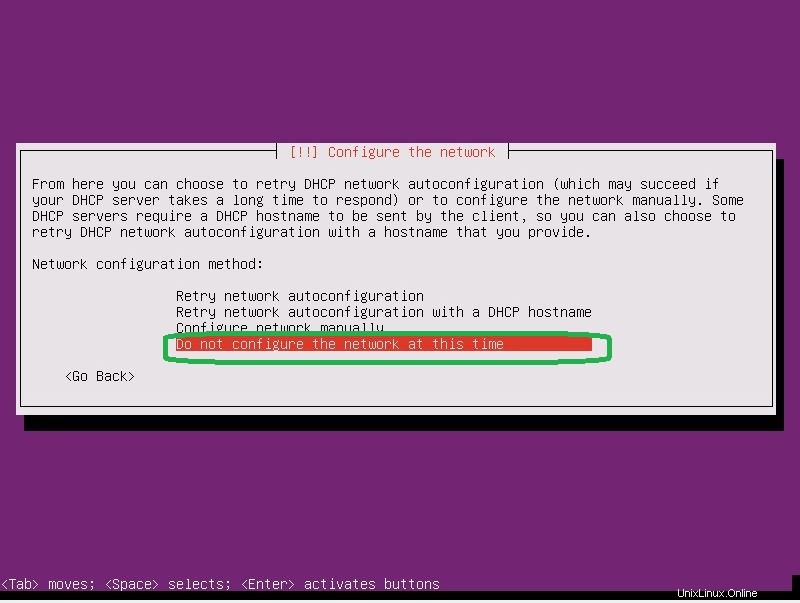
- Inserisci il disco di installazione di Ubuntu 19.04 e riavvia il computer, quindi scegli la lingua:
- Scegli la lingua da utilizzare per il processo di installazione
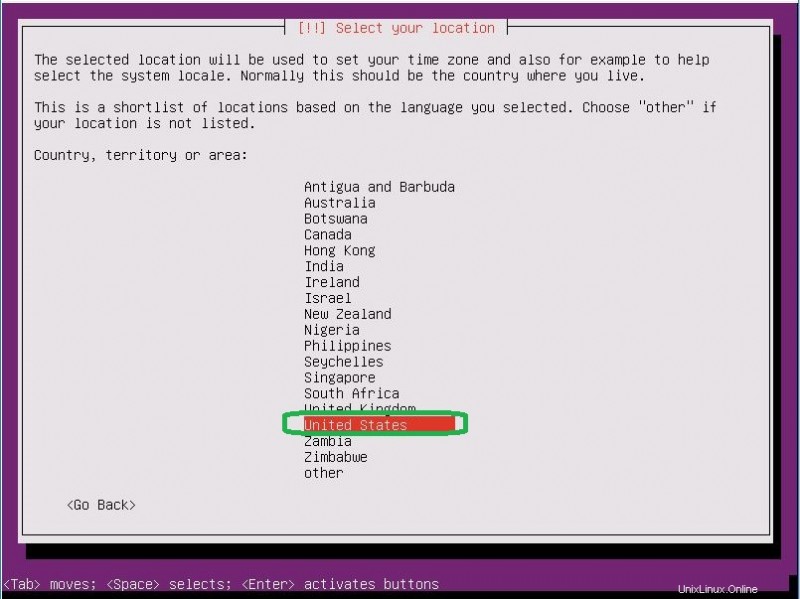
- Seleziona il tuo paese per l'impostazione del fuso orario di sistema
- Configura il layout della tastiera. Seleziona Sì per rilevare automaticamente la tastiera e No per impostarla manualmente.
- Imposta il nome host del tuo server che desideri.
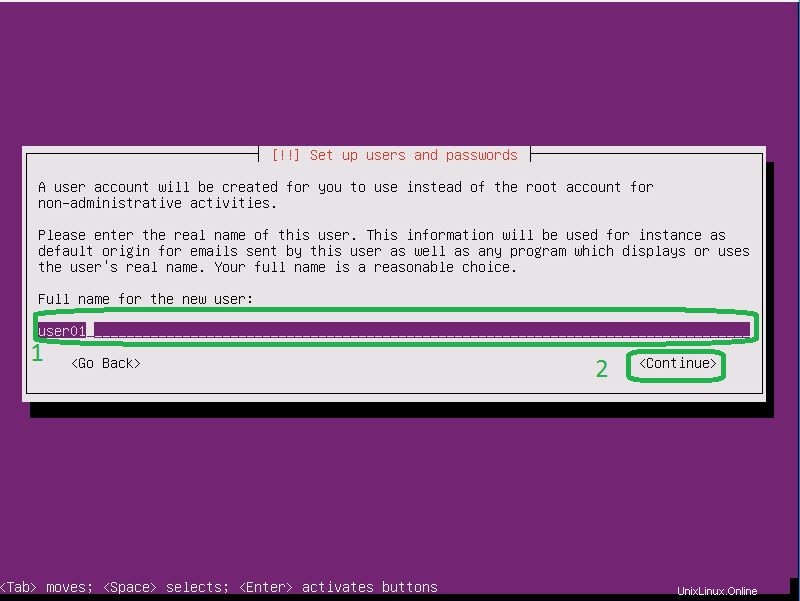
- Specifica un utente. L'utente sarà un utente amministratore per impostazione predefinita e non puoi inserire l'utente root.
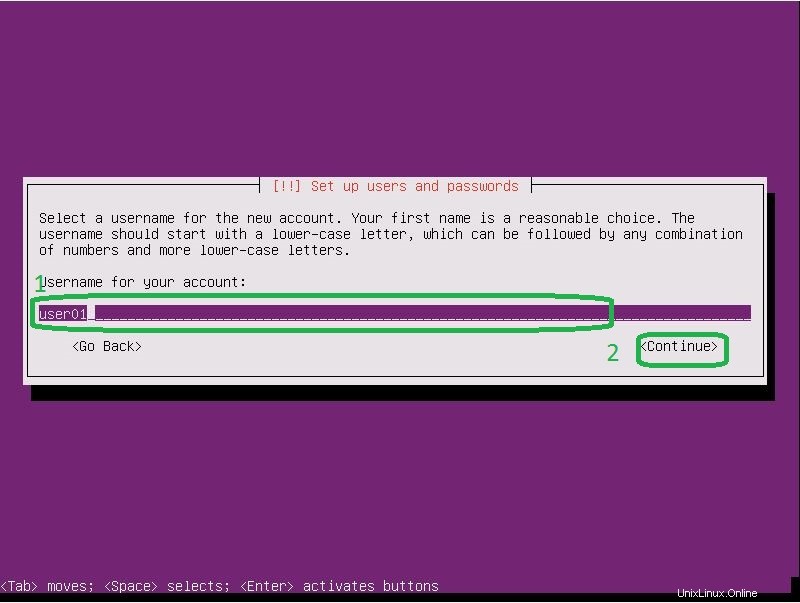
- Inserisci un nome utente che verrà utilizzato sul sistema Ubuntu.
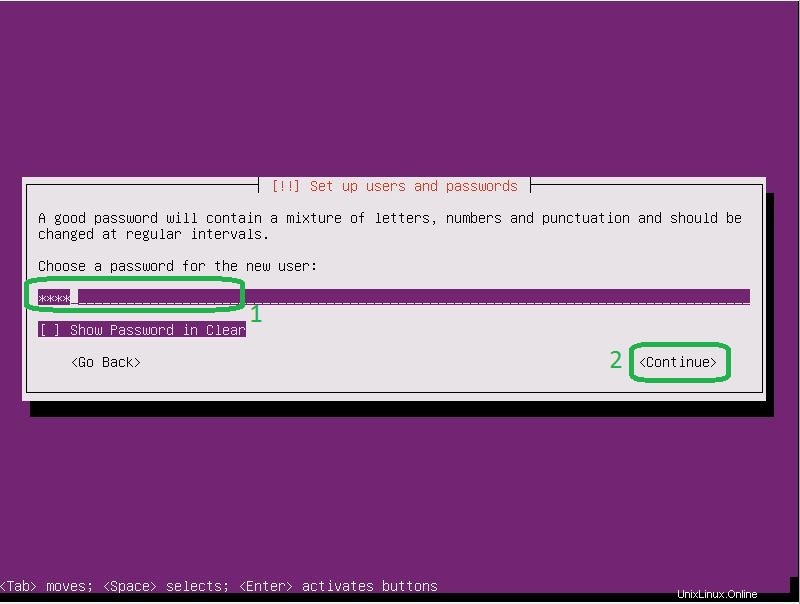
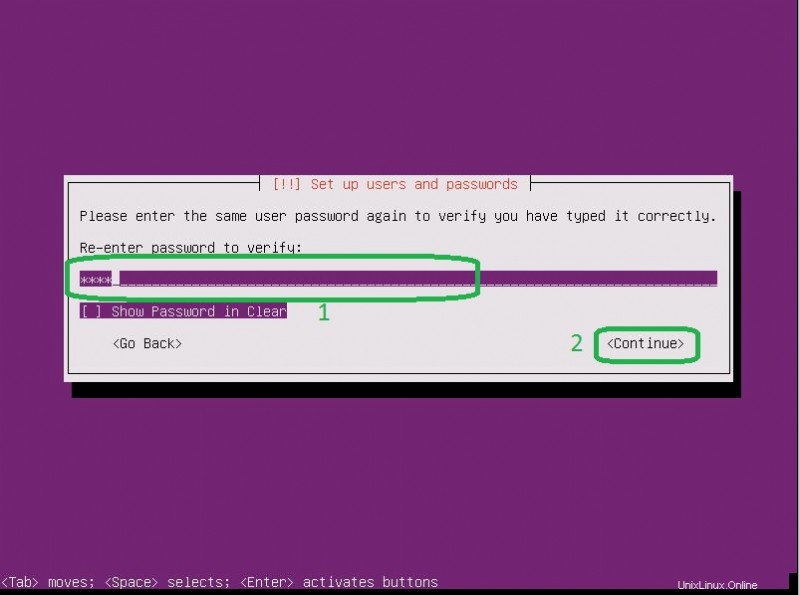
- Imposta la password utente e ripetila.
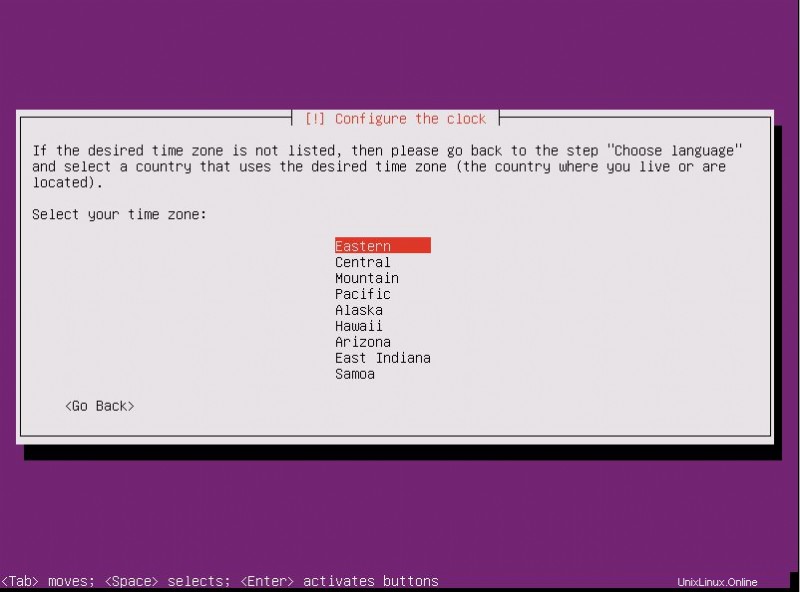
- Seleziona il fuso orario.
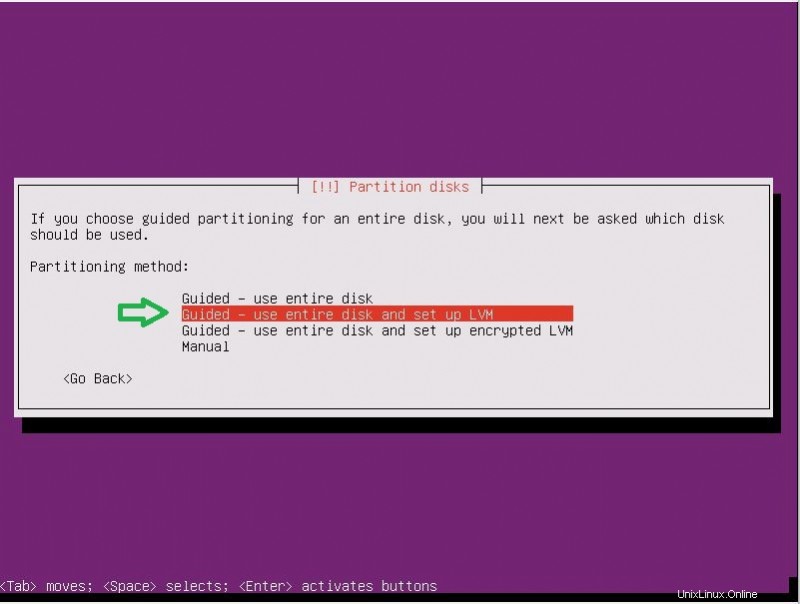
- Qui per la configurazione delle partizioni. Seleziona "Guidato:usa l'intero disco e configura LVM"
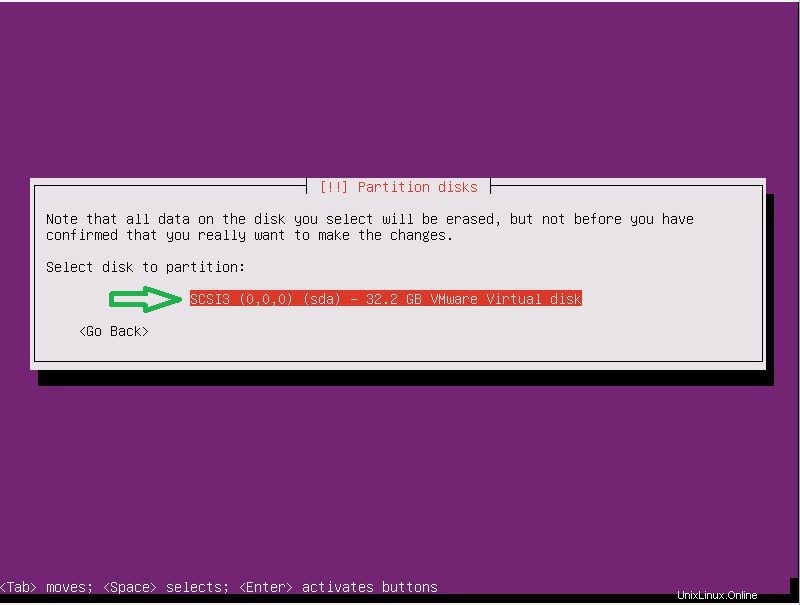
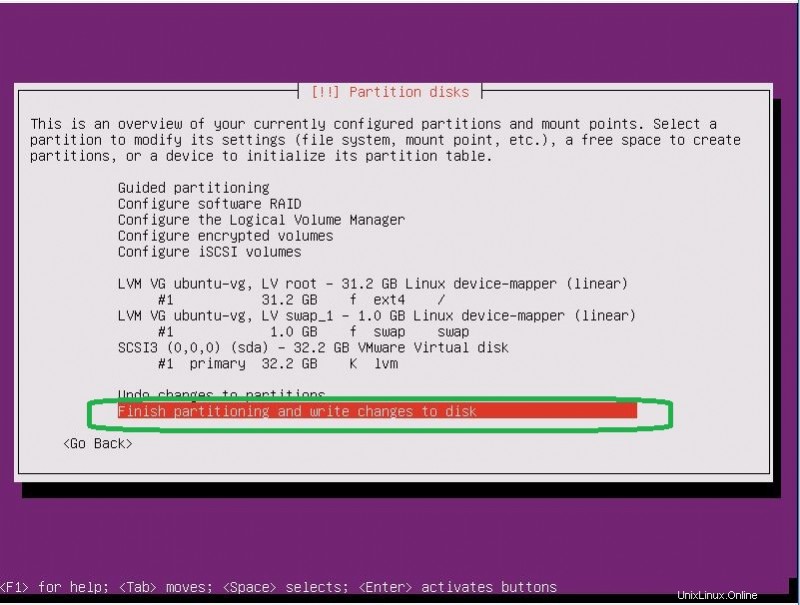
- Seleziona le partizioni del disco.
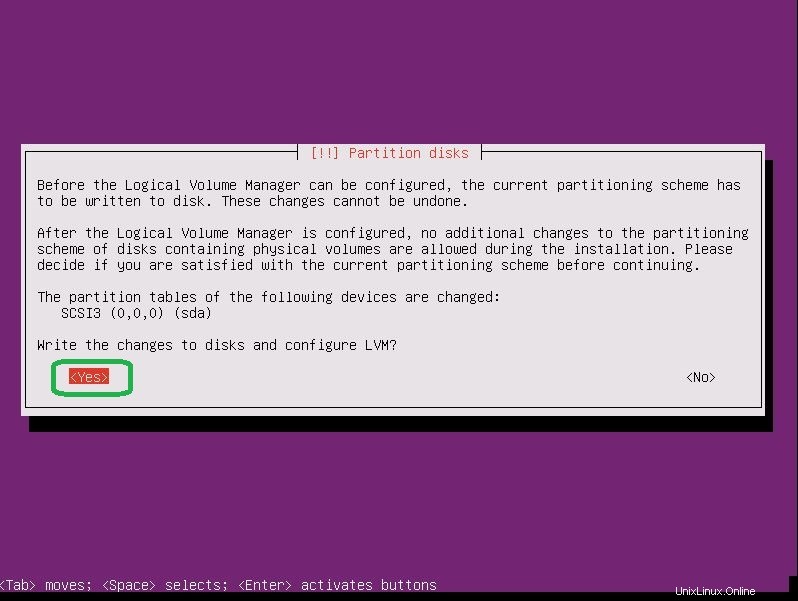
- Scegli la risposta "Sì" per scrivere le modifiche nel disco e configurare LVM.
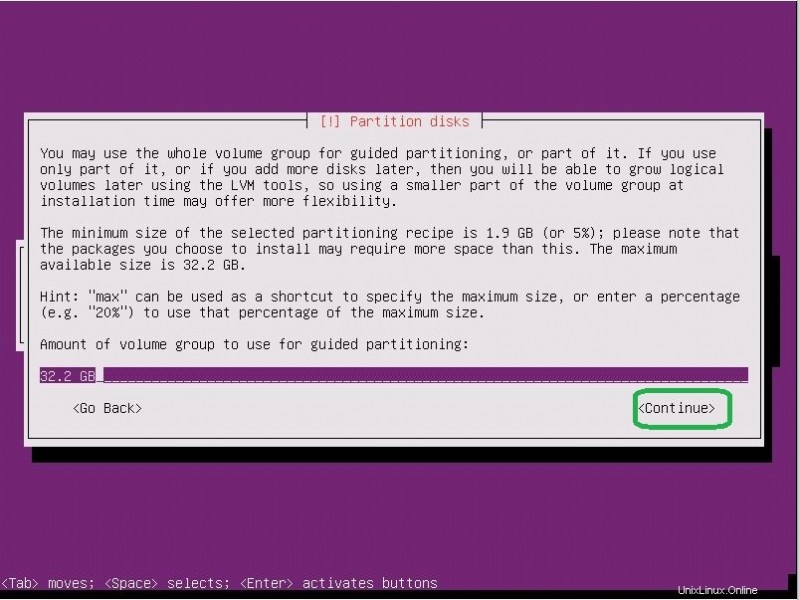
- Inserisci la dimensione del disco.
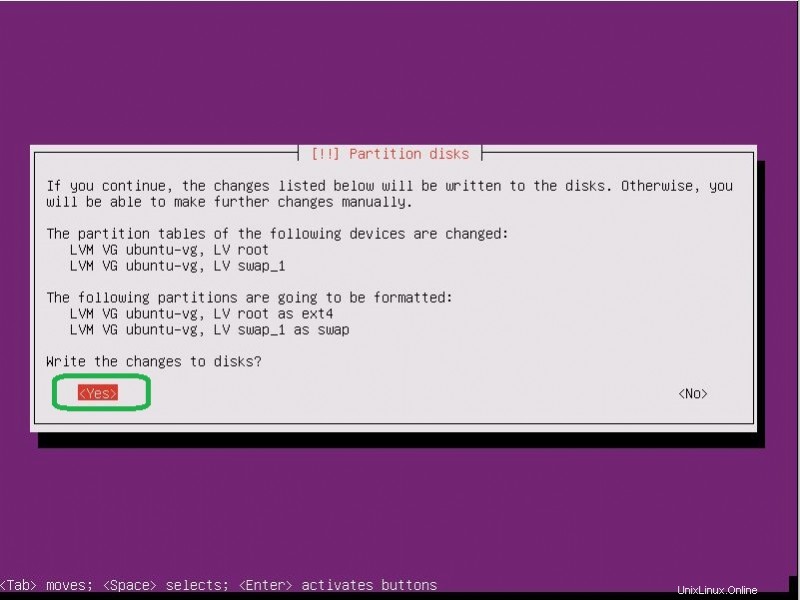
- Rispondi "Sì" per completare il processo.
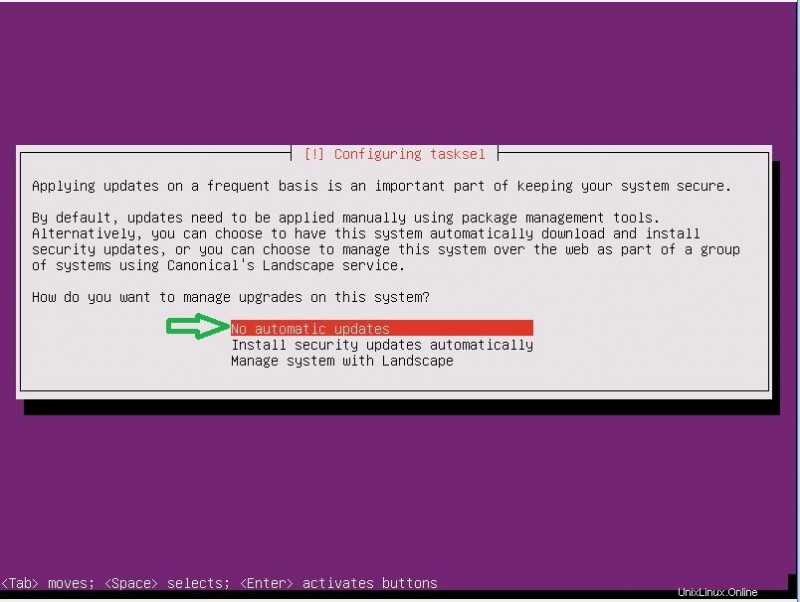
- L'aggiornamento automatico a volte causa problemi, quindi è meglio aggiornare manualmente. Quindi imposterò "Nessun aggiornamento automatico".
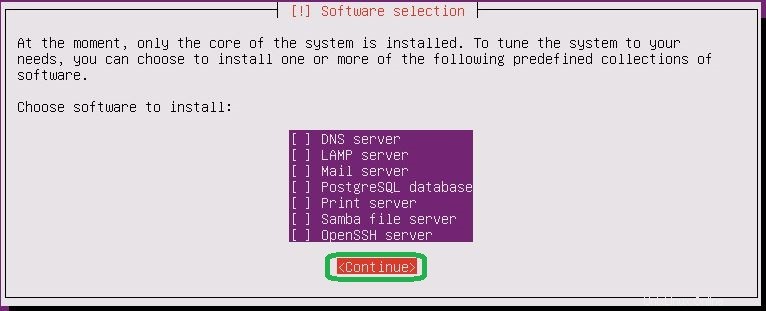
- In questa sezione seleziona il software se vuoi installarlo.
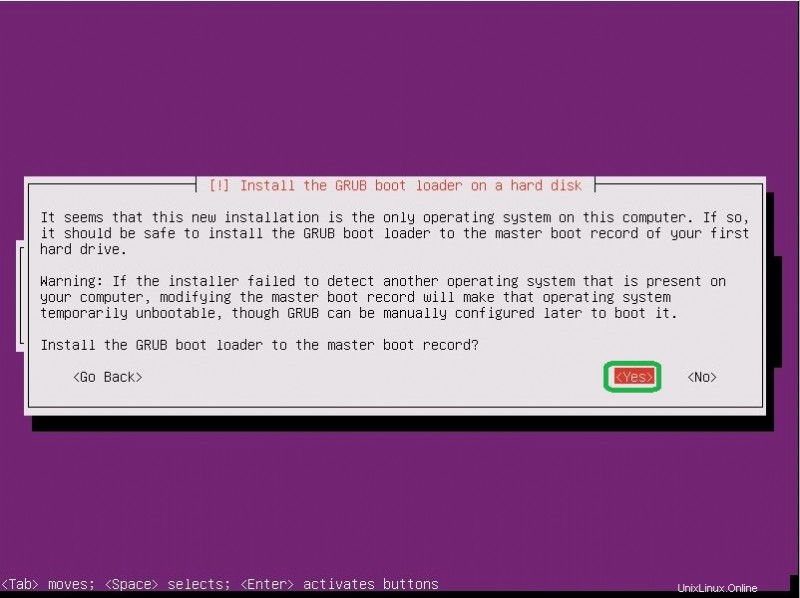
- Per installare GRUB Boot Loader su MBR, seleziona Sì.
- Per completare l'installazione, fare clic su "Continua".
- Il sistema si riavvierà ed eliminerà il disco di installazione.
- Dopo il riavvio di Ubuntu, accedi con un utente che hai impostato durante l'installazione al "Passaggio 7".
Puoi seguire le diapositive seguenti per vedere tutti questi passaggi:


Comandi di base:server di aggiornamento, controllo del servizio e così via
Dopo aver installato il sistema operativo, è necessario aggiornare il server. Per farlo, segui i comandi seguenti:
root@thehackertips:~# apt update
root@thehackertips:~# apt upgrade
Per elencare il servizio in esecuzione su Ubuntu 19.04, esegui i comandi seguenti:
root@thehackertips:~# systemctl -t service
Per avviare, riavviare, interrompere o mostrare lo stato dei servizi utilizzando questi comandi:
root@thehackertips:~# systemctl start firewalld
root@thehackertips:~# systemctl restart  firewalld
root@thehackertips:~# systemctl stop  firewalld
root@thehackertips:~# systemctl status firewalld
Aggiungi un nuovo utente e imposta la password
Per creare un nuovo utente e impostare la password su Ubuntu 19.04 segui i comandi seguenti:
root@thehackertips:~# adduser ubuntuuser
Adding user `ubuntuuser' ...
Adding new group `ubuntuuser' (1001) ...
Adding new user `ubuntuuser' (1001) with group `ubuntuuser' ...
Creating home directory `/home/ubuntuuser' ...
Copying files from `/etc/skel' ...
New password:
Retype new password:
passwd: password updated successfully
Changing the user information for ubuntuuser
Enter the new value, or press ENTER for the default
        Full Name []: ubuntuuser
        Room Number []: 1
        Work Phone []: 1
        Home Phone []: 1
        Other []: 1
Is the information correct? [Y/n] Y
root@thehackertips:~#
Puoi passare da root a ubuntuuser o da ubuntuuser a root. Per farlo, segui i comandi seguenti:
root@thehackertips:~# su - ubuntuuser
ubuntuuser@thehackertips:~$ su -
Password: # your root password
root@thehackertips:~#
Reimposta password utente/utente
Per reimpostare la password su Ubuntu 19.04 è necessario utilizzare i comandi seguenti:
root@thehackertips:~# sudo passwd root
New password:
Retype new password:
passwd: password updated successfully
root@thehackertips:~# sudo passwd ubuntuuser      # ubuntuuser is a simple user
New password:
Retype new password:
passwd: password updated successfully
root@thehackertips:~#
Imposta nome host
Per cambiare il nome host su Ubuntu 19.04 puoi usare questi metodi:
- Opzione 1:modifica il file hostname con sudo vi /etc/hostname
- Opzione 2:hostnamectl set-hostname thehackertips.com # imposta il nome host in modo permanente
- Opzione 3:nome host thehackertips.com # questo andrà via dopo il riavvio
Per guardare lo stato del nome host usando questo comando:
root@thehackertips:~# hostnamectl
Static hostname: thehackertips.com
Icon name: computer-vm
Chassis: vm
Machine ID: 8974aa87c0b349f2878938cabdf2269d
Boot ID: ea59633ee9844c1f900a29ac3260fe71
Virtualization: vmware
Operating System: Ubuntu 19.04
Kernel: Linux 5.0.0-13-generic
Architecture: x86-64
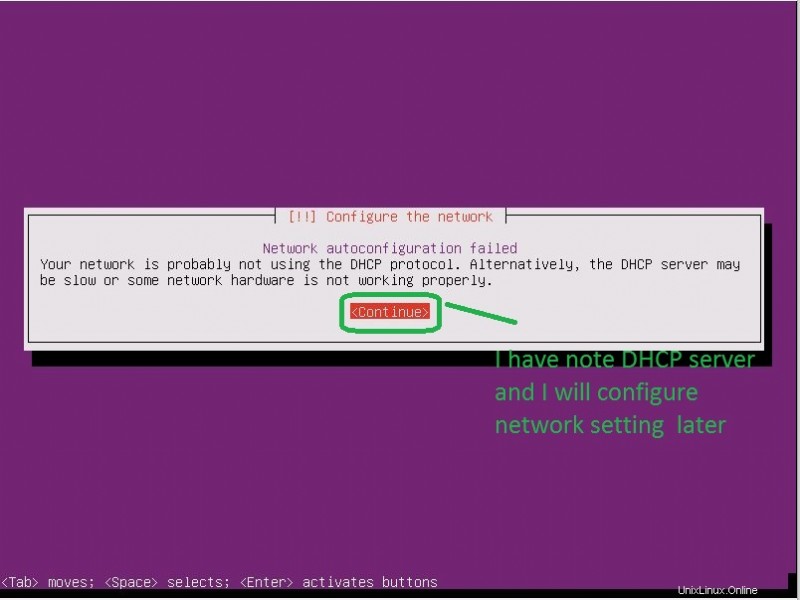
root@thehackertips:~# Configura le impostazioni di rete
Uno dei modi migliori per impostare l'indirizzo IP statico sul server è modificare /etc/netplan/01-netcfg.yaml file.
root@thehackertips:~# vi /etc/netplan/01-netcfg.yaml
# This file describes the network interfaces available on your system
# For more information, see netplan(5).
network:
  version: 2
  renderer: networkd
  ethernets:
          ens32:
                 dhcp4: no
                 addresses: [172.16.171.224/24]
                 gateway4: 172.16.171.1
                 nameservers:
                         addresses: [8.8.8.8]
                 dhcp6: no
Potrebbe essere un nome adattatore diverso [ens32] sul tuo sistema. Puoi verificarlo tramite indirizzo IP comando. Per vedere lo stato dell'indirizzo IP il comando sarà il seguente:
root@thehackertips:~# ip add
 1: lo:  mtu 65536 qdisc noqueue state UNKNOWN group default qlen 1000
     link/loopback 00:00:00:00:00:00 brd 00:00:00:00:00:00
     inet 127.0.0.1/8 scope host lo
        valid_lft forever preferred_lft forever
     inet6 ::1/128 scope host
        valid_lft forever preferred_lft forever
 2: ens32:  mtu 1500 qdisc fq_codel state UP group default qlen 1000
     link/ether 00:0c:29:d4:7b:be brd ff:ff:ff:ff:ff:ff
     inet 172.16.171.224/24 brd 172.16.171.255 scope global ens32
        valid_lft forever preferred_lft forever
     inet6 fe80::20c:29ff:fed4:7bbe/64 scope link
        valid_lft forever preferred_lft forever
 root@thehackertips:~#