LEMP è una raccolta di quattro componenti software open source utilizzati insieme per ospitare un sito Web su Internet. Nello stack LEMP, L rappresenta il sistema operativo Linux, E rappresenta il server web Nginx, M rappresenta il server di database MariaDB/MySQL e P rappresenta il linguaggio di programmazione PHP. Poiché tutti i componenti sono open source nello stack LEMP, viene utilizzato in applicazioni su larga scala sul Web.
In questo post, ti mostreremo come installare uno stack LEMP su Oracle Linux 8.
Prerequisiti
- Un server che esegue Oracle Linux 8 sulla piattaforma Atlantic.Net Cloud
- Una password di root configurata sul tuo server
Fase 1:crea un server cloud Atlantic.Net
Per prima cosa, accedi al tuo server Atlantic.Net Cloud. Crea un nuovo server, scegliendo Oracle Linux 8 come sistema operativo con almeno 2GB di RAM. Collegati al tuo Cloud Server tramite SSH e accedi utilizzando le credenziali evidenziate in alto nella pagina.
Una volta effettuato l'accesso al server, eseguire il comando seguente per aggiornare il sistema di base con gli ultimi pacchetti disponibili.
dnf update -y
Passaggio 2 – Installa Nginx Web Server su Oracle Linux 8
Nginx è il primo componente dello stack LEMP. Per impostazione predefinita, il pacchetto Nginx è incluso nel repository predefinito di Oracle Linux 8. Puoi installarlo usando il seguente comando:
dnf install nginx -y
Una volta installato Nginx, avvia il servizio Nginx e abilitalo all'avvio al riavvio del sistema.
systemctl start nginx
systemctl enable nginx
Puoi anche verificare lo stato di Nginx con il seguente comando:
systemctl status nginx
Per verificare la versione di Nginx, esegui il seguente comando:
nginx -v
Dovresti vedere il seguente output:
nginx version: nginx/1.14.1
Ora apri il tuo browser web e digita l'URL http://your-server-ip . Dovresti vedere la pagina predefinita di Nginx nella schermata seguente:
Fase 3 – Installa MariaDB Database Server su Oracle Linux 8
MariaDB è un server di database open source utilizzato per archiviare il contenuto del sito Web. Per impostazione predefinita, MariaDB è inclusa nel repository predefinito di Oracle Linux 8. Puoi installarlo usando il seguente comando:
dnf install mariadb-server mariadb -y
Una volta installato MariaDB, avvia il servizio MariaDB e abilitalo all'avvio al riavvio del sistema:
systemctl start mariadb
systemctl enable mariadb
Puoi controllare lo stato di MariaDB usando il seguente comando:
systemctl status mariadb
Otterrai il seguente comando:
● mariadb.service - MariaDB 10.3 database server
   Loaded: loaded (/usr/lib/systemd/system/mariadb.service; disabled; vendor preset: disabled)
   Active: active (running) since Sat 2022-06-11 00:46:12 EDT; 6s ago
     Docs: man:mysqld(8)
           https://mariadb.com/kb/en/library/systemd/
  Process: 27020 ExecStartPost=/usr/libexec/mysql-check-upgrade (code=exited, status=0/SUCCESS)
  Process: 26883 ExecStartPre=/usr/libexec/mysql-prepare-db-dir mariadb.service (code=exited, status=0/SUCCESS)
  Process: 26859 ExecStartPre=/usr/libexec/mysql-check-socket (code=exited, status=0/SUCCESS)
 Main PID: 26988 (mysqld)
   Status: "Taking your SQL requests now..."
    Tasks: 30 (limit: 11409)
   Memory: 80.0M
   CGroup: /system.slice/mariadb.service
           └─26988 /usr/libexec/mysqld --basedir=/usr
Puoi anche verificare la versione di MariaDB con il seguente comando:
mysqladmin -V
Dovresti vedere il seguente output:
mysqladmin Ver 9.1 Distrib 10.3.32-MariaDB, for Linux on x86_64
Ora dovrai proteggere l'installazione di MariaDB. Puoi proteggerlo con il seguente comando:
mysql_secure_installation
Ti verrà chiesto di impostare una password di root come mostrato di seguito:
Enter current password for root (enter for none):
OK, successfully used password, moving on...

Setting the root password ensures that nobody can log into the MariaDB
root user without the proper authorisation.

Set root password? [Y/n] Y
New password:
Re-enter new password:
Password updated successfully!
Reloading privilege tables..
 ... Success!
Successivamente, ti verrà chiesto di rimuovere gli utenti anonimi come mostrato di seguito:
By default, a MariaDB installation has an anonymous user, allowing anyone
to log into MariaDB without having to have a user account created for
them.  This is intended only for testing, and to make the installation
go a bit smoother.  You should remove them before moving into a
production environment.

Remove anonymous users? [Y/n] Y
Digita Y e premi Invio. Ti verrà chiesto di non consentire l'accesso come root da remoto:
 ... Success!

Normally, root should only be allowed to connect from 'localhost'.  This
ensures that someone cannot guess at the root password from the network.

Disallow root login remotely? [Y/n] Y
Digita Y e premi il tasto Invio. Ti verrà chiesto di rimuovere il database di test:
 ... Success!

By default, MariaDB comes with a database named 'test' that anyone can
access.  This is also intended only for testing, and should be removed
before moving into a production environment.

Remove test database and access to it? [Y/n] Y
Premi Y e premi il tasto Invio. Ti verrà chiesto di ricaricare la tabella dei privilegi:
 - Dropping test database...
 ... Success!
 - Removing privileges on test database...
 ... Success!

Reloading the privilege tables will ensure that all changes made so far
will take effect immediately.

Reload privilege tables now? [Y/n] Y
Digita Y e premi il tasto Invio per proteggere MariaDB.
 ... Success!

Cleaning up...

All done!  If you've completed all of the above steps, your MariaDB
installation should now be secure.

Thanks for using MariaDB!
Fase 4 – Installa PHP su Oracle Linux 8
Puoi aggiungerli eseguendo il seguente comando:
dnf install epel-release -y
dnf install dnf-utils http://rpms.remirepo.net/enterprise/remi-release-8.rpm
Ora, elenca tutte le versioni PHP disponibili nel seguente output:
dnf module list php
Vedrai tutte le versioni PHP disponibili nel seguente output:
Safe Remi's RPM repository for Enterprise Linux 8 - x86_64                                                    1.8 MB/s | 2.1 MB     00:01
Oracle Linux 8 Application Stream (x86_64)
Name                     Stream                        Profiles                                      Summary
php                      7.2 [d][e]                    common [d], devel, minimal                    PHP scripting language
php                      7.3                           common [d], devel, minimal                    PHP scripting language
php                      7.4                           common [d], devel, minimal                    PHP scripting language
php                      8.0                           common [d], devel, minimal                    PHP scripting language

Remi's Modular repository for Enterprise Linux 8 - x86_64
Name                     Stream                        Profiles                                      Summary
php                      remi-7.2                      common [d], devel, minimal                    PHP scripting language
php                      remi-7.3                      common [d], devel, minimal                    PHP scripting language
php                      remi-7.4                      common [d], devel, minimal                    PHP scripting language
php                      remi-8.0                      common [d], devel, minimal                    PHP scripting language
php                      remi-8.1                      common [d], devel, minimal                    PHP scripting language
Ora, ripristina il modulo PHP predefinito e abilita PHP versione 8.1 con il seguente comando:
dnf module reset php
dnf module enable php:remi-8.1
Quindi, installa PHP con altre estensioni richieste usando il seguente comando:
dnf install php php-fpm php-gd php-mysqlnd php-cli php-opcache -y
Quindi, modifica il file di configurazione predefinito di PHP-FPM e cambia l'utente da apache a nginx:
nano /etc/php-fpm.d/www.conf
Modifica le seguenti righe:
user = nginx
Group = nginx
Salva e chiudi il file, quindi avvia il servizio PHP-FPM e abilitalo all'avvio al riavvio del sistema:
systemctl start php-fpm
systemctl enable php-fpm
Fase 5:crea un sito Web di esempio con Nginx
In questa sezione, ti mostreremo come ospitare un semplice sito Web utilizzando un host virtuale Nginx. Innanzitutto, crea una directory in cui archiviare il contenuto del sito Web:
mkdir -p /var/www/html/website
Quindi, modifica la proprietà e le autorizzazioni del sito Web utilizzando il comando seguente:
chown -R nginx:nginx /var/www/html/website
chmod -R 755 /var/www/html/website
Quindi, crea una semplice pagina PHP usando il seguente comando:
nano /var/www/html/website/info.php
Aggiungi il seguente codice PHP:
<?php
phpinfo();
?>
Salva e chiudi il file, quindi crea un file di configurazione dell'host virtuale Nginx:
nano /etc/nginx/conf.d/website.conf
Aggiungi le seguenti righe:
server {
    listen  80;

    server_name website.example.com;

    location / {
        root  /var/www/html/website/;
        index  info.php;
        try_files $uri $uri/ =404;
    }

    error_page  500 502 503 504  /50x.html;
    location = /50x.html {
        root  /usr/share/nginx/html;
    }

location ~ \.php$ {
        fastcgi_split_path_info ^(.+\.php)(/.+)$;
        fastcgi_pass   unix:/run/php-fpm/www.sock;
        fastcgi_index  info.php;
        fastcgi_param  SCRIPT_FILENAME $document_root$fastcgi_script_name;
        include        fastcgi_params;
    }

}
Salva e chiudi il file, quindi modifica il file di configurazione principale di Nginx:
nano /etc/nginx/nginx.conf
Aggiungi la riga seguente dopo la riga http {:
server_names_hash_bucket_size 64;
Salva e chiudi il file, quindi verifica la configurazione di Nginx utilizzando il seguente comando:
nginx -t
Dovresti vedere il seguente output:
nginx: the configuration file /etc/nginx/nginx.conf syntax is ok
nginx: configuration file /etc/nginx/nginx.conf test is successful
Quindi, riavvia il servizio Nginx per applicare la configurazione:
systemctl restart nginx
Passaggio 6:verifica del sito Web Nginx
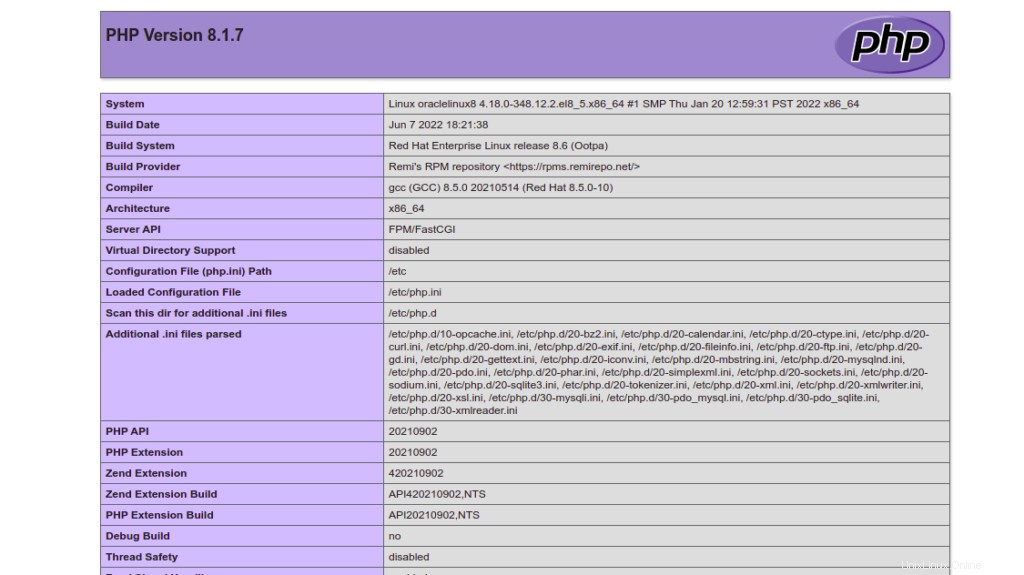
Ora apri il tuo browser web e digita l'URL http://sitoweb.example.com . Dovresti vedere la pagina PHP nella schermata seguente:
Conclusione
In questo post, abbiamo imparato come installare il server LEMP su Oracle Linux 8. Ora puoi utilizzare la funzione di hosting virtuale Nginx per ospitare più siti Web su una singola macchina. Provalo sull'hosting VPS di Atlantic.Net!