DokuWiki è un'applicazione software Wiki gratuita, open source e potente scritta in PHP. Utilizza un file per memorizzare i suoi dati invece di utilizzare un database. È semplice, leggero e consente di creare e modificare un sito Web dal browser Web. Offre molte funzionalità che ti consentono di ridimensionare e ottimizzare facilmente il tuo sito web. Viene utilizzato da molti utenti grazie alla sua sintassi chiara e leggibile, alla facilità di manutenzione, backup e integrazione.
In questo tutorial, ti mostrerò come installare DokuWiki con Apache e Let's Encrypt SSL su Debian 11.
Prerequisiti
- Un server che esegue Ubuntu 20.04.
- Un nome di dominio valido puntato all'IP del tuo server.
- Sul server è configurata una password di root.
Per iniziare
Prima di iniziare, si consiglia di aggiornare i pacchetti di sistema all'ultima versione. Puoi aggiornarli eseguendo il seguente comando:
apt-get update -y
Una volta aggiornati tutti i pacchetti, puoi procedere al passaggio successivo.
Installa Apache e PHP
DokuWiki funziona su Apache o Nginx ed è scritto in un linguaggio PHP. Quindi dovrai installare Apache, PHP e altre estensioni richieste sul tuo server. Puoi installarli eseguendo il seguente comando:
apt-get install apache2 php php-gd php-xml php-json -y
Una volta installati tutti i pacchetti, avvia il servizio Apache e abilitalo all'avvio al riavvio del sistema:
systemctl start apache2
systemctl enable apache2
Una volta terminato, puoi procedere al passaggio successivo.
Installa DokuWiki
Per prima cosa, vai alla pagina di download di DokuWiki e scarica l'ultima versione di DokuWiki usando il seguente comando:
wget https://download.dokuwiki.org/src/dokuwiki/dokuwiki-stable.tgz
Una volta completato il download, crea una directory per DokuWiki all'interno della directory principale web di Apache:
mkdir /var/www/html/dokuwiki
Quindi, estrai il file scaricato nella directory di DokuWiki con il seguente comando:
tar -xvzf dokuwiki-stable.tgz -C /var/www/html/dokuwiki/ --strip-components=1
Quindi, copia alcuni file necessari usando il seguente comando:
cp /var/www/html/dokuwiki/.htaccess{.dist,} Quindi, imposta la proprietà corretta sulla directory di DokuWiki:
chown -R www-data:www-data /var/www/html/dokuwiki
Una volta terminato, puoi procedere al passaggio successivo.
Crea un host virtuale Apache per DokuWiki
Successivamente, dovrai creare un file di configurazione dell'host virtuale Apache per ospitare DokuWiki su Internet. Puoi crearlo utilizzando il seguente comando:
nano /etc/apache2/sites-available/dokuwiki.conf
Aggiungi le seguenti righe:
<VirtualHost *:80>
        ServerName    dokuwiki.example.com
        DocumentRoot  /var/www/html/dokuwiki

        <Directory ~ "/var/www/html/dokuwiki/(bin/|conf/|data/|inc/)">
            <IfModule mod_authz_core.c>
                AllowOverride All
                Require all denied
            </IfModule>
            <IfModule !mod_authz_core.c>
                Order allow,deny
                Deny from all
            </IfModule>
        </Directory>

        ErrorLog   /var/log/apache2/dokuwiki_error.log
        CustomLog  /var/log/apache2/dokuwiki_access.log combined
</VirtualHost>
Salvare e chiudere il file, quindi abilitare il file di configurazione dell'host virtuale utilizzando il comando seguente:
a2ensite dokuwiki.conf
Quindi, ricarica Apache per applicare le modifiche.
systemctl reload apache2
Puoi anche controllare lo stato di Apache con il seguente comando:
systemctl status apache2
Otterrai il seguente output:
? apache2.service - The Apache HTTP Server
     Loaded: loaded (/lib/systemd/system/apache2.service; enabled; vendor preset: enabled)
     Active: active (running) since Wed 2021-10-24 04:01:29 UTC; 9min ago
       Docs: https://httpd.apache.org/docs/2.4/
    Process: 27698 ExecReload=/usr/sbin/apachectl graceful (code=exited, status=0/SUCCESS)
      Tasks: 77 (limit: 4691)
     Memory: 12.5M
     CGroup: /system.slice/apache2.service
             ??21346 /usr/sbin/apache2 -k start
             ??27703 Passenger watchdog
             ??27706 Passenger core
             ??27711 Passenger ust-router
             ??27729 /usr/sbin/apache2 -k start
             ??27730 /usr/sbin/apache2 -k start
Proteggi DokuWiki con Let's Encrypt SSL
Dopo aver configurato Apache, si consiglia di proteggere il tuo sito wiki con un certificato SSL Let's Encrypt. Per fare ciò, dovrai installare il client Certbot nel tuo sistema. Certbot è un client facile da usare che recupera un certificato da Let's Encrypt, un'autorità di certificazione aperta lanciata da EFF, Mozilla e altri, e lo distribuisce a un server web. Utilizzando il client Certbot Let's Encrypt puoi facilmente scaricare, installare e rinnovare il certificato SSL per il tuo dominio.
Puoi installare Certbot con il seguente comando:
apt-get install certbot python3-certbot-apache -y
Una volta che il client Certbot è stato installato correttamente, esegui il seguente comando per installare Let's Encrypt SSL per il tuo sito web:
certbot --apache -d dokuwiki.example.com
Ti verrà chiesto di fornire la tua email valida e di accettare i termini del servizio come mostrato di seguito:
Saving debug log to /var/log/letsencrypt/letsencrypt.log
Plugins selected: Authenticator apache, Installer apache
Enter email address (used for urgent renewal and security notices) (Enter 'c' to
cancel): [email protected]

- - - - - - - - - - - - - - - - - - - - - - - - - - - - - - - - - - - - - - - -
Please read the Terms of Service at
https://letsencrypt.org/documents/LE-SA-v1.2-November-15-2017.pdf. You must
agree in order to register with the ACME server at
https://acme-v02.api.letsencrypt.org/directory
- - - - - - - - - - - - - - - - - - - - - - - - - - - - - - - - - - - - - - - -
(A)gree/(C)ancel: A

- - - - - - - - - - - - - - - - - - - - - - - - - - - - - - - - - - - - - - - -
Would you be willing to share your email address with the Electronic Frontier
Foundation, a founding partner of the Let's Encrypt project and the non-profit
organization that develops Certbot? We'd like to send you email about our work
encrypting the web, EFF news, campaigns, and ways to support digital freedom.
- - - - - - - - - - - - - - - - - - - - - - - - - - - - - - - - - - - - - - - -
(Y)es/(N)o: Y

Obtaining a new certificate
Performing the following challenges:
http-01 challenge for dokuwiki.example.com
Enabled Apache rewrite module
Waiting for verification...
Cleaning up challenges
Created an SSL vhost at /etc/apache2/sites-available/dokuwiki-le-ssl.conf
Enabled Apache socache_shmcb module
Enabled Apache ssl module
Deploying Certificate to VirtualHost /etc/apache2/sites-available/dokuwiki-le-ssl.conf
Enabling available site: /etc/apache2/sites-available/dokuwiki-le-ssl.conf
Quindi, seleziona se reindirizzare o meno il traffico HTTP a HTTPS o configura Nginx per reindirizzare tutto il traffico per proteggere l'accesso HTTPS come mostrato nel seguente output:
Please choose whether or not to redirect HTTP traffic to HTTPS, removing HTTP access.
- - - - - - - - - - - - - - - - - - - - - - - - - - - - - - - - - - - - - - - -
1: No redirect - Make no further changes to the webserver configuration.
2: Redirect - Make all requests redirect to secure HTTPS access. Choose this for
new sites, or if you're confident your site works on HTTPS. You can undo this
change by editing your web server's configuration.
- - - - - - - - - - - - - - - - - - - - - - - - - - - - - - - - - - - - - - - -
Select the appropriate number [1-2] then [enter] (press 'c' to cancel): 2
Digita 2 e premi Invio per avviare il processo. Una volta completata l'installazione, dovresti ottenere il seguente output:
Enabled Apache rewrite module
Redirecting vhost in /etc/apache2/sites-enabled/dokuwiki.conf to ssl vhost in /etc/apache2/sites-available/dokuwiki-le-ssl.conf

- - - - - - - - - - - - - - - - - - - - - - - - - - - - - - - - - - - - - - - -
Congratulations! You have successfully enabled https://dokuwiki.example.com

You should test your configuration at:
https://www.ssllabs.com/ssltest/analyze.html?d=dokuwiki.example.com
- - - - - - - - - - - - - - - - - - - - - - - - - - - - - - - - - - - - - - - -

IMPORTANT NOTES:
 - Congratulations! Your certificate and chain have been saved at:
   /etc/letsencrypt/live/dokuwiki.example.com/fullchain.pem
   Your key file has been saved at:
   /etc/letsencrypt/live/dokuwiki.example.com/privkey.pem
   Your cert will expire on 2021-01-25. To obtain a new or tweaked
   version of this certificate in the future, simply run certbot again
   with the "certonly" option. To non-interactively renew *all* of
   your certificates, run "certbot renew"
 - If you like Certbot, please consider supporting our work by:

   Donating to ISRG / Let's Encrypt:   https://letsencrypt.org/donate
   Donating to EFF:                    https://eff.org/donate-le
A questo punto, il tuo sito Dokuwiki è protetto con Let's Encrypt SSL. Ora puoi accedere al tuo sito in modo sicuro utilizzando il protocollo HTTPS.
Configurazione del rinnovo automatico del certificato SSL Let's Encrypt
Per impostazione predefinita, i certificati Let's Encrypt sono validi per 90 giorni. Quindi, dovrai impostare un cron job per rinnovare automaticamente il certificato SSL. È sicuro creare un processo cron che viene eseguito ogni settimana o anche ogni giorno.
Se desideri rinnovare manualmente il certificato SSL, esegui il comando seguente:
certbot renew --dry-run
Puoi impostare un cron job per il rinnovo automatico del certificato SSL ogni giorno alle 10:00 modificando il seguente file:
crontab -e
Aggiungi la seguente riga:
00 10 * * * root /usr/bin/certbot renew >/dev/null 2>&1
Salva e chiudi il file, quando hai finito.
Accedi a DokuWiki
Ora apri il tuo browser web e digita l'URL https://dokuwiki.example.com/install.php . Dovresti vedere la schermata di installazione di DokuWiki:
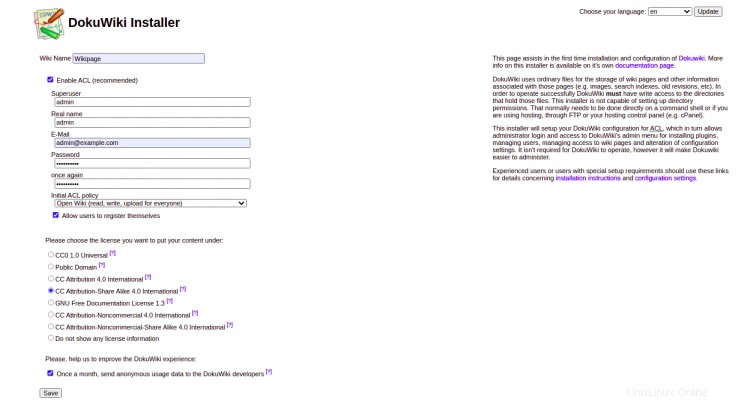
Fornisci il tuo nome wiki, nome utente amministratore, password, e-mail, scegli la tua politica e fai clic su Salva pulsante. Verrai reindirizzato alla seguente pagina:
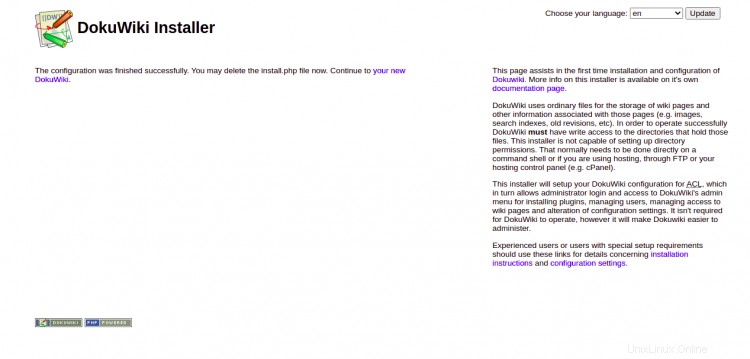
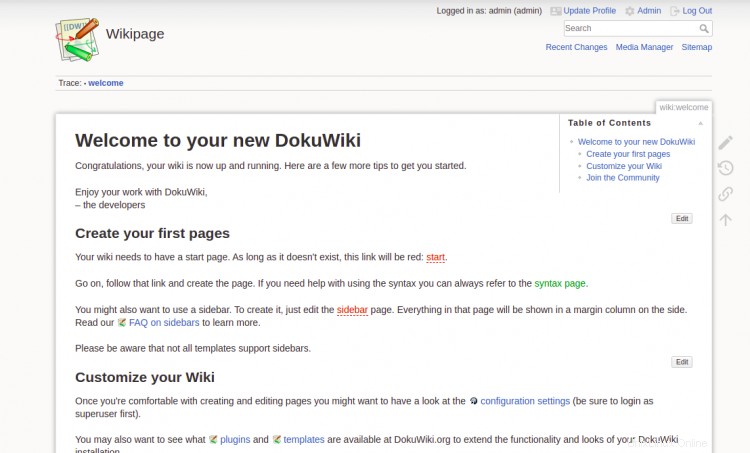
Fai clic su "il tuo nuovo DokuWiki ". Dovresti vedere la seguente schermata:
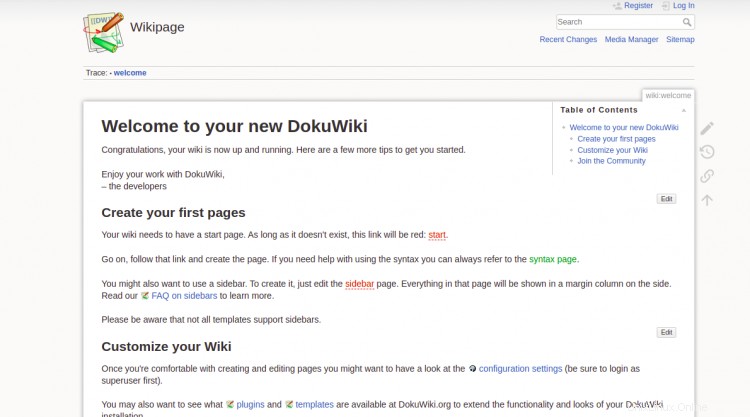
Fai clic su Accedi pulsante. Verrai reindirizzato alla schermata di accesso di DokuWiki come mostrato di seguito:
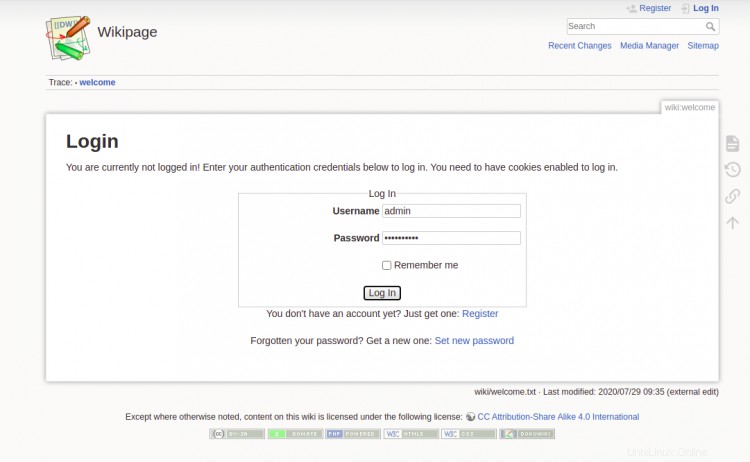
Fornisci il nome utente e la password dell'amministratore e fai clic su Accedi pulsante. Dovresti vedere la dashboard di DokuWiki nella schermata seguente:
Conclusione
Congratulazioni! hai installato con successo DokuWiki e lo hai protetto con Let's Encrypt SSL su Debian 11. Ora puoi iniziare a creare il tuo primo sito web usando DokuWiki. Sentiti libero di chiedermi se hai domande.