WordPress è un popolare software di gestione dei contenuti (CMS) scritto nel linguaggio di programmazione PHP. Grazie alla popolarità, WordPress cattura almeno il 43% della quota di mercato di tutti i siti web. Uno dei motivi per cui è popolare è perché è completamente gratuito e facile da configurare e gestire.
WordPress non è solo popolare per i blog, ma viene utilizzato anche per e-commerce, forum, ecc.
In questo tutorial guideremo la configurazione e l'installazione di WordPress utilizzando Ubuntu 22.04.
Cominciamo.
1 Aggiornamento del sistema
Per prima cosa aggiorniamo il nostro sistema.
sudo apt update && apt upgrade2 Installazione di PHP ed estensione PHP
Installiamo le estensioni PHP e PHP necessarie per eseguire correttamente WordPress.
sudo apt install php php-curl php-gd php-mbstring php-xml php-xmlrpc php-soap php-intl php-zip php-mysql php-fpm
Verifica la versione PHP:
php -v

Output:
PHP 8.1.2 (cli) (built: Jul 21 2022 12:10:37) (NTS)
Copyright (c) The PHP Group
Zend Engine v4.1.2, Copyright (c) Zend Technologies
    with Zend OPcache v8.1.2, Copyright (c), by Zend Technologies
3 Installazione e configurazione del database
Poiché WordPress è costruito con PHP, il database preferito dovrebbe essere MySQL o MariaDB e in questo tutorial installeremo MariaDB.
sudo apt install mariadb-server -yAbilitiamo e avviamo MariaDB.
systemctl enable mariadb --nowControlla lo stato del database MariaDB.
sudo systemctl status mariadb

Output:
● mariadb.service - MariaDB 10.6.7 database server
     Loaded: loaded (/lib/systemd/system/mariadb.service; enabled; vendor preset: enabled)
     Active: active (running) since Sat 2022-09-03 12:32:57 EDT; 2min 13s ago
       Docs: man:mariadbd(8)
             https://mariadb.com/kb/en/library/systemd/
   Main PID: 123075 (mariadbd)
     Status: "Taking your SQL requests now..."
      Tasks: 9 (limit: 9456)
     Memory: 57.2M
        CPU: 425ms
     CGroup: /system.slice/mariadb.service
             └─123075 /usr/sbin/mariadbd
Proteggiamo il database MariaDB.
sudo mysql_secure_installation

Output:
Securing the MySQL server deployment.

Enter password for user root:
The 'validate_password' component is installed on the server.
The subsequent steps will run with the existing configuration
of the component.
Using existing password for root.

Estimated strength of the password: 50
Change the password for root ? ((Press y|Y for Yes, any other key for No) : N

 ... skipping.
By default, a MySQL installation has an anonymous user,
allowing anyone to log into MySQL without having to have
a user account created for them. This is intended only for
testing, and to make the installation go a bit smoother.
You should remove them before moving into a production
environment.

Remove anonymous users? (Press y|Y for Yes, any other key for No) : Y
Success.


Normally, root should only be allowed to connect from
'localhost'. This ensures that someone cannot guess at
the root password from the network.

Disallow root login remotely? (Press y|Y for Yes, any other key for No) : Y
Success.

By default, MySQL comes with a database named 'test' that
anyone can access. This is also intended only for testing,
and should be removed before moving into a production
environment.


Remove test database and access to it? (Press y|Y for Yes, any other key for No) : Y
 - Dropping test database...
Success.

 - Removing privileges on test database...
Success.

Reloading the privilege tables will ensure that all changes
made so far will take effect immediately.

Reload privilege tables now? (Press y|Y for Yes, any other key for No) : Y
Success.

All done!
Riavvia il servizio MariaDB.
sudo systemctl restart mariadbCreiamo il database e l'utente del database per il nostro sito WordPress.
mysql -u root -p
MariaDB [(none)]> create database wordpress;
MariaDB [(none)]> grant all privileges on wordpress.* to 'wordpress_user'@'localhost' identified by 'your_secure_password';
MariaDB [(none)]> flush privileges;
MariaDB [(none)]> exit;
Non dimenticare di modificare "your_secure_password ' alla tua password sicura.
4 Download di WordPress
sudo wget https://wordpress.org/latest.tar.gz -P /var/www/Cambiamo la directory in cui abbiamo scaricato WordPress.
cd /var/www
Estrai il file WordPress.
sudo tar -xvzf latest.tar.gz
Crea un .htaccess file.
sudo nano /var/www/wordpress/.htaccessInserisci quanto segue all'interno.
# BEGIN WordPress

RewriteEngine On
RewriteRule .* - [E=HTTP_AUTHORIZATION:%{HTTP:Authorization}]
RewriteBase /
RewriteRule ^index\.php$ - [L]
RewriteCond %{REQUEST_FILENAME} !-f
RewriteCond %{REQUEST_FILENAME} !-d
RewriteRule . /index.php [L]

# END WordPress
Tieni presente che .htaccess funziona solo con il server web Apache.
Salva il file ed esci.
Modifica la proprietà e il gruppo in www-data.
sudo chown -R www-data:www-data wordpressRisolviamo l'autorizzazione e impostiamo tutte le cartelle su 755 e tutti i file su 644.
sudo find /var/www/wordpress/ -type d -exec chmod 755 {} \;
sudo find /var/www/wordpress/ -type f -exec chmod 644 {} \;
5 Configura WordPress con il server Web Apache
Per prima cosa installiamo il WebServer Apache.
sudo apt install apache2Abilita e avvia Apache.
systemctl enable apache2 --nowOra crea un host virtuale.
sudo nano /etc/apache2/sites-available/wordpress.com.confInserisci quanto segue nel file wordpress.com.conf.
<VirtualHost *:80>
     ServerAdmin example@unixlinux.online
     DocumentRoot /var/www/wordpress
     ServerName domain.com
www.domain.com


     ErrorLog ${APACHE_LOG_DIR}/error.log
     CustomLog ${APACHE_LOG_DIR}/access.log combined

     <Directory /var/www/wordpress/>
        Options +FollowSymlinks
        AllowOverride All
        Require all granted
     </Directory>

</VirtualHost>
Non dimenticare di cambiare "domain.com ” con il tuo nome di dominio.
Quindi salva ed esci.
Ora abilitiamo l'host virtuale che abbiamo creato.
sudo a2ensite wordpress.com.confAbilita mod_rewrite.
sudo a2enmod rewriteRiavvia Apache.
sudo systemctl restart apache2
6 Configura WordPress con il server Web Nginx
Per prima cosa installiamo Nginx.
sudo apt install nginx -y
Abilita e avvia Nginx.
sudo systemctl enable nginx --now
Crea un blocco server.
sudo nano /etc/nginx/sites-available/domain.com.confInserisci quanto segue.
server {
        server_name domain.comwww.domain.com;

    access_log   /var/log/nginx/domain.com.access.log;
    error_log    /var/log/nginx/domain.com.error.log;

        root /var/www/wordpress;
        index index.php;

        location / {
                try_files $uri $uri/ /index.php?$args;
        }

        location ~ \.php$ {
      fastcgi_pass unix:/run/php/php-fpm.sock;
      include         fastcgi_params;
      fastcgi_param   SCRIPT_FILENAME    $document_root$fastcgi_script_name;
      fastcgi_param   SCRIPT_NAME        $fastcgi_script_name;
        }

}
Nota per modificare il domain.com al tuo dominio.
Salva il file ed esci.
Abilitiamo il file di configurazione nginx (blocco server).
sudo ln -s /etc/nginx/sites-available/domain.com.conf /etc/nginx/sites-enabled/
Riavvia Nginx.
sudo systemctl restart nginxDovresti essere in grado di accedere al tuo sito WordPress utilizzando il server web Nginx.
7 Completamento dell'installazione di WordPress
Completiamo l'installazione accedendo alla nostra istanza WordPress con il nostro dominio all'indirizzo http://domain.com .
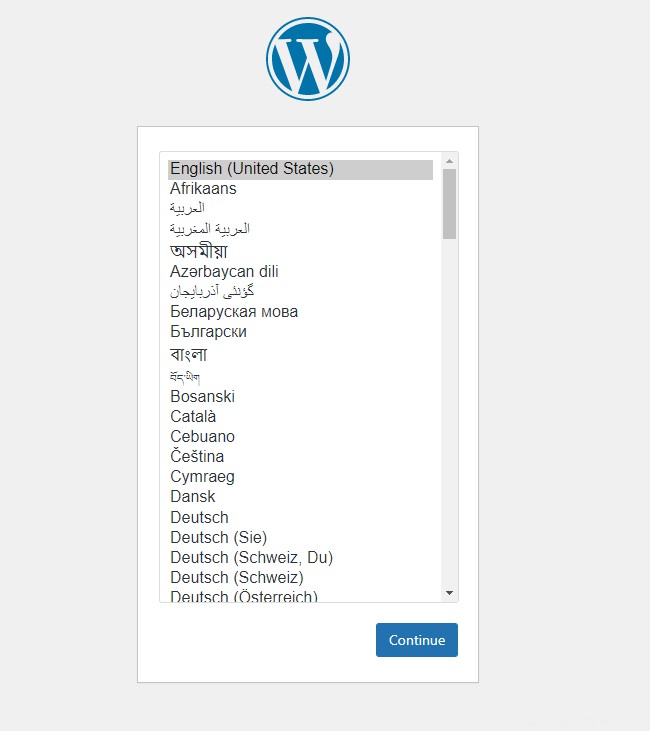
Scegli la tua lingua preferita, quindi fai clic su continua .
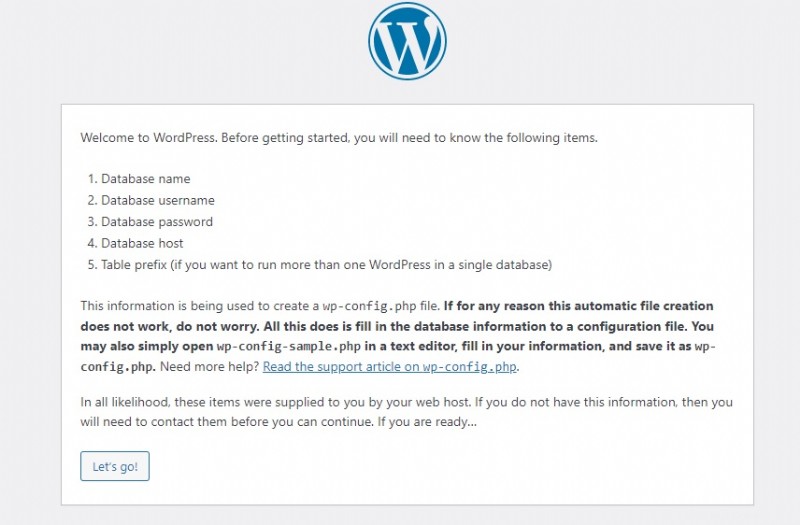
Fai clic su Andiamo .
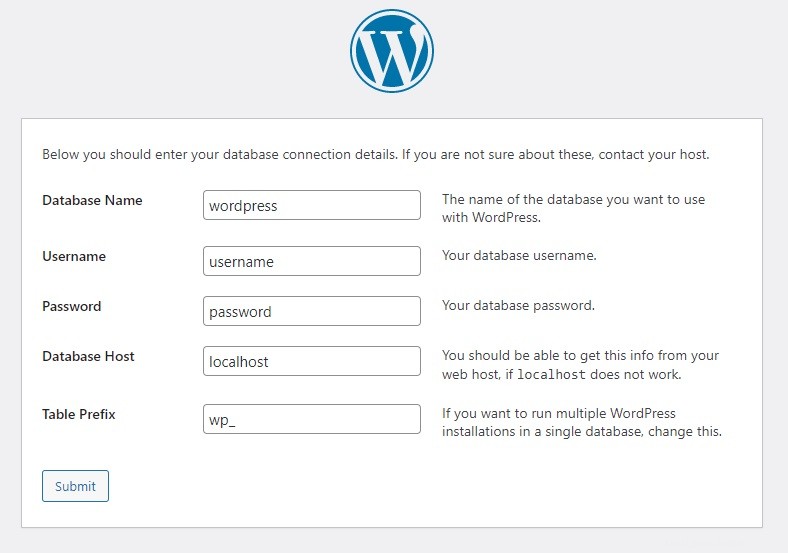
Fornisci il Nome del database , il Nome utente database e la password utente del database che abbiamo creato nel passaggio 3 e lascia semplicemente l'host del database è il Prefisso tabella così com'è, quindi fai clic su invia.
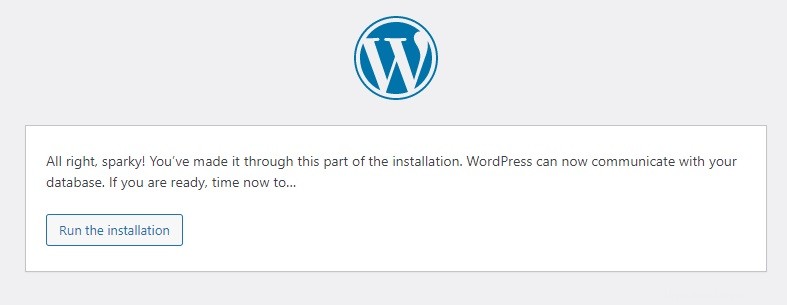
Fai clic su Esegui l'installazione .
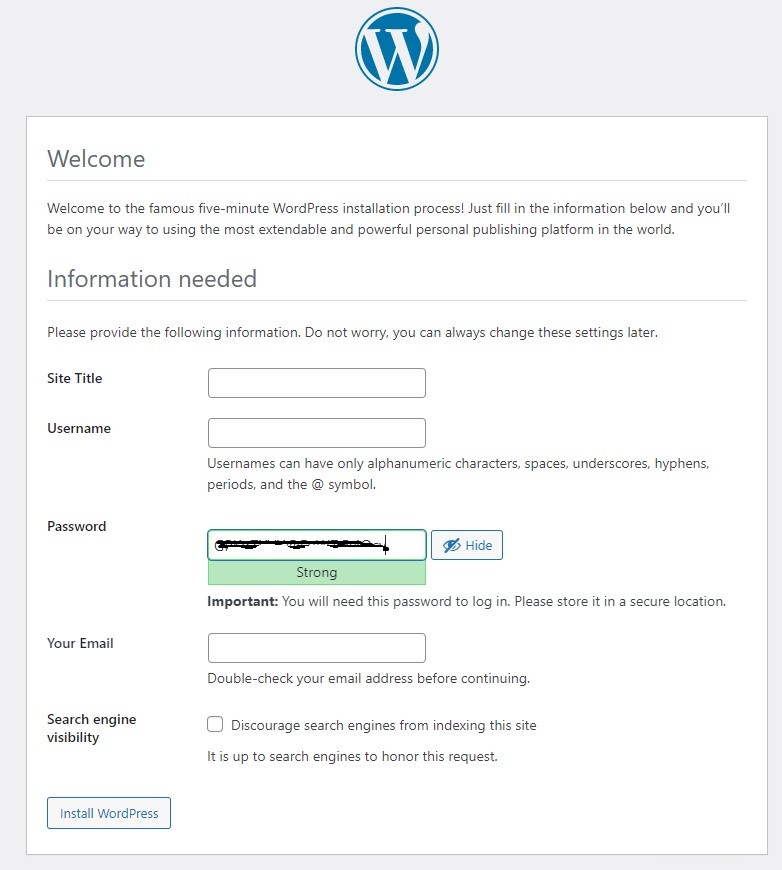
Compila i moduli e fai clic su Installa WordPress .
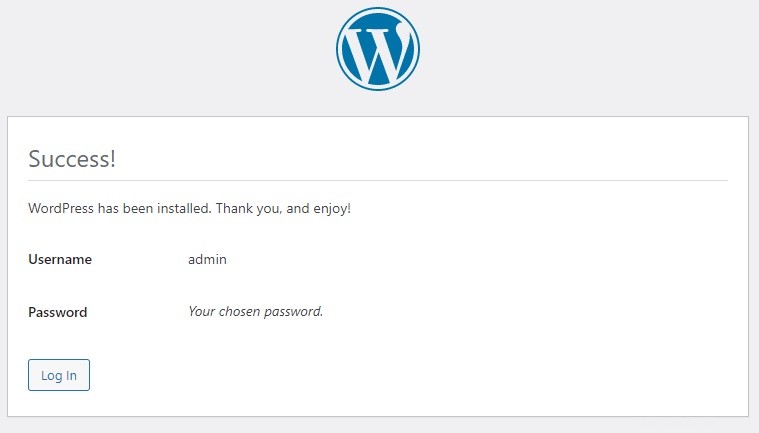
Ecco fatto, l'installazione ha avuto successo e dovresti essere in grado di accedere al tuo sito WordPress.
8 Conclusione
Hai imparato quanto sia facile installare WordPress su Ubuntu 22.04 con Nginx e il server web Apache. Se ti piace questo articolo ti potrebbe piacere anche il nostro articolo su Drupal.
Puoi anche proteggere la tua istanza WordPress installando il certificato SSL e puoi farlo consultando la nostra guida su Let's Encrypt.