
In questo articolo, avremo spiegato i passaggi necessari per installare HestiaCP su Ubuntu 20.04 LTS. Prima di continuare con questo tutorial, assicurati di aver effettuato l'accesso come utente con sudo privilegi. Tutti i comandi in questo tutorial devono essere eseguiti come utente non root.
HestiaCP è basato su un altro progetto open source chiamato Vesta Control panel. HestiaCP fornisce interfacce Web e a riga di comando di facile utilizzo che consentono agli amministratori di server Web di gestire nomi di dominio, spazi Web, account di posta e zone DNS da una posizione centralizzata con facilità e senza la necessità di modificare manualmente i file di configurazione.
Prerequisito:
- Sistema operativo con Ubuntu 20.04
- Indirizzo IPv4 del server con privilegi di superutente (accesso root)
- Terminale Gnome per desktop Linux
- Client PuTTy SSH per Windows o macOS
- Powershell per Windows 10/11
- Familiarità con i comandi APT
Installa HestiaCP su Ubuntu 20.04
Passaggio 1. Innanzitutto, prima di iniziare a installare qualsiasi pacchetto sul tuo server Ubuntu, ti consigliamo sempre di assicurarti che tutti i pacchetti di sistema siano aggiornati.
sudo apt update
sudo apt upgrade
sudo apt install ca-certificates
Passaggio 2. Installa HestiaCP su Ubuntu.
Installare HestiaCP sul tuo sistema Ubuntu Linux è semplice, ora aggiungiamo la chiave del repository per HestiaCP per poter scaricare i pacchetti richiesti:
sudo wget -qO - https://gpg.hestiacp.com/deb_signing.key | sudo apt-key add -
Successivamente, scarica l'ultimo script di installazione di HestiaCP stabile:
sudo wget https://raw.githubusercontent.com/hestiacp/hestiacp/release/install/hst-install.sh
Quindi, esegui lo script di installazione e segui le istruzioni sullo schermo per installare HestiaCP sulla tua istanza:
bash hst-install.sh
Risultato:
_   _           _   _        ____ ____
| | | | ___  ___| |_(_) __ _ / ___|  _ \
| |_| |/ _ \/ __| __| |/ _` | |   | |_) |
|  _  |  __/\__ \ |_| | (_| | |___|  __/
|_| |_|\___||___/\__|_|\__,_|\____|_|

                      Hestia Control Panel
                                    v1.1.1
====================================================================
The following server components will be installed on your system:

  - NGINX Web / Proxy Server
  - Apache Web Server (as backend)
  - PHP-FPM Application Server
  - Bind DNS Server
  - Exim Mail Server + ClamAV + SpamAssassin
  - Dovecot POP3/IMAP Server
  - MariaDB Database Server
  - Vsftpd FTP Server
  - Firewall (Iptables) + Fail2Ban Access Monitor
====================================================================
Una volta completata l'installazione, ti verranno forniti l'URL dell'amministratore, il nome utente e la password nell'output:
You have successfully installed Hestia Control Panel on your server.

Ready to get started? Log in using the following credentials:

    Admin URL:  https://your-ip-address:8083
    Username:   admin
    Password:   your_secure_password

Thank you for choosing Hestia Control Panel to power your full stack web server,
we hope that you enjoy using it as much as we do!

Please feel free to contact us at any time if you have any questions,
or if you encounter any bugs or problems:

E-mail:  example@unixlinux.online
Web:     https://www.hestiacp.com/
Forum:   https://forum.hestiacp.com/
GitHub:  https://www.github.com/hestiacp/hestiacp

Note: Automatic updates are enabled by default. If you would like to disable them,
please log in and navigate to Server > Updates to turn them off.

Help support the Hestia Contol Panel project by donating via PayPal:
https://www.hestiacp.com/donate
--
Sincerely yours,
The Hestia Control Panel development team

Made with love & pride by the open-source community around the world.

(!) IMPORTANT: You must logout or restart the server before continuing.

Do you want to reboot now? [Y/N]
Dopodiché, abilita SSL su Hestia usando il seguente comando:
v-add-letsencrypt-host
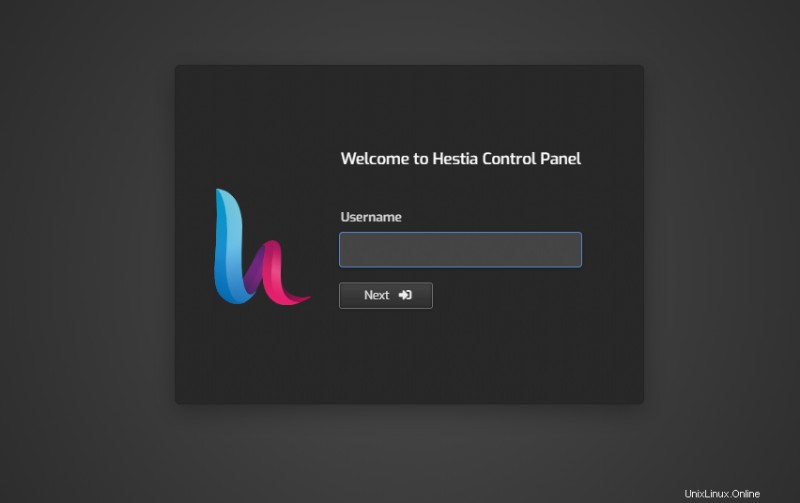
Passaggio 3. Accedi all'interfaccia utente Web Hestia CPanel Admin.
Una volta completata l'installazione, puoi accedere al pannello HestiaCP utilizzando l'IP del tuo server o il nome host come di seguito:
https://your-IP-address:8083
Questo è tutto ciò che devi fare per installare HestiaCP su Ubuntu 20.04 LTS Focal Fossa. Spero che tu possa trovare utile questo suggerimento rapido. Per ulteriori letture sull'installazione del pannello di controllo del server Web Linux open source HestiaCP, fare riferimento alla loro knowledge base ufficiale. Se hai domande o suggerimenti, sentiti libero di lasciare un commento qui sotto.