Attendize è una vendita di biglietti gratuita e open source e gestione di eventi scritta in PHP sopra il framework Laravel. Attendize offre una soluzione semplice per la gestione di eventi di ammissione generale, senza pagare costi aggiuntivi. Con Attendize, puoi gestire facilmente più organizzatori/eventi e statistiche sugli eventi in tempo reale. Attendize supporta più gateway di pagamento come Stripe, PayPal e molti altri. Attendize ti consente di incorporare il widget di vendita di biglietti nel tuo blog WordPress esistente.
In questo tutorial spiegheremo come installare Attendize sul server Ubuntu 18.04 LTS.
Requisiti
- Un server che esegue Ubuntu 18.04.
- PHP versione 7.1.3 o successiva con estensioni OpenSSL, PDO, Mbstring, Fileinfo, GD e Tokenizer.
- Sul tuo server è configurata una password di root.
Installa Nginx, MariaDB e PHP
Attendize viene eseguito su un server Web, scritto in PHP e utilizza MariaDB per archiviare i propri dati. Quindi, dovrai installare Nginx, MariaDB, PHP e le estensioni PHP richieste sul tuo server. Puoi installarli tutti eseguendo il seguente comando:
apt-get install apache2 mariadb-server php7.2 php7.2-cli php7.2-fpm php7.2-common php7.2-mysql php7.2-curl php7.2-json php7.2-zip php7.2-gd php7.2-xml php7.2-mbstring php7.2-opcache php7.2-pgsql curl git unzip -y
Una volta installati tutti i pacchetti richiesti, avvia il servizio Nginx e MariaDB e abilita l'avvio al riavvio del sistema con il seguente comando:
systemctl start nginx
 systemctl enable nginx
 systemctl start mariadb
 systemctl enable mariadb
Una volta terminato, puoi procedere al passaggio successivo.
Configura database
Per impostazione predefinita, MariaDB non è protetta. Quindi dovrai prima curarlo. Puoi proteggere MariaDB con il seguente script:
mysql_secure_installation
Rispondi a tutte le domande come mostrato di seguito:
In order to log into MariaDB to secure it, we'll need the current
password for the root user.  If you've just installed MariaDB, and
you haven't set the root password yet, the password will be blank,
so you should just press enter here.

Enter current password for root (enter for none):
OK, successfully used password, moving on...

Setting the root password ensures that nobody can log into the MariaDB
root user without the proper authorisation.

You already have a root password set, so you can safely answer 'n'.

Change the root password? [Y/n] n
 ... skipping.

By default, a MariaDB installation has an anonymous user, allowing anyone
to log into MariaDB without having to have a user account created for
them.  This is intended only for testing, and to make the installation
go a bit smoother.  You should remove them before moving into a
production environment.

Remove anonymous users? [Y/n] Y
 ... Success!

Normally, root should only be allowed to connect from 'localhost'.  This
ensures that someone cannot guess at the root password from the network.

Disallow root login remotely? [Y/n] Y
 ... Success!

By default, MariaDB comes with a database named 'test' that anyone can
access.  This is also intended only for testing, and should be removed
before moving into a production environment.

Remove test database and access to it? [Y/n] Y
 - Dropping test database...
 ... Success!
 - Removing privileges on test database...
 ... Success!

Reloading the privilege tables will ensure that all changes made so far
will take effect immediately.

Reload privilege tables now? [Y/n] Y
 ... Success!

Cleaning up...

All done!  If you've completed all of the above steps, your MariaDB
installation should now be secure.

Thanks for using MariaDB!
Una volta che MariaDB è protetto, accedi alla shell di MariaDB con il seguente comando:
mysql -u root -p
Fornisci la tua password di root quando richiesto. Quindi, crea un database e un utente per Attendize con il seguente comando:
MariaDB [(none)]> CREATE DATABASE attendizedb;
 MariaDB [(none)]> GRANT ALL PRIVILEGES ON attendizedb.* TO 'attendize'@'localhost' IDENTIFIED BY "password";
Quindi, svuota i privilegi ed esci dalla shell MariaDB con il seguente comando:
MariaDB [(none)]> FLUSH PRIVILEGES;
 MariaDB [(none)]> EXIT;
Una volta creato il database, puoi procedere al passaggio successivo.
Installa Attendize
Prima di scaricare Attendize, dovrai installare Composer sul tuo sistema. Puoi installare Composer semplicemente eseguendo il seguente comando:
curl -sS https://getcomposer.org/installer -o composer-setup.php
 php composer-setup.php --install-dir=/usr/local/bin --filename=composer
Dopo aver installato Composer, puoi controllare la versione di Composer con il seguente comando:
composer --version
L'output dovrebbe essere simile al seguente:
Composer version 1.8.6 2019-06-11 15:03:05
Quindi, scarica l'ultima versione di Attendize dal repository Git nella directory principale web di Nginx con il seguente comando:
cd /var/www/html/
 git clone https://github.com/Attendize/Attendize attendize
Quindi, cambia la directory per attendize e rinomina il file .env.example:
cd attendize
 mv .env.example .env
Quindi, apri il file .env con il tuo editor di testo preferito:
nano .env
Definisci le impostazioni del database come mostrato di seguito:
DB_TYPE=mysql
DB_HOST=db
DB_PORT=3306
DB_DATABASE=attendizedb
DB_USERNAME=attendize
DB_PASSWORD=password
Salva e chiudi il file, quando hai finito. Quindi, dai le autorizzazioni appropriate alla directory attendize con il seguente comando:
chown -R www-data:www-data /var/www/html/attendize
 chmod -R 755 /var/www/html/attendize
Una volta terminato, puoi procedere al passaggio successivo.
Configura Nginx per Attendize
Quindi, crea un file host virtuale Nginx per Attendize.
nano /etc/nginx/sites-available/attendize.conf
Aggiungi le seguenti righe:
server {
    listen 80;
    listen [::]:80;

    server_name example.com;
    root /var/www/html/attendize/public;

    index index.php;

    location / {
        try_files $uri $uri/ /index.php$is_args$args;
    }

    location ~ \.php$ {
        try_files $uri =404;
        fastcgi_pass unix:/var/run/php/php7.2-fpm.sock; # Check this
        fastcgi_param SCRIPT_FILENAME $document_root$fastcgi_script_name;
        include fastcgi_params;
    }
}
Salva e chiudi il file. Quindi, abilita il file host virtuale con il seguente comando:
ln -s /etc/nginx/sites-available/attendize.conf /etc/nginx/sites-enabled/
Quindi, controlla Nginx per eventuali errori di sintassi con il seguente comando:
nginx -t
L'output dovrebbe essere simile a quello di seguito:
nginx: the configuration file /etc/nginx/nginx.conf syntax is ok
nginx: configuration file /etc/nginx/nginx.conf test is successful
Infine, ricarica il servizio Nginx e PHP-FPM per applicare tutte le modifiche alla configurazione:
systemctl reload nginx
 systemctl restart php7.2-fpm
Puoi verificare lo stato di Nginx con il seguente comando:
systemctl status nginx
Dovresti vedere il seguente output:
? nginx.service - A high performance web server and a reverse proxy server
   Loaded: loaded (/lib/systemd/system/nginx.service; enabled; vendor preset: enabled)
   Active: active (running) since Mon 2019-07-22 05:07:19 UTC; 3s ago
     Docs: man:nginx(8)
  Process: 17781 ExecStop=/sbin/start-stop-daemon --quiet --stop --retry QUIT/5 --pidfile /run/nginx.pid (code=exited, status=0/SUCCESS)
  Process: 17793 ExecStart=/usr/sbin/nginx -g daemon on; master_process on; (code=exited, status=0/SUCCESS)
  Process: 17783 ExecStartPre=/usr/sbin/nginx -t -q -g daemon on; master_process on; (code=exited, status=0/SUCCESS)
 Main PID: 17794 (nginx)
    Tasks: 2 (limit: 1114)
   CGroup: /system.slice/nginx.service
           ??17794 nginx: master process /usr/sbin/nginx -g daemon on; master_process on;
           ??17796 nginx: worker process

Jul 22 05:07:19 ubuntu1804 systemd[1]: Stopped A high performance web server and a reverse proxy server.
Jul 22 05:07:19 ubuntu1804 systemd[1]: Starting A high performance web server and a reverse proxy server...
Jul 22 05:07:19 ubuntu1804 systemd[1]: nginx.service: Failed to parse PID from file /run/nginx.pid: Invalid argument
Jul 22 05:07:19 ubuntu1804 systemd[1]: Started A high performance web server and a reverse proxy server.
Una volta terminato, puoi procedere al passaggio successivo.
Accedi a Partecipa
Ora apri il tuo browser web e digita l'URL http://example.com. Verrai reindirizzato alla seguente pagina:
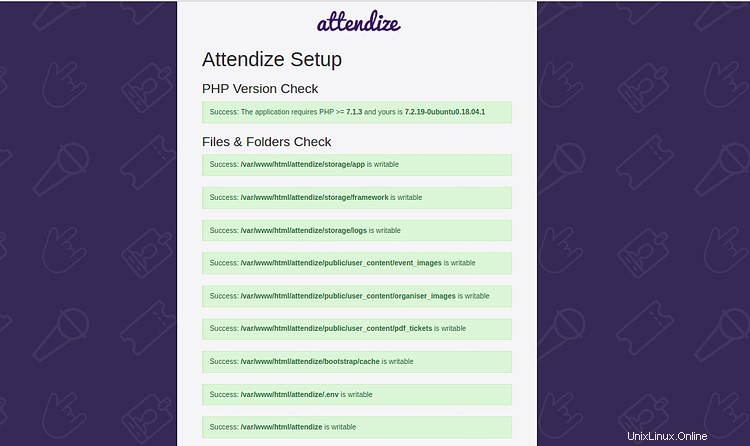
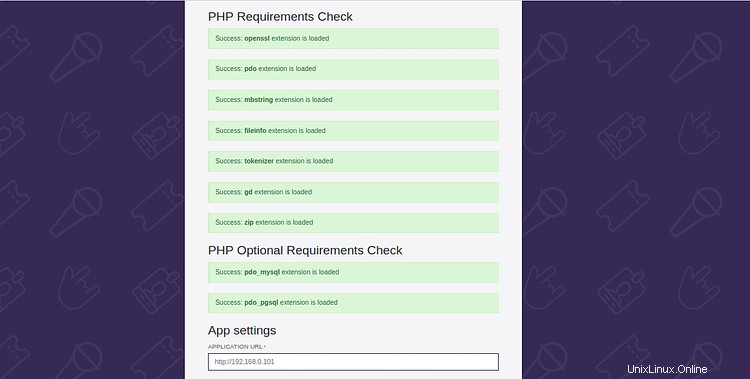
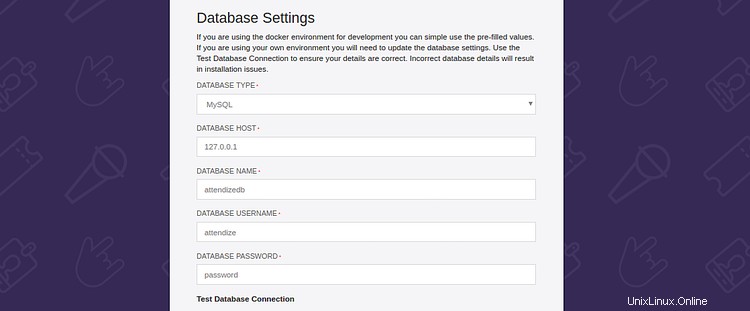
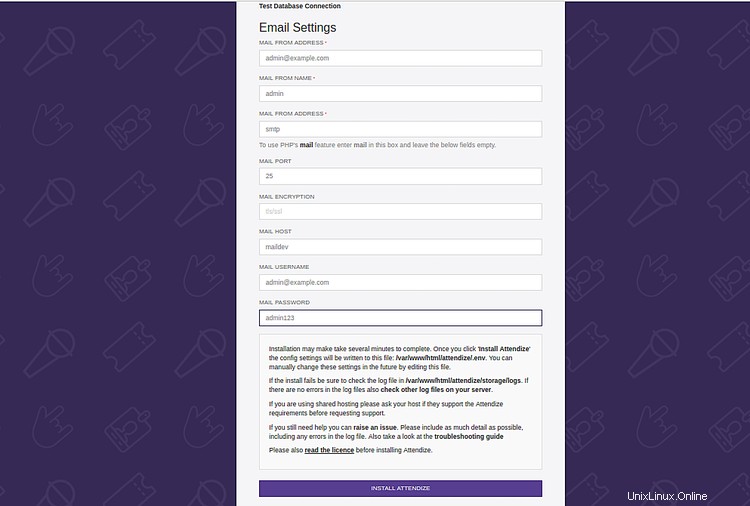
Assicurati che tutte le estensioni richieste siano installate. Quindi, fornisci le informazioni sul database, le informazioni e-mail e fai clic su INSTALLA ATTENZIONE pulsante. Dovresti vedere la seguente pagina:

Fornisci il tuo nome, indirizzo email e password. Quindi, fai clic su REGISTRATI pulsante. Dovresti vedere la seguente pagina:
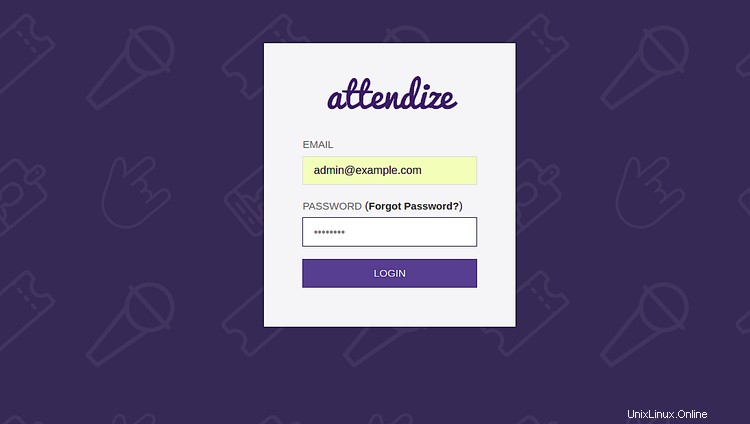
Ora, fornisci i tuoi dati di accesso e fai clic su LOGIN pulsante. Dovresti vedere la seguente pagina:
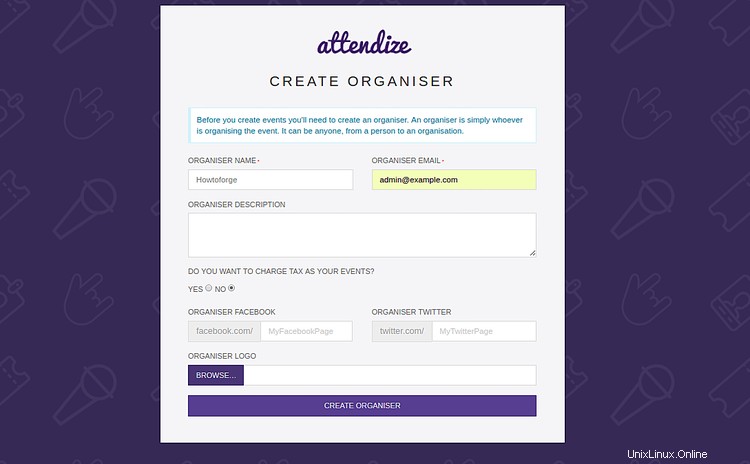
Ora, fornisci il nome dell'organizzatore, l'email, la descrizione e fai clic su CREA ORGANISER pulsante. Dovresti vedere la seguente pagina:
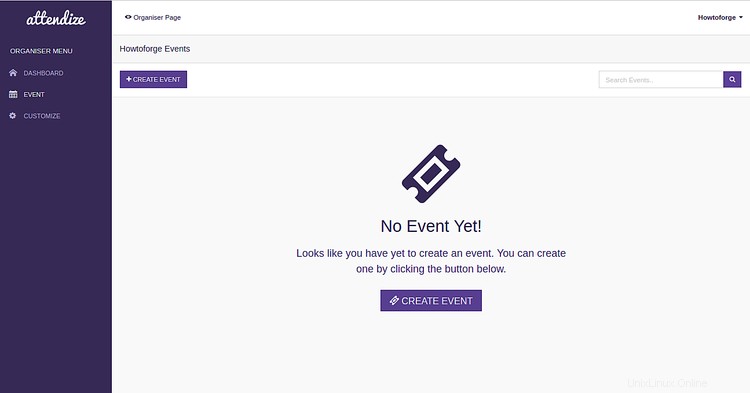
Congratulazioni! hai installato con successo l'applicazione Attendize per la vendita di biglietti e la gestione degli eventi nel tuo server Ubuntu 18.04. Ora puoi organizzare e gestire un numero illimitato di eventi senza alcun costo aggiuntivo utilizzando Attendize. Per ulteriori informazioni, puoi visitare la documentazione ufficiale di Attendize su Attendize Doc