Introduzione
Sovversione è un sistema di controllo della versione open source. Fondato nel 2000 da CollabNet, Inc., il progetto e il software Subversion hanno avuto un successo incredibile negli ultimi dieci anni. Subversion ha goduto e continua a godere di un'adozione diffusa sia nell'arena open source che nel mondo aziendale.
USVN facile da usare è un'interfaccia web scritta in PHP utilizzata per configurare i repository di Subversion. L'obiettivo è facilitare la creazione di nuovi progetti senza dover utilizzare l'interfaccia a riga di comando, quindi, magari senza un accesso privilegiato al server. USVN genererà quindi l'elenco degli utenti autorizzati ad accedere al codice sorgente. Ciò consente la delega dei diritti per amministrare i repository di Subversion.
Installa Apache Subversion (SVN)
USVN ha richiesto un server Web per la distribuzione. Quindi installeremo Apache HTTP Server.
# yum install -y httpdAvvia e attiva httpd servizio.
# systemctl start httpd
# systemctl enable httpd
Disattiva la Pagina di benvenuto di Apache HTTP Server.
# mv /etc/httpd/conf.d/welcome.conf /etc/httpd/conf.d/welcome.conf.orgDisattiva gli indici di directory nelle configurazioni di Apache HTTP Server quindi riavviare il servizio httpd con i seguenti comandi:
# cp /etc/httpd/conf/httpd.conf /etc/httpd/conf/httpd.conf.org
# sed -i "s/Options Indexes FollowSymLinks/Options FollowSymLinks/" /etc/httpd/conf/httpd.conf
# systemctl restart httpd
Quindi devi consentire il servizio http tramite il servizio firewalld con i comandi:
# firewall-cmd --permanent --add-service=http
# firewall-cmd --reload
Anche USVN richiede che un database MySQL sia un database back-end. Quindi installeremo mariadb database e php .
# yum install php mariadb-server php-mysql -yAvvia e attiva mariadb servizio.
# systemctl start mariadb
# systemctl enable mariadb
Configura il server mariadb con il comando:
[root@unixcop ~]# mysql_secure_installation
NOTE: RUNNING ALL PARTS OF THIS SCRIPT IS RECOMMENDED FOR ALL MariaDB
SERVERS IN PRODUCTION USE! PLEASE READ EACH STEP CAREFULLY!
In order to log into MariaDB to secure it, we'll need the current
password for the root user. If you've just installed MariaDB, and
you haven't set the root password yet, the password will be blank,
so you should just press enter here.
Enter current password for root (enter for none):
OK, successfully used password, moving on...
Setting the root password ensures that nobody can log into the MariaDB
root user without the proper authorisation.
Set root password? [Y/n] Y
New password:
Re-enter new password:
Password updated successfully!
Reloading privilege tables..
... Success!
By default, a MariaDB installation has an anonymous user, allowing anyone
to log into MariaDB without having to have a user account created for
them. This is intended only for testing, and to make the installation
go a bit smoother. You should remove them before moving into a
production environment.
Remove anonymous users? [Y/n] Y
... Success!
Normally, root should only be allowed to connect from 'localhost'. This
ensures that someone cannot guess at the root password from the network.
Disallow root login remotely? [Y/n] Y
... Success!
By default, MariaDB comes with a database named 'test' that anyone can
access. This is also intended only for testing, and should be removed
before moving into a production environment.
Remove test database and access to it? [Y/n] Y
- Dropping test database...
... Success!
- Removing privileges on test database...
... Success!
Reloading the privilege tables will ensure that all changes made so far
will take effect immediately.
Reload privilege tables now? [Y/n] Y
... Success!
Cleaning up...
All done! If you've completed all of the above steps, your MariaDB
installation should now be secure.
Thanks for using MariaDB!
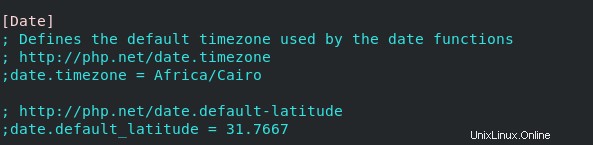
[root@unixcop ~]#Modifica anche il fuso orario nelle impostazioni php:
# vim /etc/php.iniE aggiungi il fuso orario a questa riga
date.timezone = Così
date.timezone = Africa/Cairo
Installa Apache Subversion e il modulo server Apache HTTP
Puoi scaricarli con questo comando qui sotto:
# yum install -y subversion mod_dav_svnInstalla SVN intuitivo (USVN)
Scarica ed estrai USVN su Apache HTTP Server. Basta seguire i comandi nei passaggi seguenti:
# cd /var/www/html[root@unixcop html]# wget https://github.com/usvn/usvn/archive/1.0.7.tar.gz
--2021-08-24 07:28:42-- https://github.com/usvn/usvn/archive/1.0.7.tar.gz
Resolving github.com (github.com)... 192.30.255.113
Connecting to github.com (github.com)|192.30.255.113|:443... connected.
HTTP request sent, awaiting response... 302 Found
Location: https://codeload.github.com/usvn/usvn/tar.gz/1.0.7 [following]
--2021-08-24 07:28:42-- https://codeload.github.com/usvn/usvn/tar.gz/1.0.7
Resolving codeload.github.com (codeload.github.com)... 192.30.255.120
Connecting to codeload.github.com (codeload.github.com)|192.30.255.120|:443... connected.
HTTP request sent, awaiting response... 200 OK
Length: unspecified [application/x-gzip]
Saving to: ‘1.0.7.tar.gz’
[ <=> ] 4,577,871 5.77MB/s in 0.8s
2021-08-24 07:28:43 (5.77 MB/s) - ‘1.0.7.tar.gz’ saved [4577871]
[root@unixcop html]#Estrai il file tar scaricato:
[root@unixcop html]# tar xvf 1.0.7.tar.gz Rinomina il file estratto in usvn:
[root@unixcop html]# mv usvn-1.0.7 usvnQuindi vai alla directory usvn e crea la directory dei file impostando alcune autorizzazioni per le cartelle richieste con i comandi seguenti:
[root@unixcop html]# cd usvn
[root@unixcop usvn]# mkdir files
[root@unixcop usvn]# chmod -R g+w {public,files,config}
[root@unixcop usvn]# chgrp -R apache /var/www/html/usvn
[root@unixcop usvn]# restorecon -R /var/www/html/usvn
Infine, Configura l'applicazione USVN su Apache Server.
[root@unixcop usvn]# vim /etc/httpd/conf.d/usvn.conf Quindi aggiungi quanto segue:
<Directory /var/www/html/usvn/>
AllowOverride All
Require all granted
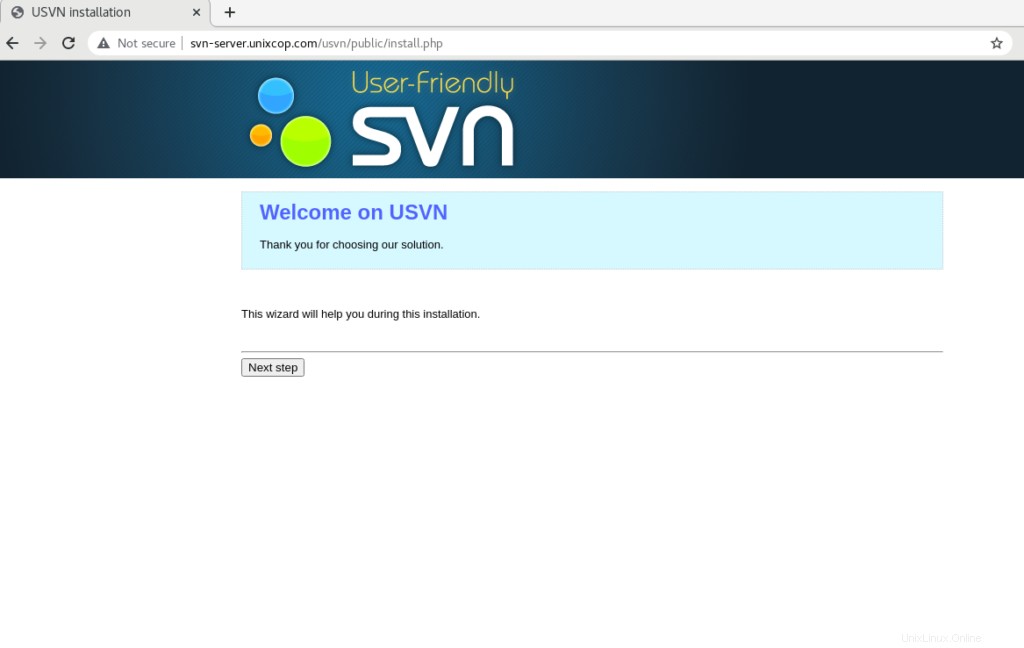
</Directory>Nel browser apri http://indirizzo_ip/usvn/public/install.php per avviare l'installazione.
Oppure apri http://svn-server.unixcop.com/usvn/public/install.php e avvia l'installazione di USVN.
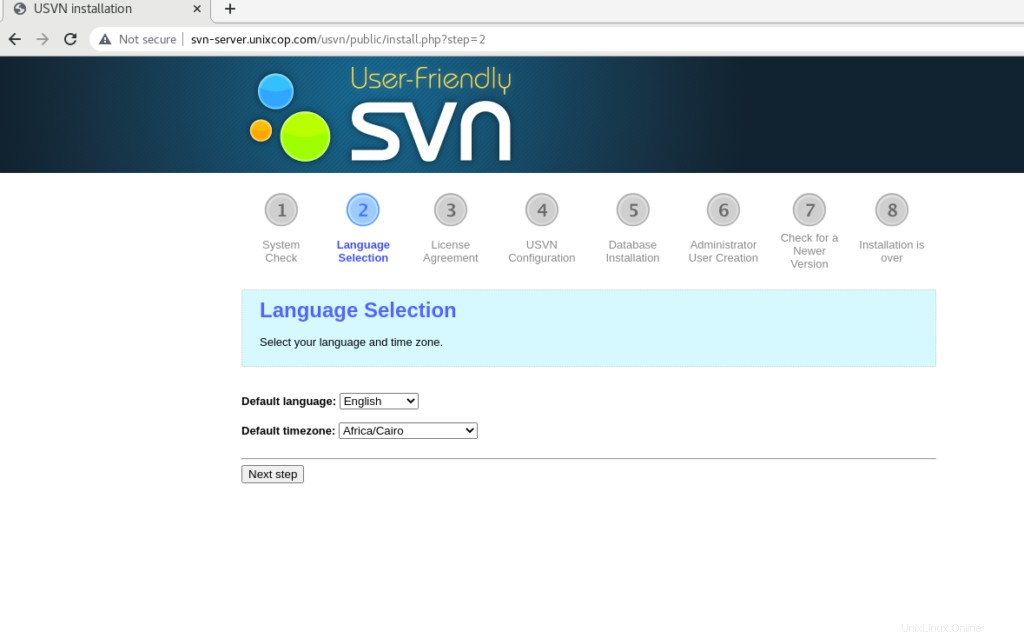
Seleziona la lingua e il fuso orario.
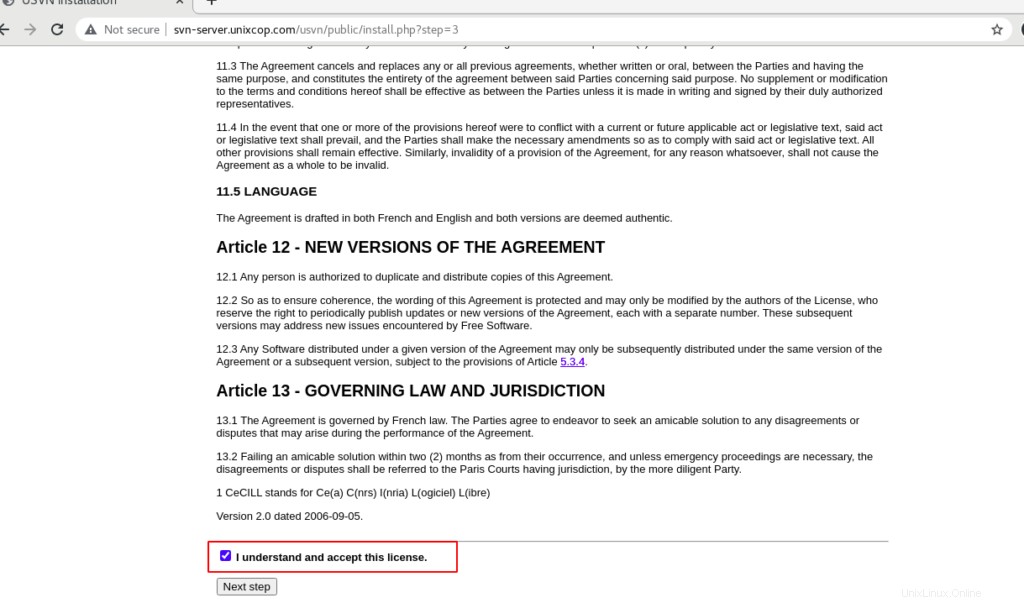
Seleziona Comprendo e accetto questa licenza quindi fare clic su Passaggio successivo .
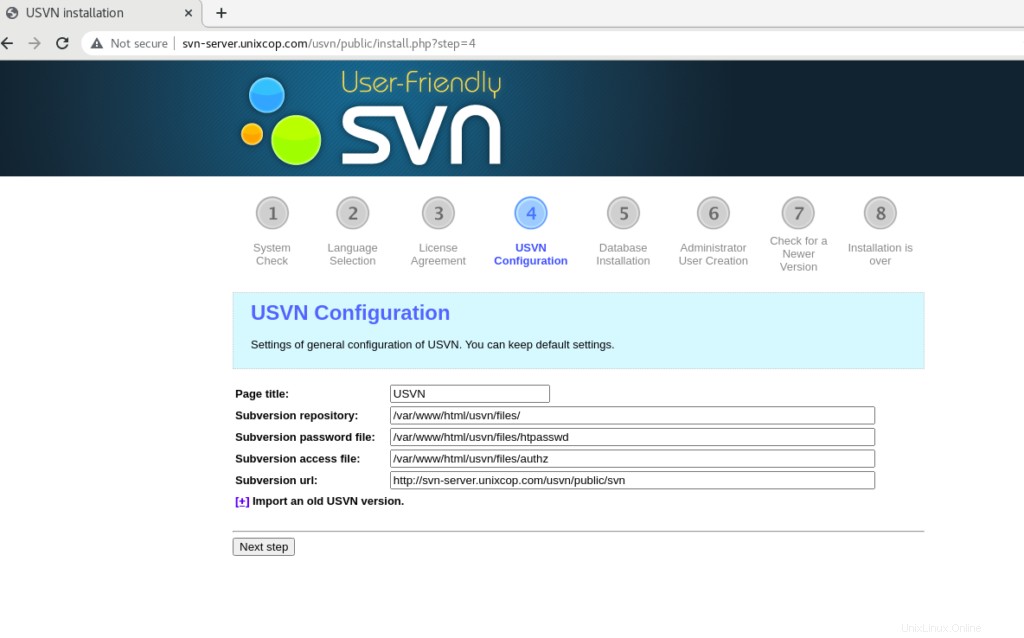
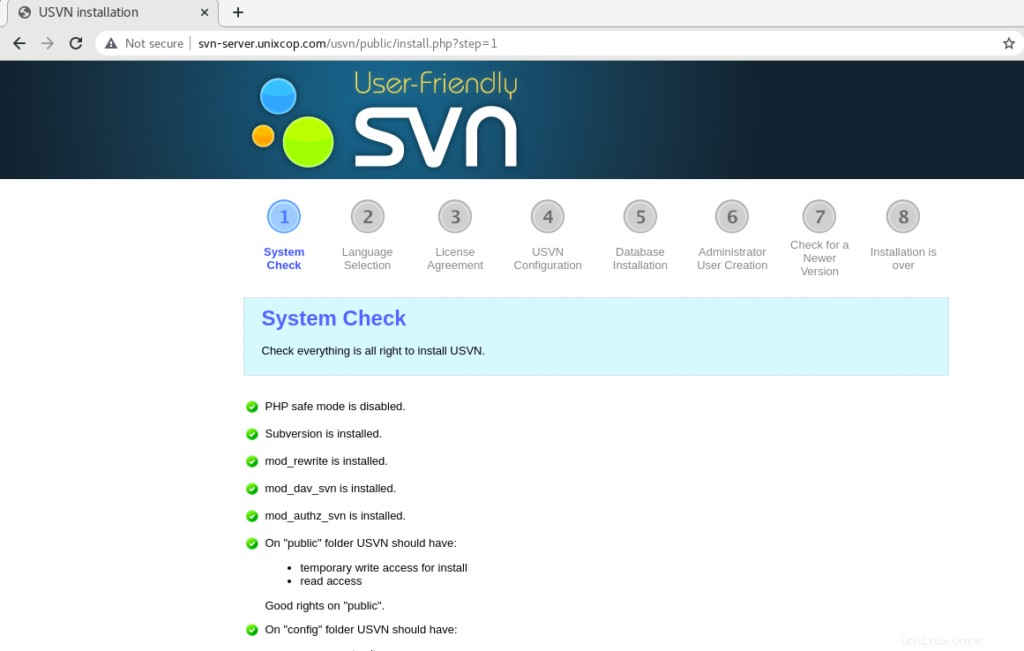
Fai clic su Passaggio successivo .
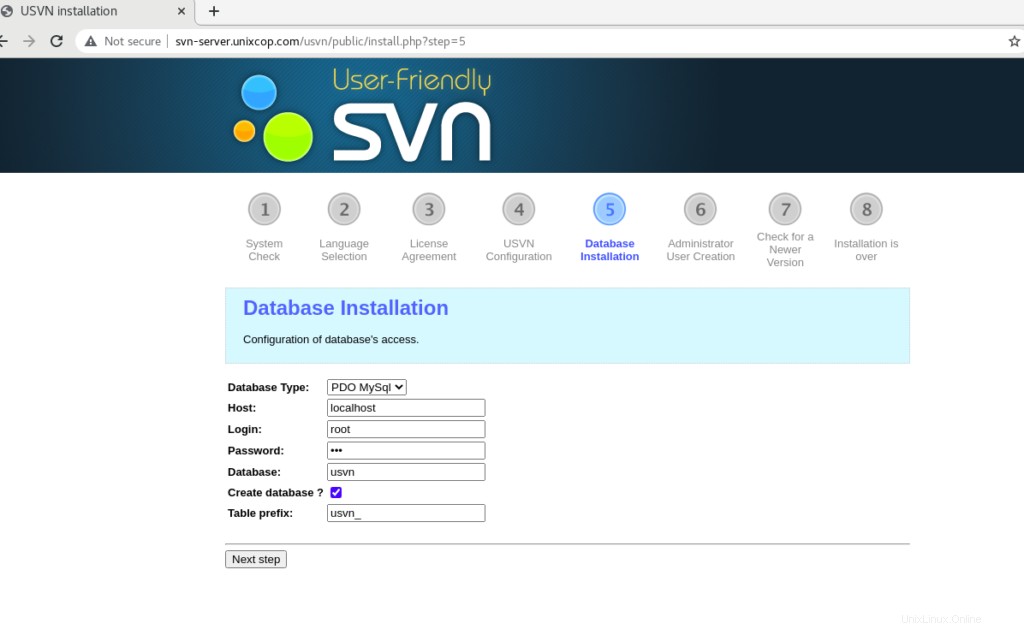
Fornisci la password del database e controlla Crea database? quindi fai clic su Avanti .
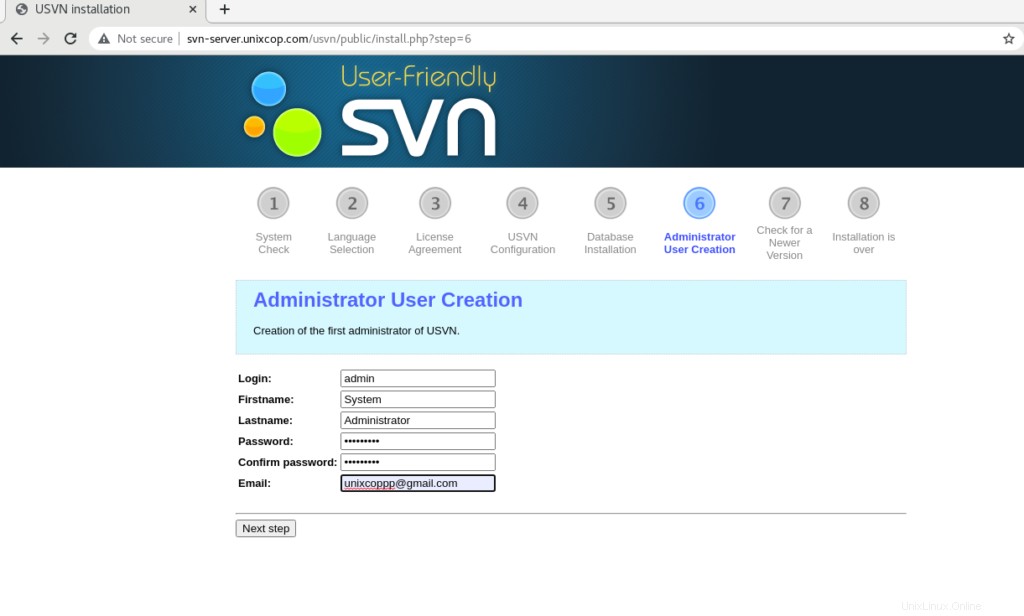
Crea un amministratore USVN, quindi fai clic su Passaggio successivo.
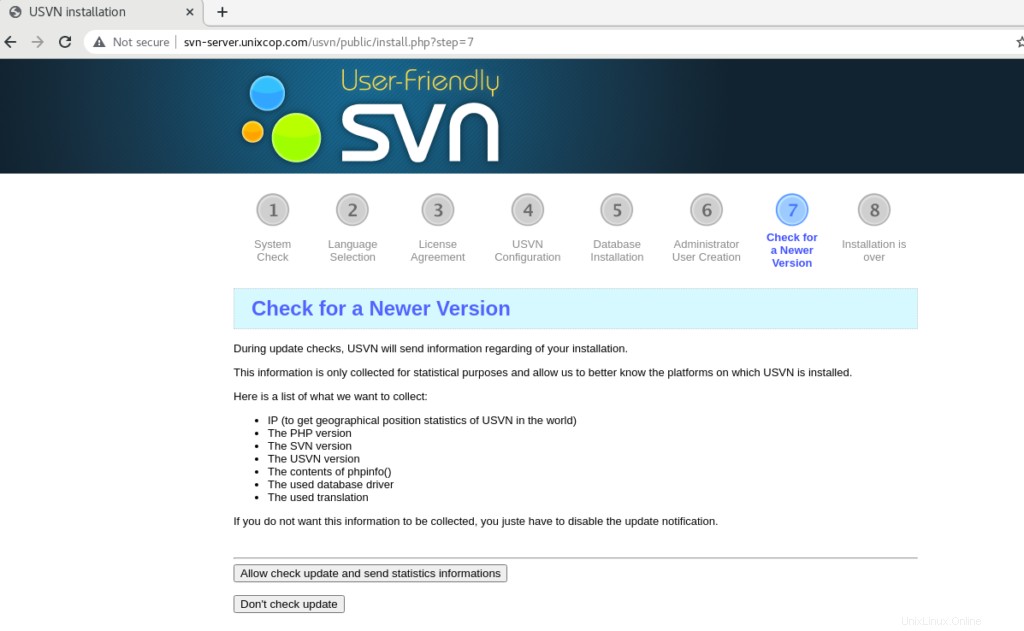
Disattiva i controlli automatici per le versioni aggiornate di USVN o Consenti.
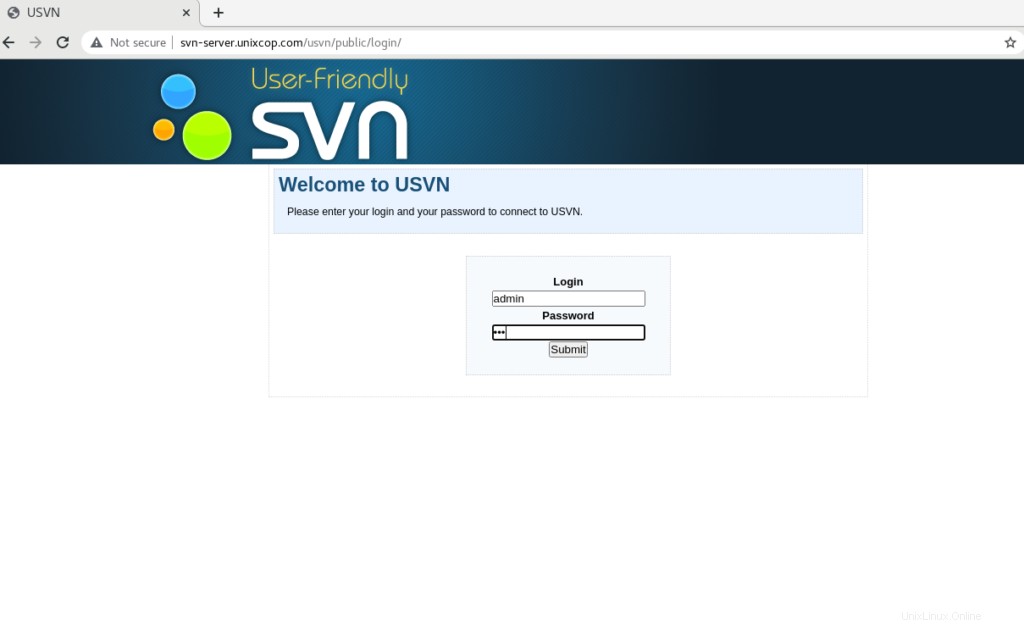
Verrai reindirizzato alla pagina di accesso con l'utente amministratore. Quindi inserisci il nome utente (admin) e la password corretta che hai appena creato.
Conclusione
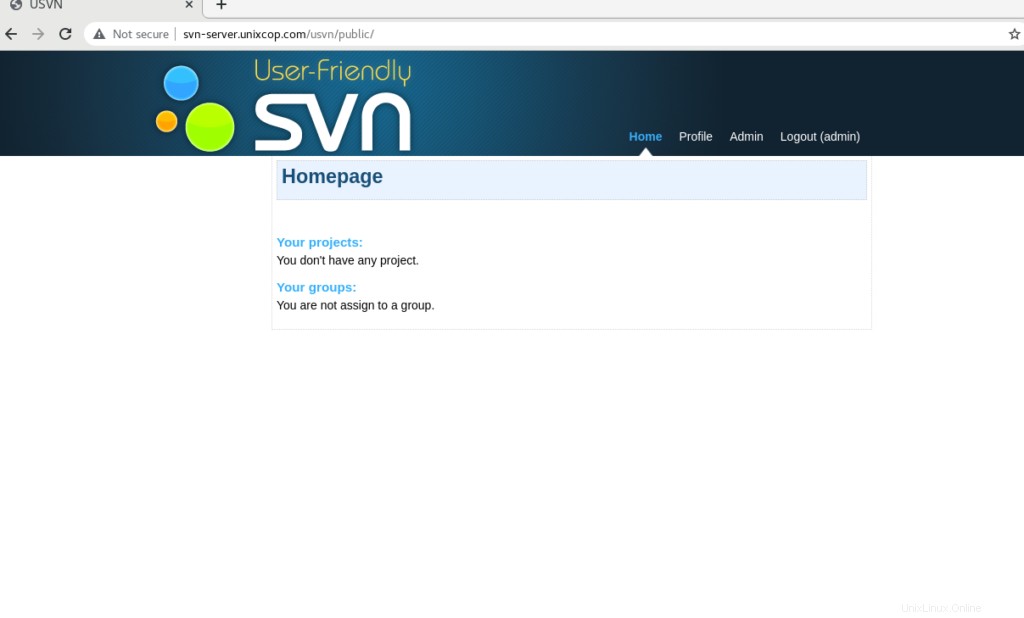
Quindi abbiamo installato con successo (USVN) Application e Apache Subversion (SVN) .
Questo tutorial per imparare a installare Subversion e USVN (Apache SVN) su CentOS 8.