WordPress è un sistema di gestione dei contenuti (CMS) ampiamente utilizzato per creare blog, siti Web, portali di e-commerce e molto altro. È scritto in linguaggio PHP e utilizza MariaDB o MySQL come database.
WordPress alimenta oltre 60 milioni di siti Web, incluso il 33% dei primi 10 milioni di siti Web.
Ecco il tutorial su come installare WordPress con Nginx su CentOS 8 / RHEL 8.
Installa lo stack LEMP
Prima di procedere, imposta lo stack LEMP utilizzando il link sottostante.
Installa LEMP Stack (Nginx, MariaDB e PHP) su CentOS 8 / RHEL 8
Installa estensioni PHP
Le seguenti estensioni sono necessarie per installare WordPress su CentOS 8 / RHEL 8.
yum install -y php-mysqlnd php-dom php-simplexml php-xml php-xmlreader php-curl php-exif php-ftp php-gd php-iconv php-json php-mbstring php-posix php-sockets php-tokenizer
Configura il blocco del server Nginx per WordPress
Creiamo un blocco server per l'installazione di WordPress. I file di configurazione dell'host virtuale possono essere trovati nella directory /etc/nginx/conf.d.
Sto creando un blocco server per quanto segue,
Nome di dominio: www.itzgeek.net
Porta n.: 80
Radice del documento: /sites/www.itzgeek.net/public_html
Registri: /sites/www.itzgeek.net/logs
Innanzitutto, crea un file host virtuale.
vi /etc/nginx/conf.d/www.itzgeek.net.conf
Inserisci il seguente contenuto.
server {
	listen 80;
	server_name www.itzgeek.net;

	root /sites/www.itzgeek.net/public_html/;

	index index.html index.php;

	access_log /sites/www.itzgeek.net/logs/access.log;
	error_log /sites/www.itzgeek.net/logs/error.log;

	# Don't allow pages to be rendered in an iframe on external domains.
	add_header X-Frame-Options "SAMEORIGIN";

	# MIME sniffing prevention
	add_header X-Content-Type-Options "nosniff";

	# Enable cross-site scripting filter in supported browsers.
	add_header X-Xss-Protection "1; mode=block";

	# Prevent access to hidden files
	location ~* /\.(?!well-known\/) {
		deny all;
	}

	# Prevent access to certain file extensions
	location ~\.(ini|log|conf)$ {
		deny all;
	}

        # Enable WordPress Permananent Links
	location / {
		try_files $uri $uri/ /index.php?$args;
	}

	location ~ \.php$ {
        include /etc/nginx/fastcgi_params;
        fastcgi_pass 127.0.0.1:9000;
        fastcgi_index index.php;
        fastcgi_param SCRIPT_FILENAME $document_root$fastcgi_script_name;
	}

}
Crea la radice del documento e la directory dei registri.
sudo mkdir -p /sites/www.itzgeek.net/public_html/

sudo mkdir -p /sites/www.itzgeek.net/logs/
Verifica i file di configurazione.
nginx -t
L'output seguente conferma che non vi è alcun errore di sintassi nel blocco del server.
nginx: the configuration file /etc/nginx/nginx.conf syntax is ok
nginx: configuration file /etc/nginx/nginx.conf test is successful
Riavvia i servizi.
systemctl restart nginx

systemctl restart php-fpm
Se ricevi un errore durante il riavvio del servizio Nginx, disabilita SELinux sulla tua macchina.
setenforce 0
Installa Let's Encrypt SSL per WordPress (opzionale)
Al giorno d'oggi, quasi tutti i siti Web utilizzano HTTPS (certificato SSL) per l'autenticità, la sicurezza e per mantenere private le comunicazioni degli utenti. L'anno scorso Google ha chiesto ai proprietari di passare a HTTPS per motivi di sicurezza e migliorare le classifiche.
Installa Certbot
Devi installare un client Certbot ACME sul tuo sistema per l'emissione del certificato e l'installazione di un certificato senza tempi di inattività.
Il client Certbot non è disponibile nei repository Red Hat. Quindi, dobbiamo scaricare un client Certbot dal suo sito ufficiale.
curl -O https://dl.eff.org/certbot-auto

mv certbot-auto /usr/local/bin/certbot-auto

chmod 0755 /usr/local/bin/certbot-auto
Aggiorna/Modifica record DNS
Vai al tuo registrar di domini e crea/aggiorna il record A/CNAME per il tuo dominio.

Attendi un po' di tempo per consentire la propagazione del record DNS, quindi procedi con l'installazione di Let's Encrypt SSL.
Installa il certificato SSL Let's Encrypt
Usa il comando certbot per creare e installare un certificato Let's Encrypt.
/usr/local/bin/certbot-auto --nginx
Alla prima esecuzione, il client certbot installerà i pacchetti rpm necessari per configurare un ambiente virtuale Python per generare certificati.
Risultato:
Saving debug log to /var/log/letsencrypt/letsencrypt.log
Plugins selected: Authenticator nginx, Installer nginx
Enter email address (used for urgent renewal and security notices) (Enter 'c' to
cancel): itzgeek.web@gmail.com  << Enter email id to receive notification

- - - - - - - - - - - - - - - - - - - - - - - - - - - - - - - - - - - - - - - -
Please read the Terms of Service at
https://letsencrypt.org/documents/LE-SA-v1.2-November-15-2017.pdf. You must
agree in order to register with the ACME server at
https://acme-v02.api.letsencrypt.org/directory
- - - - - - - - - - - - - - - - - - - - - - - - - - - - - - - - - - - - - - - -
(A)gree/(C)ancel: A  << Accept Terms of Service

- - - - - - - - - - - - - - - - - - - - - - - - - - - - - - - - - - - - - - - -
Would you be willing to share your email address with the Electronic Frontier
Foundation, a founding partner of the Let's Encrypt project and the non-profit
organization that develops Certbot? We'd like to send you email about our work
encrypting the web, EFF news, campaigns, and ways to support digital freedom.
- - - - - - - - - - - - - - - - - - - - - - - - - - - - - - - - - - - - - - - -
(Y)es/(N)o: Y  << Subscribe to newsletter

Which names would you like to activate HTTPS for?
- - - - - - - - - - - - - - - - - - - - - - - - - - - - - - - - - - - - - - - -
1: www.itzgeek.net
- - - - - - - - - - - - - - - - - - - - - - - - - - - - - - - - - - - - - - - -
Select the appropriate numbers separated by commas and/or spaces, or leave input
blank to select all options shown (Enter 'c' to cancel): 1  << Install SSL certificate for www.itzgeek.net
Obtaining a new certificate
Performing the following challenges:
http-01 challenge for www.itzgeek.net
Waiting for verification...
Cleaning up challenges
Deploying Certificate to VirtualHost /etc/nginx/conf.d/wordpress.conf

Please choose whether or not to redirect HTTP traffic to HTTPS, removing HTTP access.
- - - - - - - - - - - - - - - - - - - - - - - - - - - - - - - - - - - - - - - -
1: No redirect - Make no further changes to the webserver configuration.
2: Redirect - Make all requests redirect to secure HTTPS access. Choose this for
new sites, or if you're confident your site works on HTTPS. You can undo this
change by editing your web server's configuration.
- - - - - - - - - - - - - - - - - - - - - - - - - - - - - - - - - - - - - - - -
Select the appropriate number [1-2] then [enter] (press 'c' to cancel): 2  << Redirect HTTP traffic to HTTPS site
Redirecting all traffic on port 80 to ssl in /etc/nginx/conf.d/wordpress.conf

- - - - - - - - - - - - - - - - - - - - - - - - - - - - - - - - - - - - - - - -
Congratulations! You have successfully enabled https://www.itzgeek.net

You should test your configuration at:
https://www.ssllabs.com/ssltest/analyze.html?d=www.itzgeek.net
- - - - - - - - - - - - - - - - - - - - - - - - - - - - - - - - - - - - - - - -

IMPORTANT NOTES:
 - Congratulations! Your certificate and chain have been saved at:
   /etc/letsencrypt/live/www.itzgeek.net/fullchain.pem
   Your key file has been saved at:
   /etc/letsencrypt/live/www.itzgeek.net/privkey.pem
   Your cert will expire on 2019-12-17. To obtain a new or tweaked
   version of this certificate in the future, simply run certbot-auto
   again with the "certonly" option. To non-interactively renew *all*
   of your certificates, run "certbot-auto renew"
 - Your account credentials have been saved in your Certbot
   configuration directory at /etc/letsencrypt. You should make a
   secure backup of this folder now. This configuration directory will
   also contain certificates and private keys obtained by Certbot so
   making regular backups of this folder is ideal.
 - If you like Certbot, please consider supporting our work by:

   Donating to ISRG / Let's Encrypt:   https://letsencrypt.org/donate
   Donating to EFF:                    https://eff.org/donate-le
Reindirizza le richieste HTTP non www a www HTTPS con Nginx
Dobbiamo reindirizzare il traffico proveniente da un sito HTTP non www al sito HTTPS www. Per il mio sito, è http://itzgeek.net>> https://www.itzgeek.net .
vi /etc/nginx/conf.d/www.itzgeek.net.conf
Aggiungi il reindirizzamento sotto il blocco alla fine del file.
# Redirect NON-WWW HTTP to WWW HTTPS
server {
    if ($host = itzgeek.net) {
        return 301 https://www.itzgeek.net$request_uri;
    }


   server_name itzgeek.net;
    listen 80;
    return 404;

}
Riavvia il servizio Nginx.
systemctl restart nginx
Crea database per WordPress
Accedi a MariaDB.
mysql -u root -p
Crea il database desiderato per l'installazione di WordPress.
CREATE DATABASE wordpress;
Crea un utente.
CREATE USER 'wpuser'@'localhost' IDENTIFIED BY 'wppassword';
Concedi all'utente creato l'autorizzazione completa per accedere al database WordPress appena creato.
GRANT ALL PRIVILEGES ON wordpress.* TO 'wpuser'@'localhost';
Esci dalla shell di MariaDB.
exit
Scarica WordPress
Scarica l'ultimo WordPress.
curl -O https://wordpress.org/latest.tar.gz
Estrailo.
tar -zxvf latest.tar.gz
Spostalo nella nostra radice del documento.
mv wordpress/* /sites/www.itzgeek.net/public_html/
Copia il file wp-sample-config.php e impostalo come file wp-config.php.
cp /sites/www.itzgeek.net/public_html/wp-config-sample.php /sites/www.itzgeek.net/public_html/wp-config.php
Modifica il file di configurazione e aggiorna le informazioni sul database.
vi /sites/www.itzgeek.net/public_html/wp-config.php
Modifica le voci in base al database, all'utente e alla password creati.
// ** MySQL settings - You can get this info from your web host ** //
/** The name of the database for WordPress */
define( 'DB_NAME', 'wordpress' );

/** MySQL database username */
define( 'DB_USER', 'wpuser' );

/** MySQL database password */
define( 'DB_PASSWORD', 'wppassword' );

/** MySQL hostname */
define( 'DB_HOST', 'localhost' );
Rendi l'utente Nginx come proprietario della directory di WordPress.
chown -R apache:apache /sites/www.itzgeek.net/public_html/
Installa WordPress
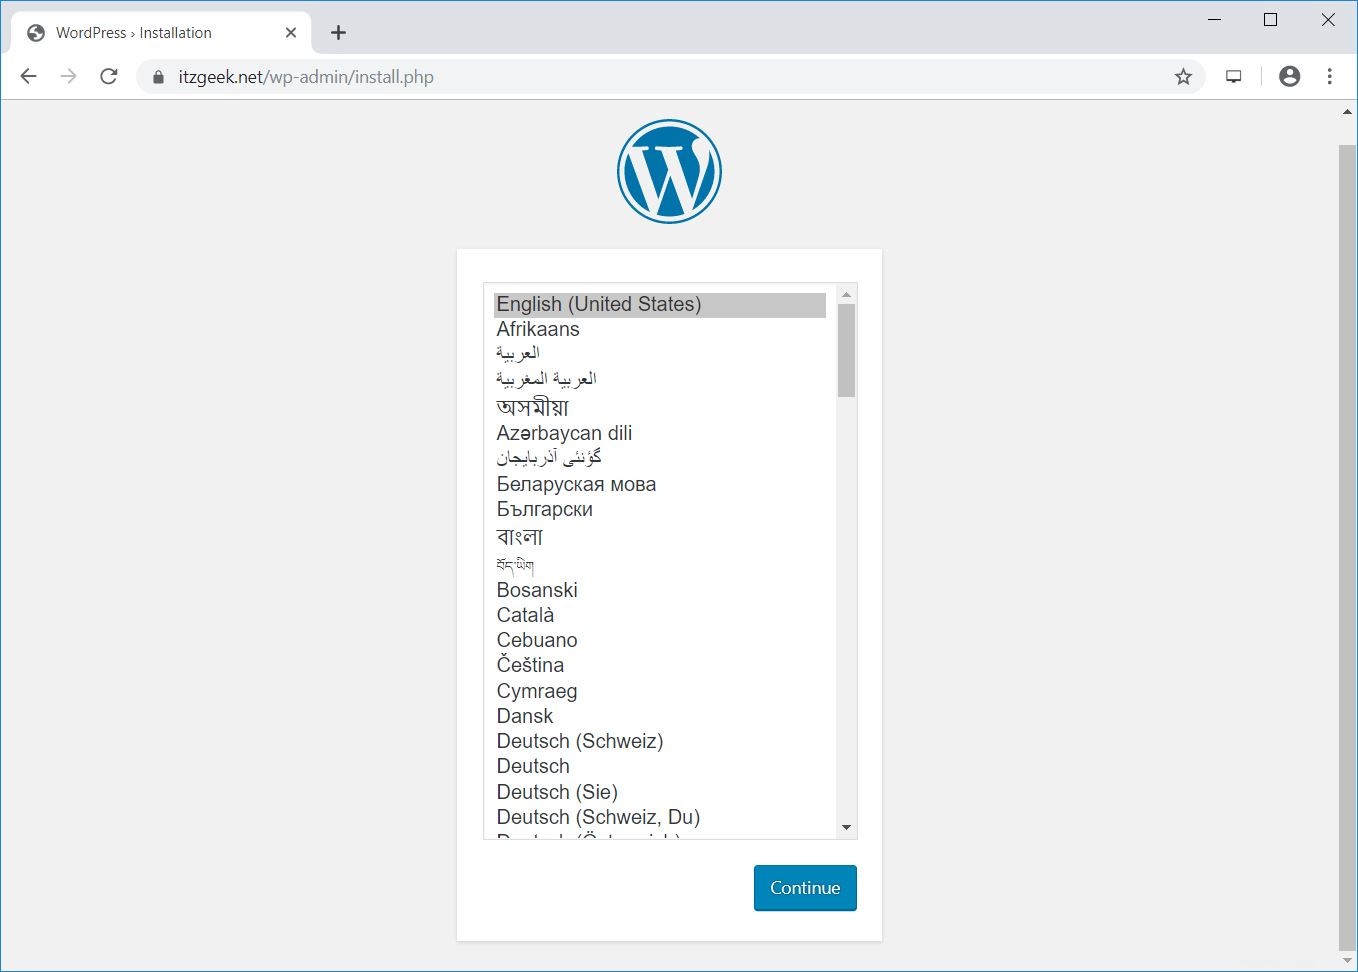
Apri il browser e visita
http://URL-del-tuo-sito-webScegli una lingua per la tua installazione di WordPress.
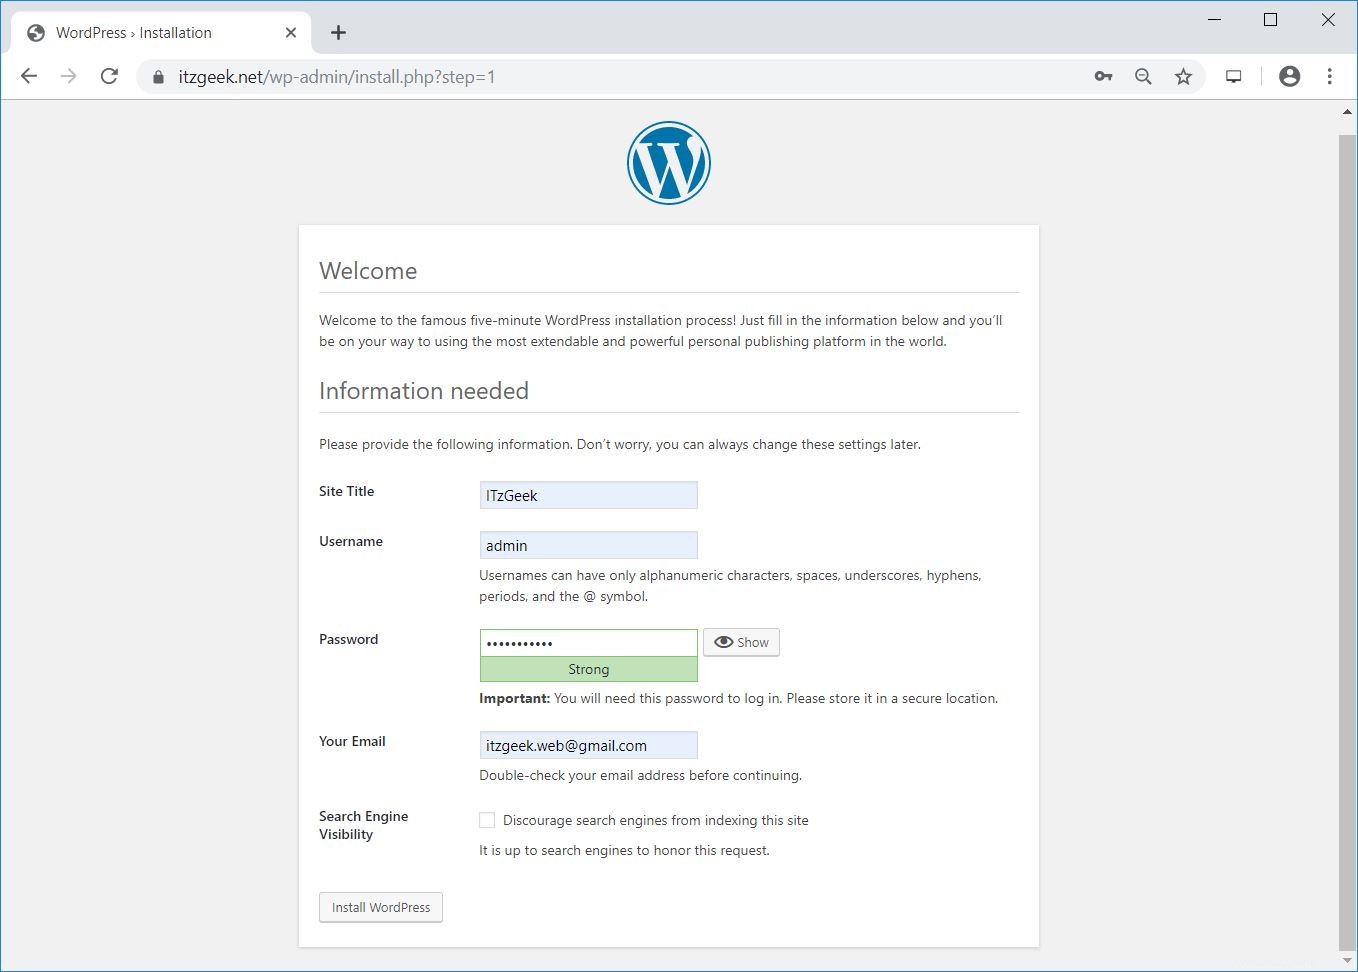
Inserisci le informazioni del tuo sito e fai clic su Installa WordPress.
Vedrai la pagina successiva, come di seguito.
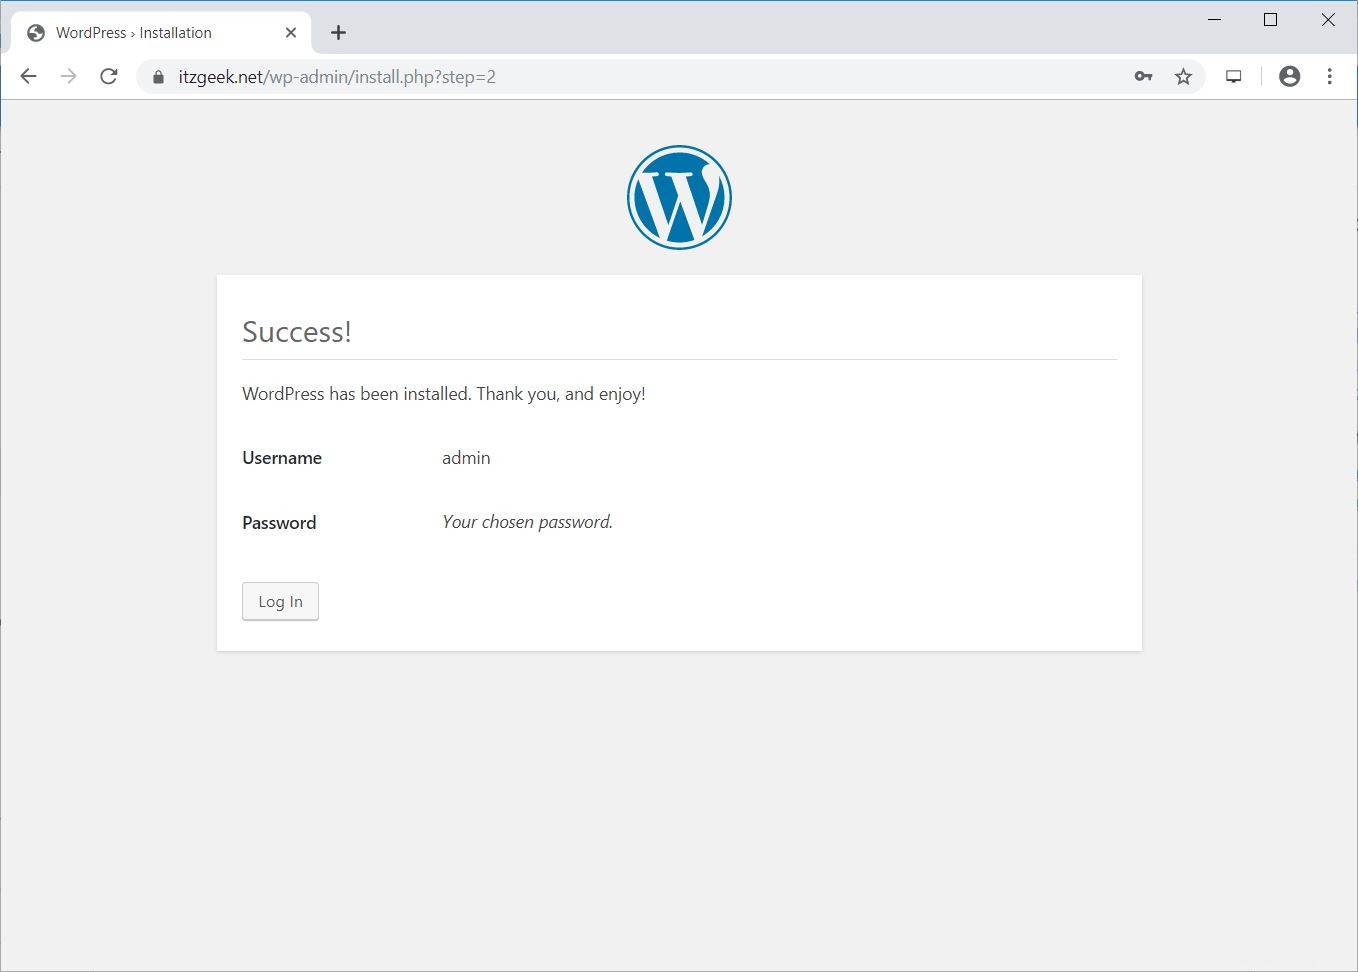
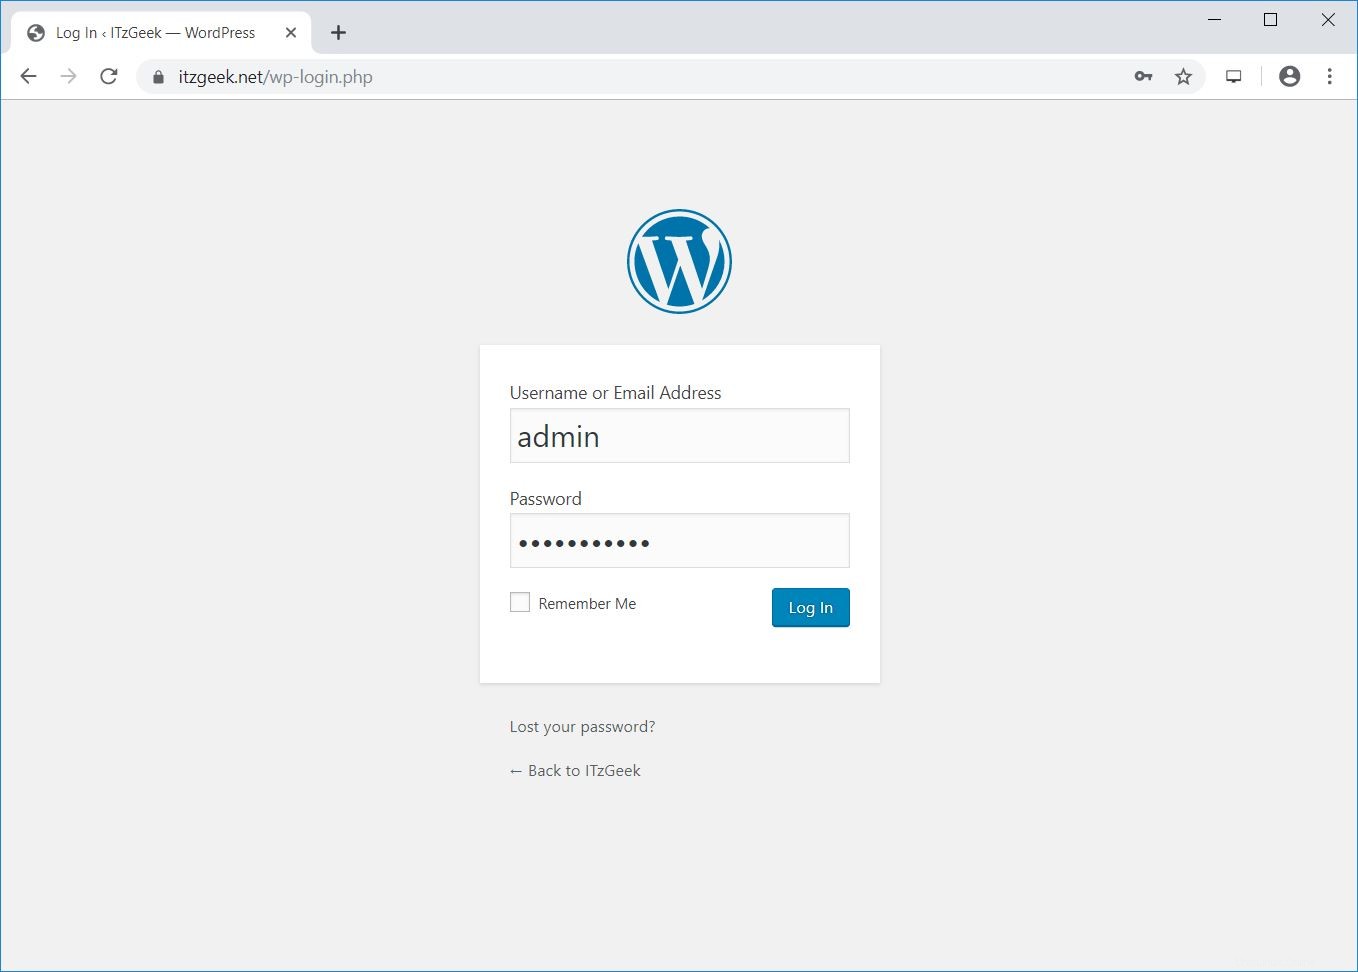
Se fai clic su Accedi, ti verrà chiesto di inserire la password per accedere all'amministratore di WordPress.
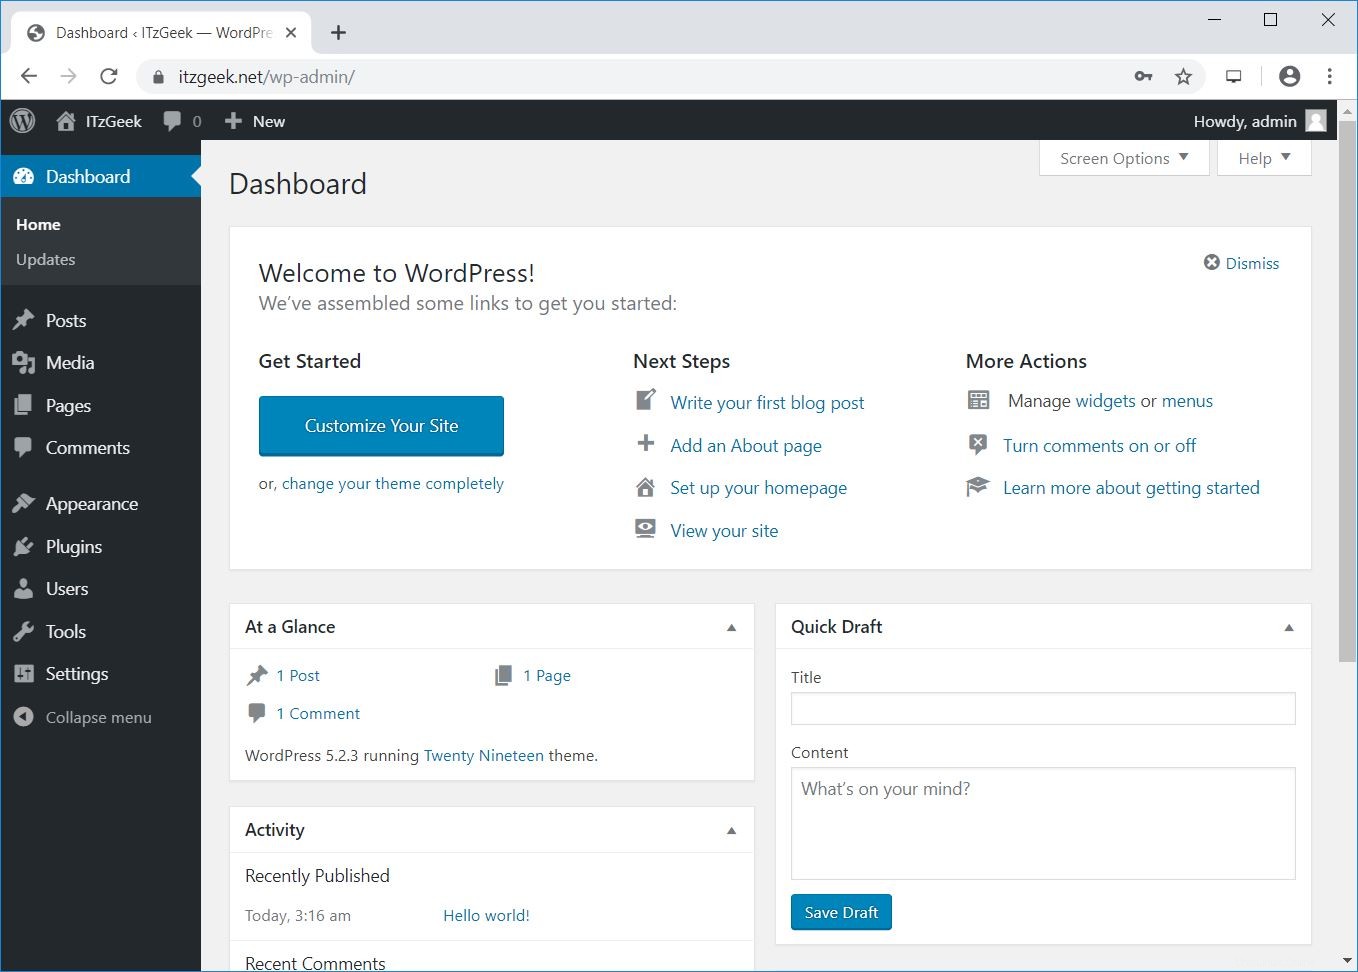
Dashboard di amministrazione di WordPress:
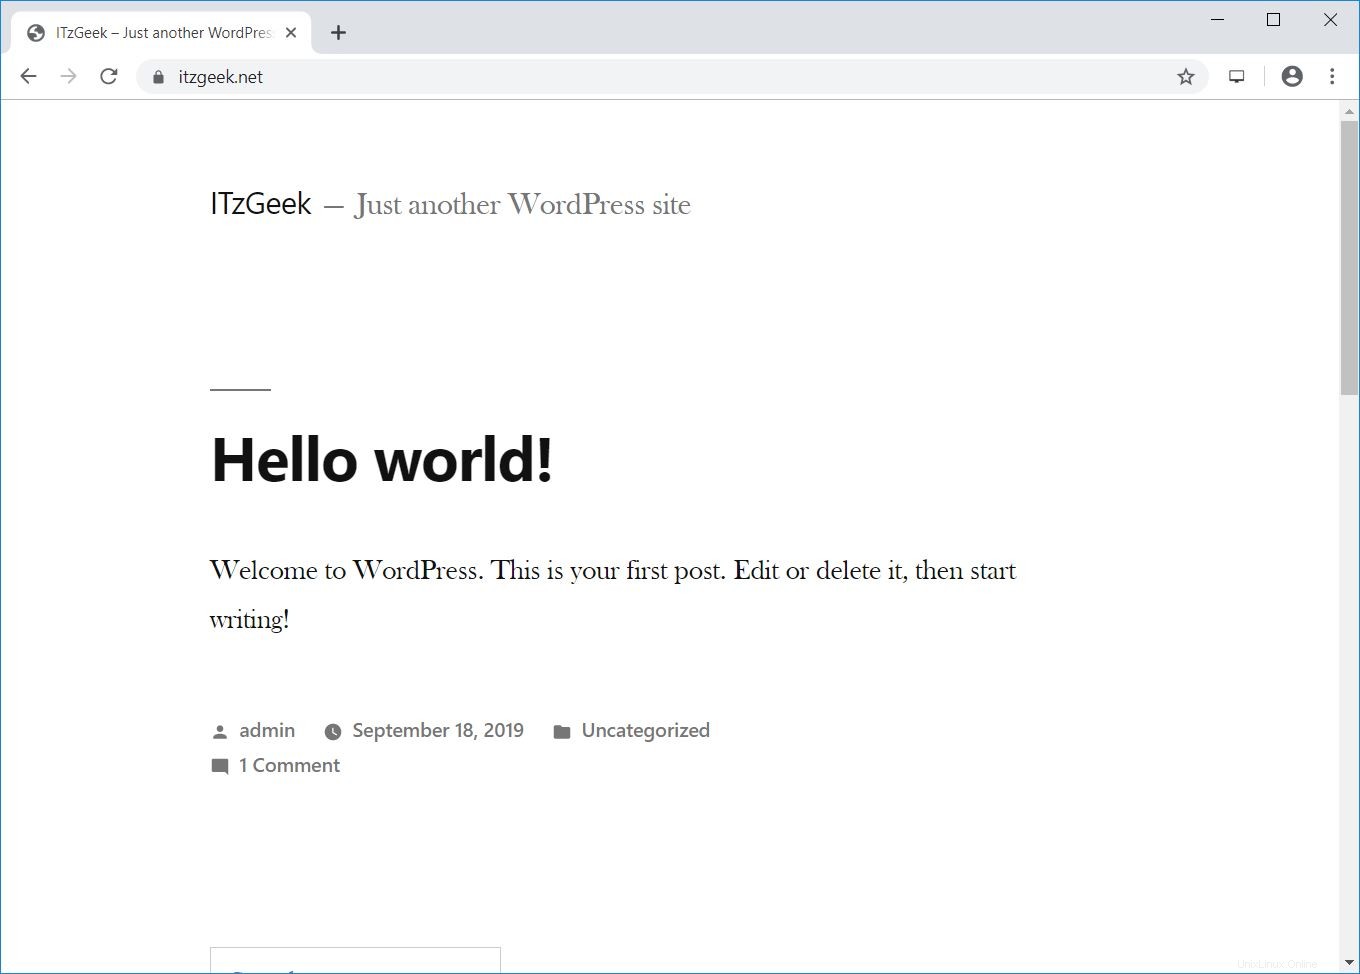
WordPress Frontend:
Poche configurazioni extra
Configura il caricamento della dimensione massima del file per WordPress
Per impostazione predefinita, PHP non consente il caricamento di file superiori a 2 MB. Per consentire caricamenti di file più grandi, configura l'impostazione upload_max_filesize in php.ini.
vi /etc/php.ini
Modifica la dimensione del caricamento del file secondo le tue esigenze
; Maximum allowed size for uploaded files.
; http://php.net/upload-max-filesize
upload_max_filesize = 256M
Riavvia il servizio php-fpm.
systemctl restart php-fpm
Imposta client_max_body_size su Nginx per WordPress
Potresti ricevere l'errore di seguito anche se hai modificato la dimensione massima del file di caricamento nel passaggio precedente.
2019/09/18 03:37:17 [error] 11773#11773: *121 client intended to send too large body: 9872781 bytes, client: 49.207.143.143, server: www.itzgeek.net, request: "POST /wp-admin/update.php?action=upload-theme HTTP/1.1", host: "www.itzgeek.net", referrer: "https://www.itzgeek.net/wp-admin/theme-install.php?browse=featured"
Aggiungi il modulo core client_max_body_size nel file di configurazione di Nginx.
vi /etc/nginx/nginx.conf
La direttiva può essere aggiunta al blocco http (per tutti i siti), a un particolare blocco di server o nel contesto della posizione.
Qui, sto aggiungendo la direttiva al blocco http che imposta il valore per tutti i siti in esecuzione su questo server.
http {
....

    client_max_body_size 256M;

....
}
Inoltre, dobbiamo modificare il valore di post_max_size nel file php.ini.
vi /etc/php.ini
Modifica la dimensione del caricamento secondo le tue esigenze.
post_max_size = 256M
Riavvia i servizi.
systemctl restart php-fpm

systemctl restart nginx
Conclusione
È tutto. Spero che ora tu sia in grado di eseguire il tuo WordPress con Nginx su CentOS 8 / RHEL 8. Condividi il tuo feedback nella sezione commenti.