phpMyAdmin è lo strumento di amministrazione basato sul web per la gestione dei server MySQL e MariaDB. Aiuta nell'esecuzione di attività di database come creazione, eliminazione, query, tabelle, colonne, relazioni, indici, utenti, autorizzazioni, ecc.
Questa guida ti aiuterà a installare phpMyAdmin con Apache su CentOS 7 / RHEL 7.
Prerequisiti
phpMyAdmin richiede PHP v7.13 o successivo e supporta MySQL/MariaDB v5.5 o successivo.In questa guida utilizzerò PHP 7.3 per phpMyAdmin.
Installa il server MySQL/MariaDB
Prima di installare phpMyAdmin, installa un'istanza di database sul tuo sistema per connetterti. Puoi installarlo come database autonomo o installarlo come parte dello stack LAMP.
Installa il database e poi i pacchetti richiesti mostrati di seguito.
Database autonomo
LEGGI: Come installare MariaDB su CentOS 7 / RHEL 7
yum install -y https://rpms.remirepo.net/enterprise/remi-release-7.rpm

yum install --enablerepo=remi-php73 -y httpd php php-cli php-mysqlnd
Pila LAMPADA
LEGGI: Come installare lo stack LAMP su CentOS 7 / RHEL 7
Installa phpMyAdmin
phpMyAdmin è disponibile in EPEL. Quindi, installa EPEL repository rpm per configurare EPEL repository sul tuo sistema.
rpm -Uvh https://dl.fedoraproject.org/pub/epel/epel-release-latest-7.noarch.rpm
Installa phpMyAdmin usando il seguente comando.
yum install -y --enablerepo=remi-php73 phpmyadmin
Configura phpMyAdmin
phpMyAdmin inserisce i file di configurazione nella directory /etc/httpd/conf.d. Ha regole e autorizzazioni per l'accesso.
Per impostazione predefinita, è possibile accedere a phpMyAdmin solo da localhost. Per accedere a phpMyadmin da macchine esterne, dobbiamo modificare il file phpMyAdmin.conf.
vi /etc/httpd/conf.d/phpMyAdmin.conf
In CentOS 7, l'accesso al Web è gestito dal modulo mod_authz_core.c. Quindi, le regole Consenti o Nega non funzioneranno anche se modifichi.
La configurazione predefinita apparirà come di seguito.
# phpMyAdmin - Web based MySQL browser written in php
#
# Allows only localhost by default
#
# But allowing phpMyAdmin to anyone other than localhost should be considered
# dangerous unless properly secured by SSL

Alias /phpMyAdmin /usr/share/phpMyAdmin
Alias /phpmyadmin /usr/share/phpMyAdmin

<Directory /usr/share/phpMyAdmin/>
     AddDefaultCharset UTF-8
     <IfModule mod_authz_core.c>
         # Apache 2.4
         <RequireAny>
             Require ip 127.0.0.1
             Require ip ::1
         </RequireAny>
     </IfModule>
     <IfModule !mod_authz_core.c>
         # Apache 2.2
         Order Deny,Allow
         Deny from All
         Allow from 127.0.0.1
         Allow from ::1
     </IfModule>
</Directory>

<Directory /usr/share/phpMyAdmin/setup/>
     <IfModule mod_authz_core.c>
        # Apache 2.4
        <RequireAny>
            Require ip 127.0.0.1
            Require ip ::1
       </RequireAny>
     </IfModule>
     <IfModule !mod_authz_core.c>
        # Apache 2.2
        Order Deny,Allow
        Deny from All
        Allow from 127.0.0.1
        Allow from ::1
    </IfModule>
</Directory>
Si prega di commentare Richiedi IP 127.0.0.1 e Richiedi IP ::1 quindi aggiungi Richiedi tutto concesso appena sotto alla riga commentata. Il contenuto apparirà come di seguito dopo la modifica.
# phpMyAdmin - Web based MySQL browser written in php
#
# Allows only localhost by default
#
# But allowing phpMyAdmin to anyone other than localhost should be considered
# dangerous unless properly secured by SSL

Alias /phpMyAdmin /usr/share/phpMyAdmin
Alias /phpmyadmin /usr/share/phpMyAdmin

<Directory /usr/share/phpMyAdmin/>
     AddDefaultCharset UTF-8
     <IfModule mod_authz_core.c>
         # Apache 2.4
         <RequireAny>
             # Require ip 127.0.0.1
             # Require ip ::1
             Require all granted
         </RequireAny>
     </IfModule>
     <IfModule !mod_authz_core.c>
         # Apache 2.2
         Order Deny,Allow
         Deny from All
         Allow from 127.0.0.1
         Allow from ::1
     </IfModule>
</Directory>

<Directory /usr/share/phpMyAdmin/setup/>
     <IfModule mod_authz_core.c>
        # Apache 2.4
        <RequireAny>
            # Require ip 127.0.0.1
            # Require ip ::1
            Require all granted
       </RequireAny>
     </IfModule>
     <IfModule !mod_authz_core.c>
        # Apache 2.2
        Order Deny,Allow
        Deny from All
        Allow from 127.0.0.1
        Allow from ::1
    </IfModule>
</Directory>
Riavvia il servizio Apache.
systemctl restart httpd
Firewall
Configura il firewall per consentire le richieste HTTP da reti esterne.
firewall-cmd --permanent --add-service=http

firewall-cmd --reload
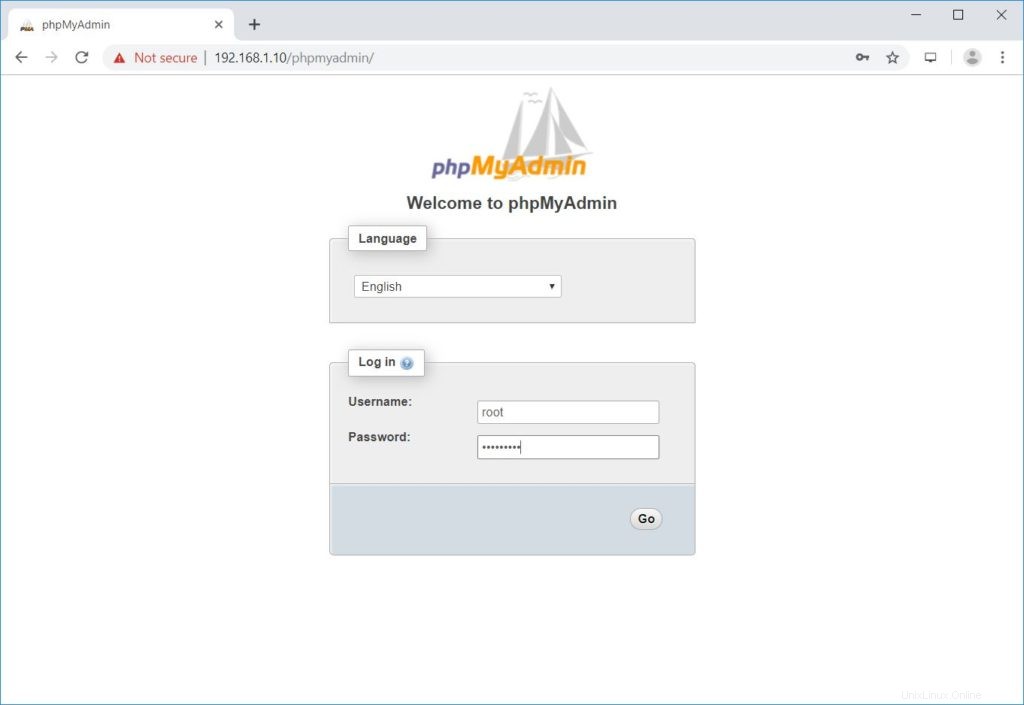
Accedi a phpMyAdmin
Ora accedi a phpMyAdmin dal browser, l'URL sarà:
http://localhost/phpMyAdminO
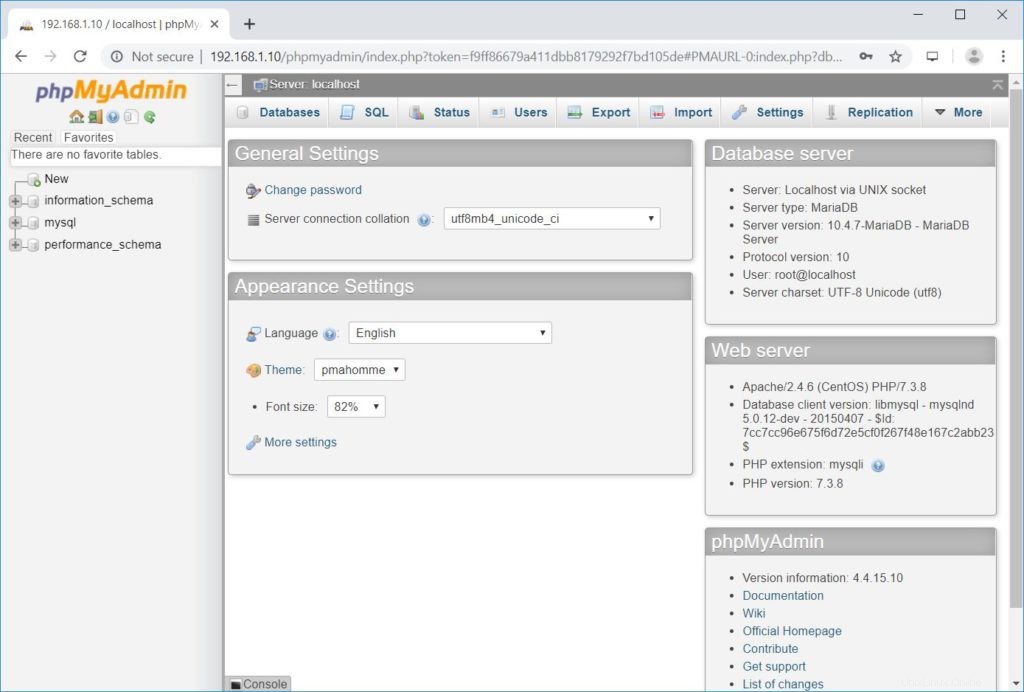
http://il-tuo-indirizzo-ip/phpMyAdminAccedi con il root (amministratore del database) o qualsiasi utente del database.
Otterrai la pagina del database.
Conclusione
È tutto. Spero che tu abbia imparato come installare phpMyAdmin con Apache su CentOS 7 / RHEL 7. Condividi il tuo feedback nella sezione commenti.