Introduzione
Questo how-to ti aiuterà con l'installazione e la configurazione di Apache sul tuo server Ubuntu 20.04. Apache è un server web molto popolare nei sistemi Linux e su Internet. Viene utilizzato da molte società di Web Hosting in tutto il mondo per la sua popolarità ed efficienza nell'hosting di siti sul World Wide Web.
Prerequisiti
È necessario un server Ubuntu 20.04 configurato con un indirizzo IP statico. Se non disponi già di un server, puoi creare un server privato virtuale sicuro in meno di 30 secondi.
Installa Apache su Ubuntu 20.04
Il primo passo è installare Apache con il seguente comando:
sudo apt-get install apache2
Avvia Apache con il seguente comando:
service apache2 start
Verifica se tutto funziona digitando http://IL TUO.IP.ADD.RESS
Il tuo IP potrebbe essere recuperato dal server con il seguente comando:
ifconfig eth0 | grep inet | awk '{ print $2 }' 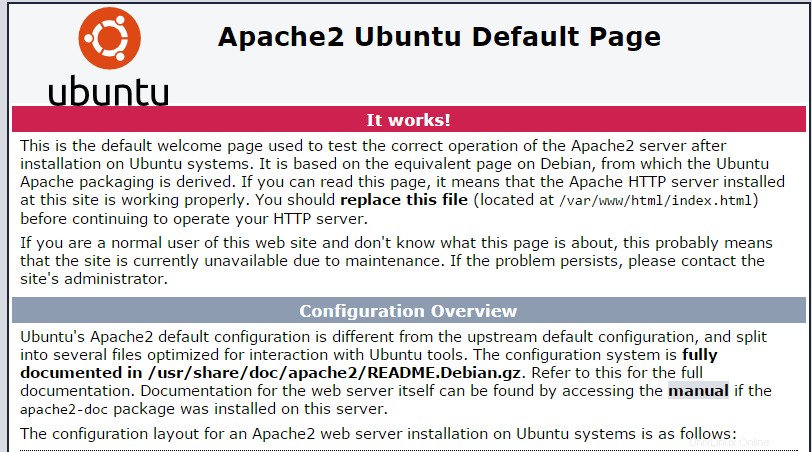
Questa immagine è la pagina Web predefinita durante l'installazione di Apache su Ubuntu 20.04
Configura Apache (host singolo)
Ora configureremo Apache aprendo il file di configurazione principale e modificando le righe ServerName e ServerAdmin di conseguenza.
nano /etc/apache2/sites-available/000-default.conf
<VirtualHost *:80>
        # The ServerName directive sets the request scheme, hostname and port that
        # the server uses to identify itself. This is used when creating
        # redirection URLs. In the context of virtual hosts, the ServerName
        # specifies what hostname must appear in the request's Host: header to
        # match this virtual host. For the default virtual host (this file) this
        # value is not decisive as it is used as a last resort host regardless.
        # However, you must set it for any further virtual host explicitly.
        #ServerName www.example.com

        ServerAdmin example@unixlinux.online
        DocumentRoot /var/www/html

        # Available loglevels: trace8, ..., trace1, debug, info, notice, warn,
        # error, crit, alert, emerg.
        # It is also possible to configure the loglevel for particular
        # modules, e.g.
        #LogLevel info ssl:warn

        ErrorLog ${APACHE_LOG_DIR}/error.log
        CustomLog ${APACHE_LOG_DIR}/access.log combined

        # For most configuration files from conf-available/, which are
        # enabled or disabled at a global level, it is possible to
        # include a line for only one particular virtual host. For example the
        # following line enables the CGI configuration for this host only
        # after it has been globally disabled with "a2disconf".
        #Include conf-available/serve-cgi-bin.conf
</VirtualHost>

# vim: syntax=apache ts=4 sw=4 sts=4 sr noet
Salva il file e riavvia il servizio HTTP Apache, in modo che le modifiche abbiano effetto.
service apache2 restart
Ora puoi creare/caricare i tuoi contenuti web nella directory HTML di Apache. (Ricordati di sostituire il file index.html esistente con il tuo index.html che è la tua home page)
nano /var/www/html/index.html
Configura Apache (multi-host)
Se desideri ospitare più siti web, procedi aprendo il file di configurazione principale, copia la voce Host virtuale esistente e incollala sotto di essa. Quindi modifica le righe ServerName, ServerAdmin e DocumentRoot di conseguenza.
nano /etc/apache2/sites-available/000-default.conf
In alternativa puoi semplicemente copiare le seguenti voci e modificarle di conseguenza:
<VirtualHost *:80>
ServerAdmin example@unixlinux.online
DocumentRoot /var/www/site1
ServerName site1.com
ServerAlias www.site1.com
 ErrorLog ${APACHE_LOG_DIR}/error.log
 CustomLog ${APACHE_LOG_DIR}/access.log combined
</VirtualHost>

<VirtualHost *:80>
ServerAdmin example@unixlinux.online
DocumentRoot /var/www/site2
ServerName site2.com
ServerAlias www.site2.com
 ErrorLog ${APACHE_LOG_DIR}/error.log
 CustomLog ${APACHE_LOG_DIR}/access.log combined
</VirtualHost>
Ora dobbiamo creare directory per i siti appena configurati, site1 e site2.
mkdir /var/www/site1
mkdir /var/www/site2
Ora puoi iniziare a creare/caricare i tuoi contenuti web nella directory dei siti di Apache.
nano /var/www/site1/index.html
nano /var/www/site2/index.html
E poi?
Con ciò, ora hai un server installato e configurato con Apache. Ora puoi continuare a costruire il tuo sito web. Grazie per averci seguito e sentiti libero di ricontrollare con noi per ulteriori aggiornamenti, dai un'occhiata ad altri post relativi a Ubuntu nel nostro blog o scopri di più sulle nostre pluripremiate soluzioni di hosting VPS.