AWS Simple Queue Service (SQS) è un servizio di accodamento messaggi completamente gestito che ci consente di disaccoppiare e ridimensionare microservizi, applicazioni serverless e sistemi distribuiti. Utilizzando SQS, possiamo inviare, archiviare e ricevere messaggi tra componenti software senza perderli. AWS SQS offre due tipi di code di messaggi, code standard e code FIFO. Per saperne di più sulle code SQS, cerca "Come creare una coda SQS su AWS?" articolo.
AWS CloudFormation ci consente di utilizzare linguaggi di programmazione (yaml/json) o un semplice file di testo per modellare e fornire tutte le risorse necessarie per le nostre applicazioni. Questo ci fornisce un'unica fonte di verità per le nostre risorse AWS.
In questo articolo, vedremo i passaggi per creare una coda standard e FIFO utilizzando Cloudformation Stack.
Prerequisiti
- Account AWS (crea se non ne hai uno).
- Conoscenza di base di Cloudformation Stack.
- Comprensione di base delle code SQS.
Cosa faremo?
- Accedi ad AWS.
- Crea una coda standard utilizzando Cloudformation Stack
- Crea una coda FIFO utilizzando Cloudformation Stack
Accedi ad AWS
- Fai clic qui per andare alla pagina di accesso di AWS.
Quando premiamo il link sopra, vedremo una pagina web come segue in cui ci viene richiesto di accedere utilizzando i nostri dettagli di accesso.
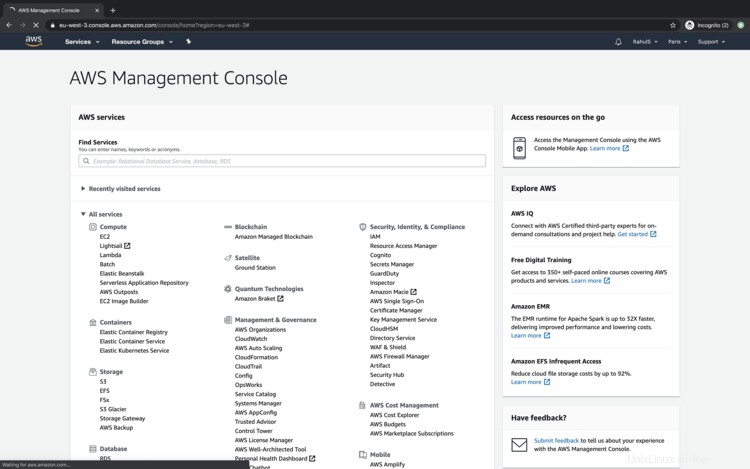
Una volta effettuato l'accesso ad AWS, vedremo la console principale con tutti i servizi elencati.
Crea una coda standard utilizzando Cloudformation Stack
Prima di procedere con la creazione di una coda standard, copia il codice dal blocco seguente o scarica il modello da qui e salvalo sul tuo computer locale. Questo modello sarà richiesto durante la creazione di uno Stack Cloudformation.
---
AWSTemplateFormatVersion: '2010-09-09'
Description: This stack creates a Standard Queue
Parameters:
DelaySeconds:
Description: "The time in seconds that the delivery of all messages in the queue is delayed"
Type: Number
Default: '5'
MaximumMessageSize:
Type: Number
Description: "The limit of how many bytes that a message can contain before Amazon SQS rejects it"
Default: '262144'
MessageRetentionPeriod:
Description: "The number of seconds that Amazon SQS retains a message."
Type: Number
Default: '345600'
ReceiveMessageWaitTimeSeconds:
Description: "Specifies the duration, in seconds, that the ReceiveMessage action call waits until a message is in the queue in order to include it in the response"
Type: Number
Default: '0'
UsedeadletterQueue:
Description: "A dead-letter queue is a queue that other (source) queues can target for messages that can't be processed (consumed) successfully."
Type: String
AllowedValues:
- 'true'
- 'false'
Default: 'false'
VisibilityTimeout:
Description: "This should be longer than the time it would take to process and delete a message"
Type: Number
Default: '5'
Mappings: {}
Conditions:
CreateDeadLetterQueue:
Fn::Equals:
- Ref: UsedeadletterQueue
- 'true'
Resources:
SQSQueue:
Type: AWS::SQS::Queue
Properties:
DelaySeconds:
Ref: DelaySeconds
MaximumMessageSize:
Ref: MaximumMessageSize
MessageRetentionPeriod:
Ref: MessageRetentionPeriod
ReceiveMessageWaitTimeSeconds:
Ref: ReceiveMessageWaitTimeSeconds
RedrivePolicy:
Fn::If:
- CreateDeadLetterQueue
- deadLetterTargetArn:
Fn::GetAtt:
- MyDeadLetterQueue
- Arn
maxReceiveCount: 5
- Ref: AWS::NoValue
VisibilityTimeout:
Ref: VisibilityTimeout
MyDeadLetterQueue:
Condition: CreateDeadLetterQueue
Type: AWS::SQS::Queue
Outputs:
QueueURL:
Description: URL of the created SQS
Value:
Ref: SQSQueue
QueueARN:
Description: ARN of the created SQS
Value:
Fn::GetAtt:
- SQSQueue
- Arn
QueueName:
Description: Name of the created SQS
Value:
Fn::GetAtt:
- SQSQueue
- QueueName
DeadLetterQueueURL:
Condition: CreateDeadLetterQueue
Description: URL of the dead letter queue
Value:
Ref: MyDeadLetterQueue
DeadLetterQueueARN:
Condition: CreateDeadLetterQueue
Description: ARN of the dead letter queue
Value:
Fn::GetAtt:
- MyDeadLetterQueue
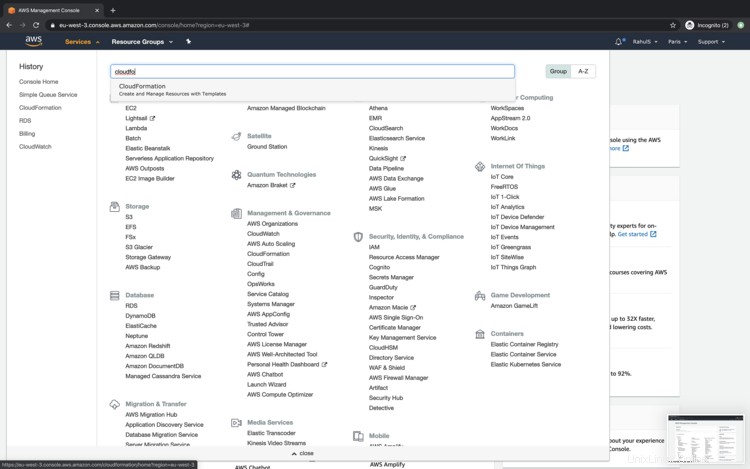
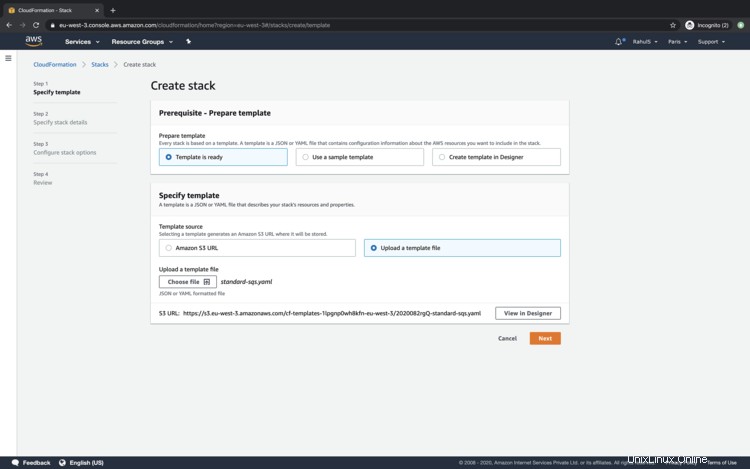
- Arn Per creare una coda standard utilizzando lo stack di Cloudformation, fai clic su "Servizi" dalla barra dei menu in alto e cerca "Cloudformation".
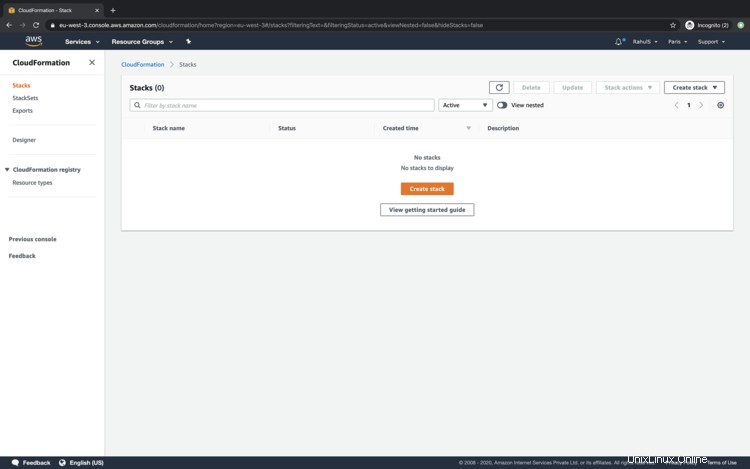
Nella dashboard principale di Cloudformation, fai clic su "Crea stack" per creare uno stack.
Per caricare il modello dal tuo computer locale, fai clic sul pulsante di opzione "Carica un file modello" e fai clic su "Avanti".
Specifica un nome per la pila da creare e inserisci i dettagli richiesti oppure procedi con i valori predefiniti e fai clic su "Avanti".

Specificare il tag che può essere applicato all'SQS al momento della sua creazione e fare clic su "Avanti".
Scorri la pagina verso il basso e fai clic sul pulsante "Crea stack" per creare uno stack che creerà una coda standard.

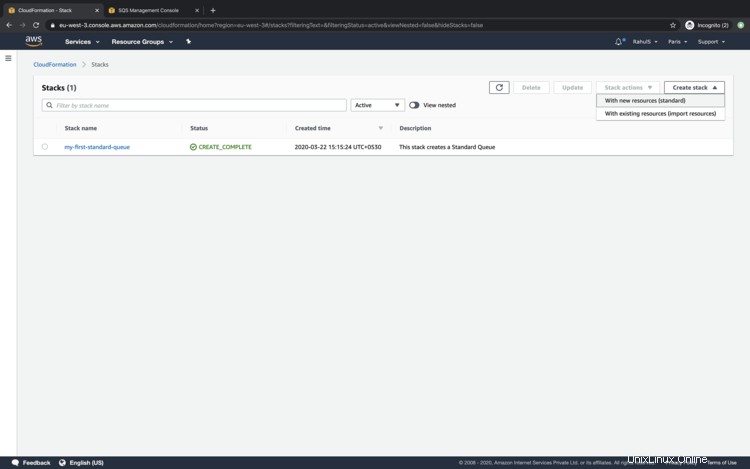
Puoi vedere lo stato in Eventi. Una volta che lo stato cambia in "CREATE_COMPLETE" dello stack, significa che la coda è stata creata.

Fai clic su "Servizi" e cerca "SQS" per vedere se la coda è stata creata o meno.
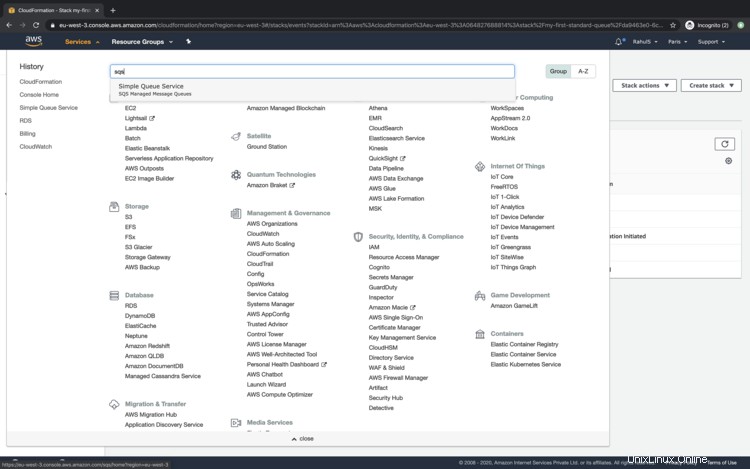
Nella dashboard principale di SQS, puoi vedere che la coda è stata creata e il nome assegnato alla coda è Cloudformation Stack name con una stringa di suffisso casuale, il il motivo è che non abbiamo specificato il nome della coda nello stack.

Crea una coda FIFO utilizzando Cloudformation Stack
Prima di procedere alla creazione di una coda FIFO, copia il codice dal blocco seguente o scarica il modello da qui e salvalo sul tuo sistema locale.
---
AWSTemplateFormatVersion: '2010-09-09'
Description: This stack creates a FIFO Queue
Parameters:
  ContentBasedDeduplication:
    Description: Specifie whether to enable content-based deduplication
    Type: String
    AllowedValues:
    - 'true'
    - 'false'
    Default: 'true'
  QueueName:
    Description: This stack will append .fifo to the end of the Queue name.
    Type: String
  DelaySeconds:
    Description: "The time in seconds that the delivery of all messages in the queue"
    Type: Number
    Default: '5'
  MaximumMessageSize:
    Type: Number
    Description: "The limit of how many bytes that a message can contain before Amazon"
    Default: '262144'
  MessageRetentionPeriod:
    Description: "The number of seconds that Amazon SQS retains a message."
    Type: Number
    Default: '345600'
  ReceiveMessageWaitTimeSeconds:
    Description: "Specifies the duration, in seconds, that the ReceiveMessage action
      call waits until a message is in the queue in order to include it in the response"
    Type: Number
    Default: '0'
  UsedeadletterQueue:
    Description: "A dead-letter queue is a queue that other (source) queues can target
      for messages that can't be processed (consumed) successfully."
    Type: String
    AllowedValues:
    - 'true'
    - 'false'
    Default: 'false'
  VisibilityTimeout:
    Description: "This should be longer than the time it would take to process and
      delete a message"
    Type: Number
    Default: '5'
Mappings: {}
Conditions:
  CreateDeadLetterQueue:
    Fn::Equals:
    - Ref: UsedeadletterQueue
    - 'true'
Resources:
  SQSQueue:
    Type: AWS::SQS::Queue
    Properties:
      ContentBasedDeduplication:
        Ref: ContentBasedDeduplication
      FifoQueue: 'true'
      QueueName:
        Fn::Join:
        - ''
        - - Ref: QueueName
          - ".fifo"
      MaximumMessageSize:
        Ref: MaximumMessageSize
      MessageRetentionPeriod:
        Ref: MessageRetentionPeriod
      ReceiveMessageWaitTimeSeconds:
        Ref: ReceiveMessageWaitTimeSeconds
      RedrivePolicy:
        Fn::If:
        - CreateDeadLetterQueue
        - deadLetterTargetArn:
            Fn::GetAtt:
            - MyDeadLetterQueue
            - Arn
          maxReceiveCount: 5
        - Ref: AWS::NoValue
      VisibilityTimeout:
        Ref: VisibilityTimeout
  MyDeadLetterQueue:
    Condition: CreateDeadLetterQueue
    Type: AWS::SQS::Queue
    Properties:
      FifoQueue: 'true'
      QueueName:
        Fn::Join:
        - ''
        - - Ref: QueueName
          - Deadletter
          - ".fifo"
Outputs:
  QueueURL:
    Description: URL of the created SQS
    Value:
      Ref: SQSQueue
  QueueARN:
    Description: ARN of the created SQS
    Value:
      Fn::GetAtt:
      - SQSQueue
      - Arn
  QueueName:
    Description: Name of the created SQS
    Value:
      Fn::GetAtt:
      - SQSQueue
      - QueueName
Torna alla dashboard principale di Cloudformation e segui gli stessi passaggi seguiti per creare una coda standard.
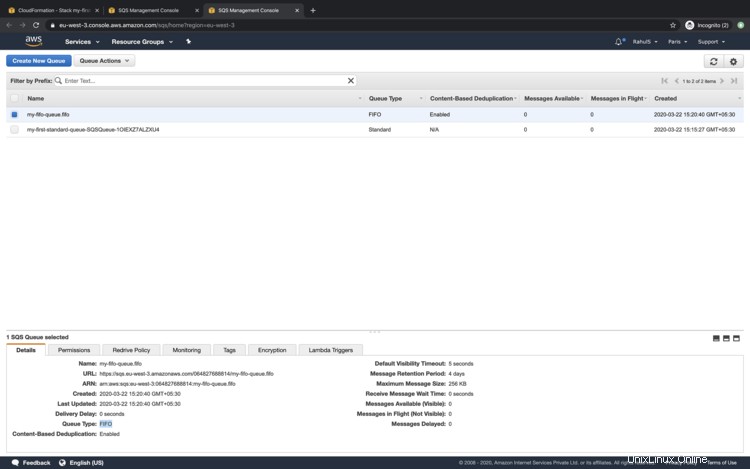
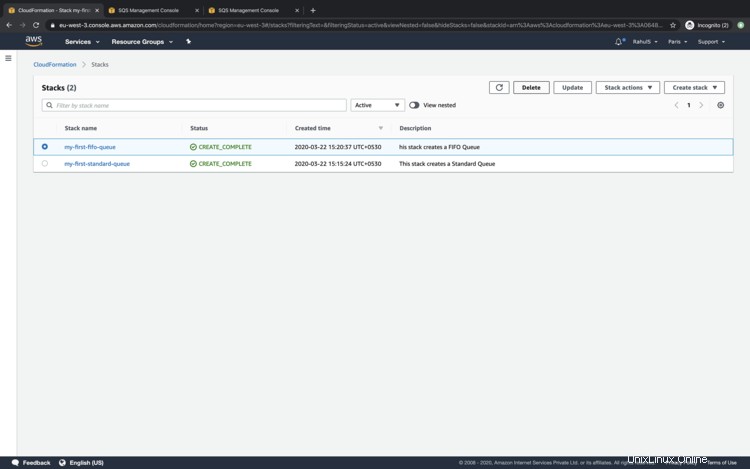
Una volta creato lo stack, puoi vedere che la coda FIFO è pronta per l'uso. Qui vedi che la coda FIFO non ha una stringa casuale, il motivo è che abbiamo un'opzione nel modello di Cloudformation in cui possiamo specificare il nome per la coda da creare.
Se le code non sono più necessarie, possono essere eliminate eliminando lo Stack di Cloudformation dalla dashboard principale.
Conclusione
In questo articolo, abbiamo visto i passaggi per creare una coda standard e FIFO utilizzando Cloudformation Stack.