MySQL è un sistema di gestione di database relazionali open source, comunemente utilizzato nelle applicazioni web per archiviare e recuperare record e informazioni.
MySQL è stato sviluppato per la prima volta da MYSQL AB, ora di proprietà di Oracle Corporation. È stata l'applicazione di database principale per il sistema operativo Linux fino a MariaDB , un fork di MySQL, è entrato in scena.
In questo articolo, lavoreremo sul compito di come installare MySQL 5.7 su Ubuntu 16.04 / Ubuntu 14. 04 &Debian 9 / Debian 8 .
Aggiungi repository MySQL
Il server MySQL non è più distribuito tramite l'immagine del sistema operativo di base o i repository del sistema operativo a causa delle licenze software. Quindi, dovresti aggiungere il suo repository ufficiale per installare il server della comunità MySQL.
wget https://dev.mysql.com/get/mysql-apt-config_0.8.9-1_all.deb
Installa il pacchetto del repository usando dpkg comando.
sudo dpkg -i mysql-apt-config_0.8.9-1_all.deb
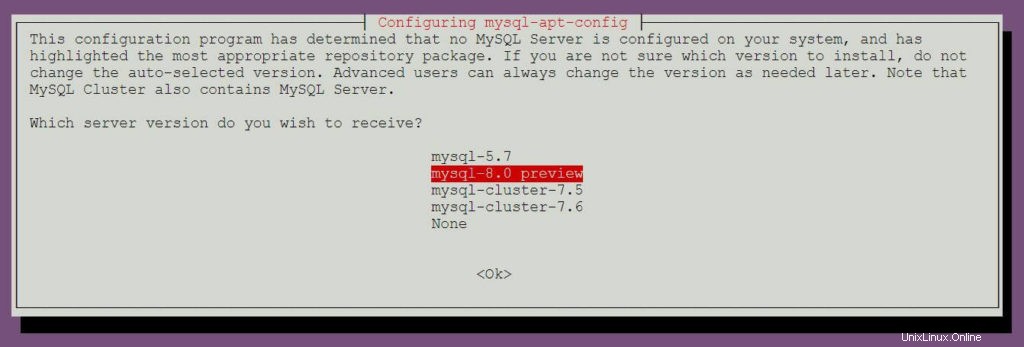
Il programma di installazione del pacchetto ti chiederà di selezionare il repository MySQL. In base alla tua selezione, il programma di installazione configurerà i repository per ricevere la versione appropriata di MySQL.
Qui sceglierò MySQL 5.7 che è quello predefinito. Quindi seleziona OK e premi invio.
Se vuoi installare MySQL 8.0, vai alla sezione Installazione MySQL 8.0 RC per saperne di più sulla selezione del repository di anteprima MySQL 8.0.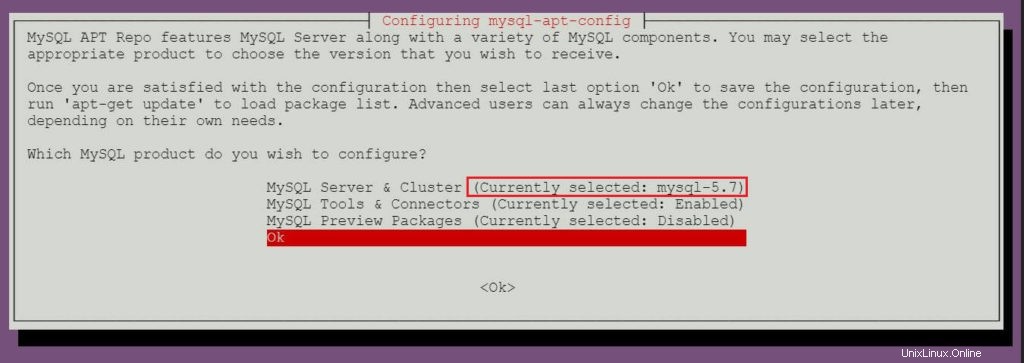
Installa MySQL Community Server
Oracle attualmente offre sia la versione stabile che la versione beta del server MySQL. Puoi scegliere quello che vuoi installarlo sulla tua macchina.
Installa MySQL 5.7
Aggiorna l'indice del repository usando apt-get update comando.
sudo apt-get update
Usa il comando apt per installare l'ultima versione stabile di MySQL .
sudo apt-get -y install mysql-community-server
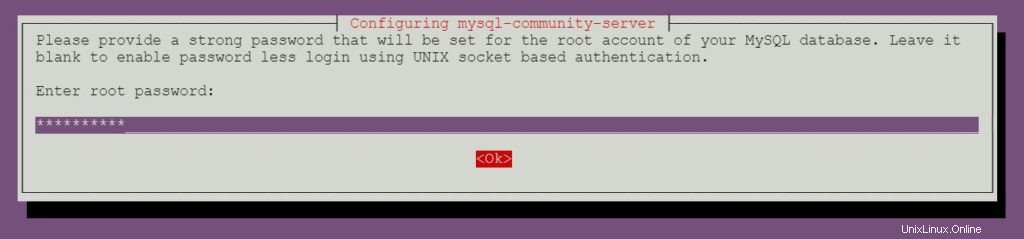
Il programma di installazione del pacchetto ti chiederà di impostare la password di root MySQL.
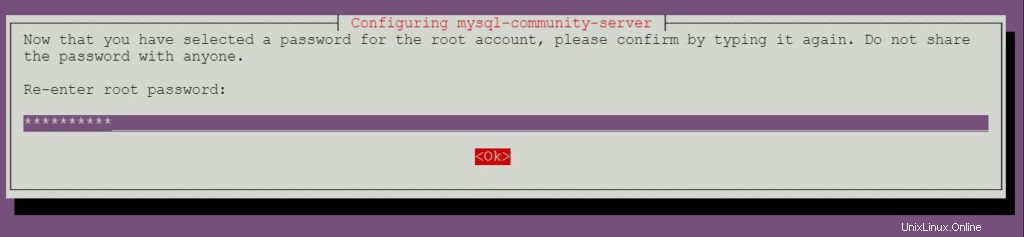
Reinserire la password.
Installa MySQL 8.0 RC
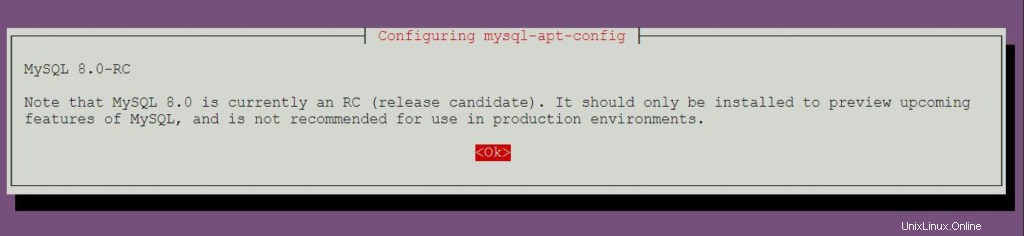
MySQL 8.0 è attualmente un RC (release candidate). Dovrebbe essere installato solo per visualizzare in anteprima le funzionalità imminenti di MySQL e non è consigliato per l'uso in ambienti di produzione.
Esegui dpkg-reconfigure comando per aggiornare la configurazione del repository MySQL.
sudo dpkg-reconfigure mysql-apt-config
Premi Invio per modificare la versione di MySQL in questa pagina.
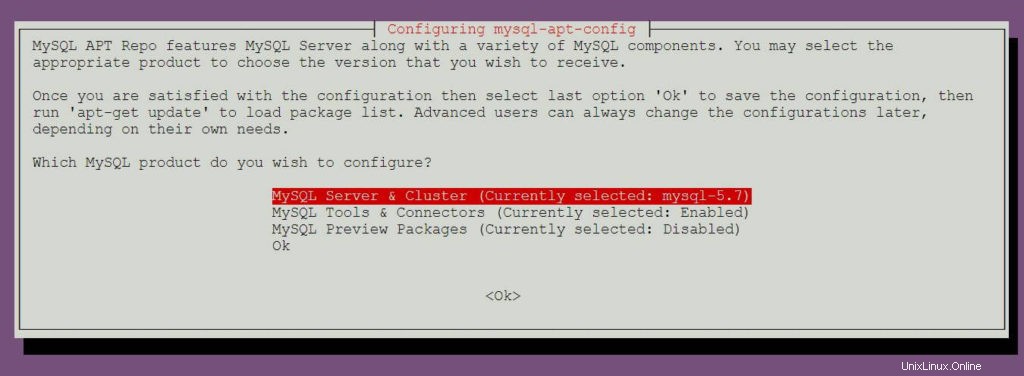
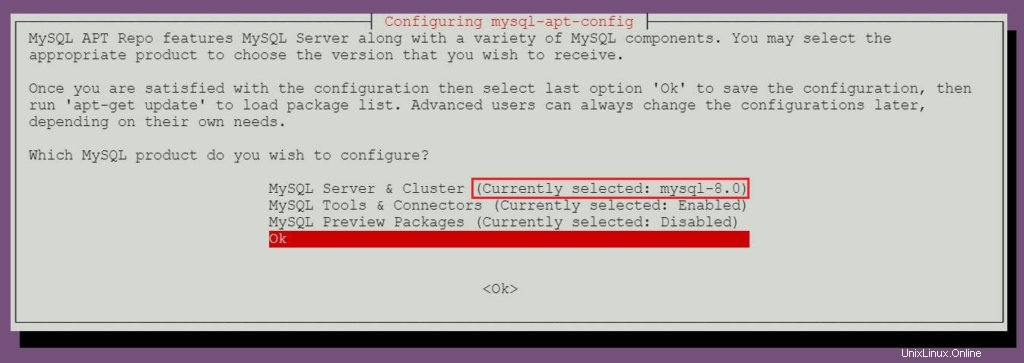
Scegli l'mysql-8.0 preview e quindi premere invio.
Premi Invio per accettare il messaggio di avviso.
Scegli OK e poi premi invio.
Aggiorna l'indice del repository usando il comando apt.
sudo apt-get update
Esegui il comando seguente per installare MySQL 8.0 RC sul tuo computer.
sudo apt-get -y install mysql-community-server
Il programma di installazione del pacchetto ti chiederà di impostare la password di root MySQL.
Reinserire la password.
Avvia il server MySQL
Dopo l'installazione di MySQL, puoi avviare il server MySQL usando il comando seguente.
### Ubuntu 16.04 / Debian 9/8 ###

sudo systemctl start mysql

### Ubuntu 14.04 ###

sudo service mysql start
Abilita il server MySQL all'avvio del sistema.
### Ubuntu 16.04 / Debian 9/8 ###

sudo systemctl enable mysql

### Ubuntu 14.04 ###

sudo update-rc.d mysql defaults
Verifica che il servizio del server MySQL sia avviato utilizzando il comando seguente.
### Ubuntu 16.04 / Debian 9/8 ###

sudo systemctl status mysql

### Ubuntu 14.04 ###

sudo service mysql status
Uscita
Ubuntu 16.04 / Debian 9/8 :
● mysql.service - MySQL Community Server
   Loaded: loaded (/lib/systemd/system/mysql.service; enabled; vendor preset: enabled)
   Active: active (running) since Mon 2018-03-05 11:43:12 UTC; 7min ago
 Main PID: 13623 (mysqld)
   CGroup: /system.slice/mysql.service
           └─13623 /usr/sbin/mysqld --daemonize --pid-file=/var/run/mysqld/mysqld.pid

Mar 05 11:43:11 mysqub systemd[1]: Starting MySQL Community Server...
Mar 05 11:43:12 mysqub systemd[1]: Started MySQL Community Server.
Mar 05 11:49:13 mysqub systemd[1]: Started MySQL Community Server.
Ubuntu 14.04 :
* MySQL Community Server 8.0.3-rc-log is running
Lavora con MySQL Server
Accedi a MySQL con l'utente root e la password che hai impostato durante l'installazione.
mysql -u root -p
Uscita
MySQL 5.7:
Enter password:
Welcome to the MySQL monitor.  Commands end with ; or \g.
Your MySQL connection id is 4
Server version: 5.7.21 MySQL Community Server (GPL)

Copyright (c) 2000, 2018, Oracle and/or its affiliates. All rights reserved.

Oracle is a registered trademark of Oracle Corporation and/or its
affiliates. Other names may be trademarks of their respective
owners.

Type 'help;' or '\h' for help. Type '\c' to clear the current input statement.

mysql>
MySQL 8.0:
Enter password:
Welcome to the MySQL monitor.  Commands end with ; or \g.
Your MySQL connection id is 7
Server version: 8.0.3-rc-log MySQL Community Server (GPL)

Copyright (c) 2000, 2017, Oracle and/or its affiliates. All rights reserved.

Oracle is a registered trademark of Oracle Corporation and/or its
affiliates. Other names may be trademarks of their respective
owners.

Type 'help;' or '\h' for help. Type '\c' to clear the current input statement.

mysql>
Installa phpMyAdmin
phpMyAdmin è un'interfaccia di gestione basata sul Web open source per gestire i server di database MySQL e MariaDB.
phpMyAdmin non sembra funzionare con MySQL 8.0 RC.Installa phpMyAdmin usando il comando apt .
sudo apt-get install -y phpmyadmin
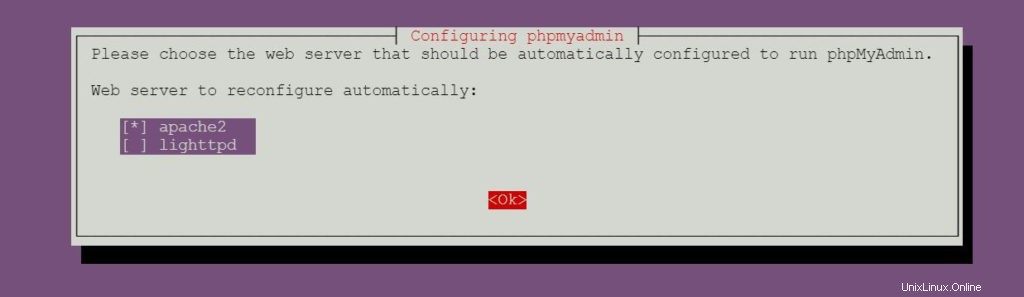
Segui il prompt sullo schermo per configurare phpMyAdmin.
Seleziona il server web.
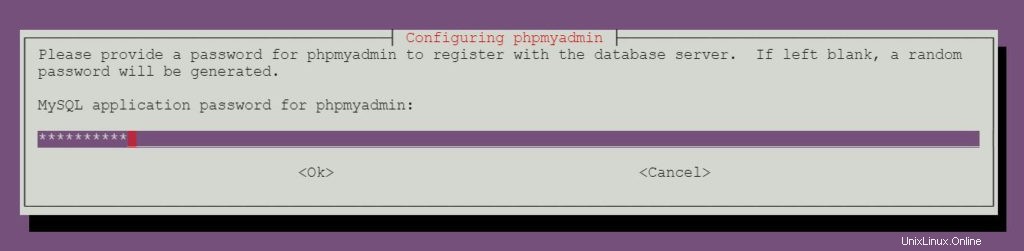
Imposta la password dell'applicazione phpMyAdmin.
Reinserire la password dell'applicazione phpMyAdmin.

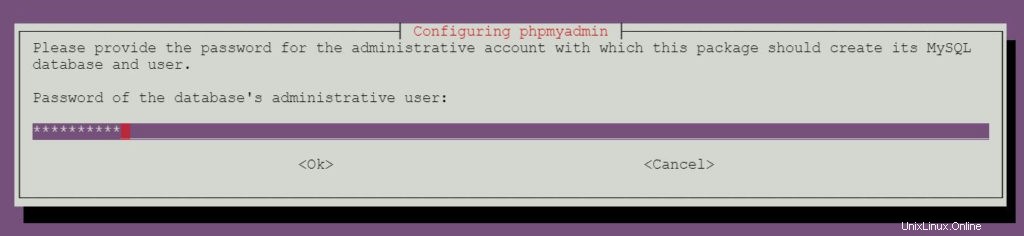
Immettere la password di root MySQL impostata durante l'installazione del server della comunità MySQL.
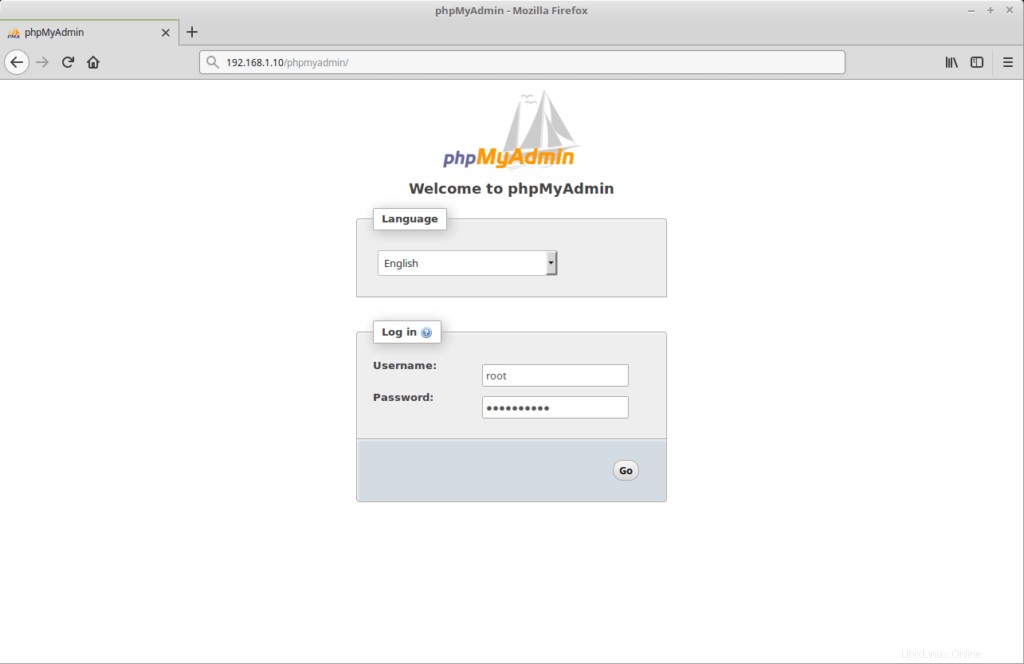
Accedi all'interfaccia web di phpMyAdmin
Apri il tuo browser web e inserisci il seguente URL.
http://tuo.ip.add.ress/phpmyadminAccedi come utente root MySQL.
Pagina iniziale di phpMyAdmin:
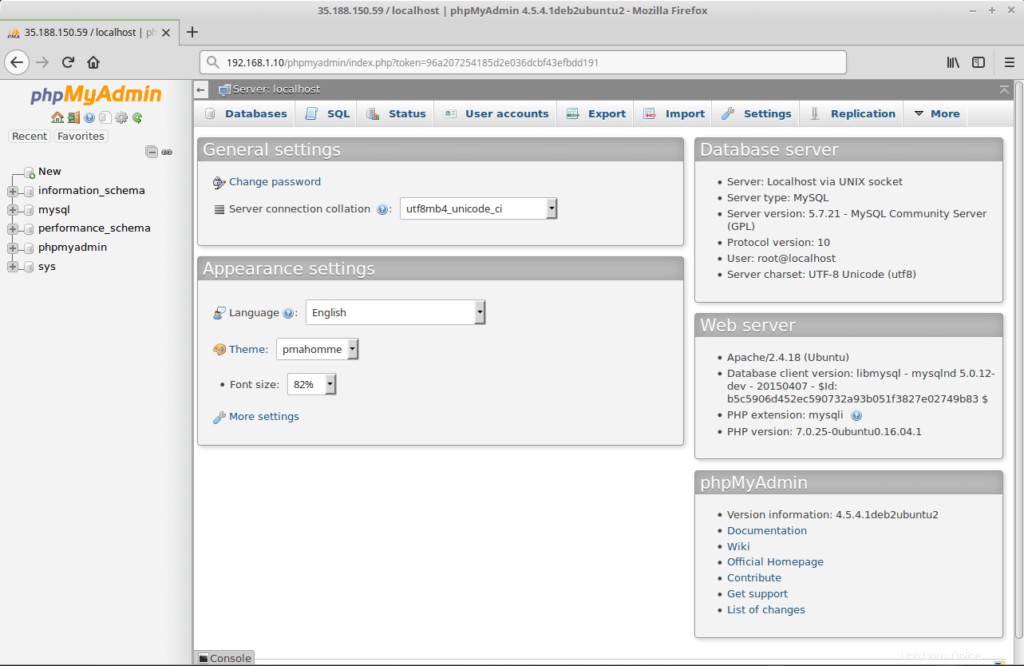
Questo è tutto.