Mastodon è una piattaforma di social networking open source molto simile a Twitter. Puoi seguire altri utenti e pubblicare messaggi e immagini con Mastodon. È scritto in Ruby e JavaScript e chiunque può usarlo in modo privato e sicuro. Mastodon fornisce anche un'applicazione per varie piattaforme come Android e iOS.
In questo tutorial, ti mostreremo come installare Mastodon su Debian 10.
Requisiti
- Un server che esegue Debian 10.
- Sul tuo server è configurata una password di root.
- Un nome di dominio valido è puntato all'indirizzo IP del tuo server. In questo tutorial useremo test.linuxbuz.com.
Per iniziare
Innanzitutto, si consiglia di aggiornare il sistema con l'ultima versione. Puoi farlo eseguendo il seguente comando:
apt-get update -y
 apt-get upgrade -y
Dopo aver aggiornato il tuo sistema, dovrai installare alcune dipendenze richieste da Mastodon. Puoi installarli tutti con il seguente comando:
apt-get install software-properties-common dirmngr apt-transport-https ca-certificates curl gcc g++ make imagemagick ffmpeg libpq-dev libxml2-dev libxslt1-dev file git-core libprotobuf-dev protobuf-compiler pkg-config autoconf bison build-essential libssl-dev libyaml-dev libreadline-dev libidn11-dev libicu-dev libjemalloc-dev zlib1g-dev libncurses5-dev libffi-dev libgdbm-dev -y
Una volta installate tutte le dipendenze, puoi procedere al passaggio successivo.
Installa Node.js
Mastodon richiede che Node.js versione 8.x e Yarn siano installati sul tuo sistema. Per installare Node.js, aggiungi il repository Node.js al tuo server con il seguente comando:
curl -sL https://deb.nodesource.com/setup_8.x | bash -
Una volta aggiunto il repository, installa Node.js versione 8 con il seguente comando:
apt-get install nodejs -y
Quindi, scarica e aggiungi la chiave GPG di Yarn e abilita il repository con il seguente comando:
curl -sL https://dl.yarnpkg.com/debian/pubkey.gpg | apt-key add -
 echo "deb https://dl.yarnpkg.com/debian/ stable main" | tee /etc/apt/sources.list.d/yarn.list
Una volta aggiunto, aggiorna il repository e installa Yarn con i seguenti comandi:
apt-get update -y
 apt-get install yarn -y
Una volta terminato, puoi procedere al passaggio successivo.
Installa e configura PostgreSQL
Mastodon utilizza PostgreSQL per archiviare i propri dati. Puoi installare l'ultima versione di PostgreSQL con il seguente comando:
apt-get install postgresql postgresql-contrib -y
Una volta installato, accedi a PostgreSQL con il seguente comando:
su - postgres
 [email protected]:~$ psql
 psql (11.5 (Debian 11.5-1+deb10u1))
 Type "help" for help.
Quindi, crea un utente per Mastodon con il seguente comando:
postgres=# CREATE USER mastodon CREATEDB;
Quindi, esci dalla shell di PostgreSQL con il seguente comando:
postgres=#exit
Installa Ruby
Mastodon usa Ruby on Rails per il back-end. Innanzitutto, dovrai creare un nuovo utente di sistema per eseguire il server Mastodon.
Puoi crearlo con il seguente comando:
adduser --disabled-login --gecos 'Mastodon Server' mastodon
Una volta creato, accedi all'utente mastodon con il seguente comando:
su - mastodon
Quindi, clona il repository rbenv con il seguente comando:
git clone https://github.com/rbenv/rbenv.git ~/.rbenv
Quindi, imposta rbenv e ruby-build con i seguenti comandi:
cd ~/.rbenv && src/configure && make -C src
 echo 'export PATH="$HOME/.rbenv/bin:$PATH"' >> ~/.bashrc
 echo 'eval "$(rbenv init -)"' >> ~/.bashrc
 exec bash
 git clone https://github.com/rbenv/ruby-build.git ~/.rbenv/plugins/ruby-build
Una volta terminato, installa l'ultima versione di Ruby con il seguente comando:
RUBY_CONFIGURE_OPTS=--with-jemalloc rbenv install 2.6.1
Una volta installato, dovresti ottenere il seguente output:
Downloading ruby-2.6.1.tar.bz2...
-> https://cache.ruby-lang.org/pub/ruby/2.6/ruby-2.6.1.tar.bz2
Installing ruby-2.6.1...

Installed ruby-2.6.1 to /home/mastodon/.rbenv/versions/2.6.1
Quindi, imposta il Ruby disponibile a livello globale con il seguente comando:
rbenv global 2.6.1
Quindi, aggiorna la gem e installa bundler con il seguente comando:
gem update --system
 gem install bundler --no-document
Una volta terminato, puoi controllare Ruby con il seguente comando:
ruby --version
Configura mastodonte
Innanzitutto, accedi all'utente mastodon e scarica il repository git mastodon con il seguente comando:
su - mastodon
git clone https://github.com/tootsuite/mastodon.git ~/live
 cd ~/live
Quindi, controlla l'ultimo ramo con il seguente comando:
git checkout $(git tag -l | grep -v 'rc[0-9]*$' | sort -V | tail -n 1)
Dovresti ottenere il seguente output:
Note: checking out 'v2.9.3'. You are in 'detached HEAD' state. You can look around, make experimental changes and commit them, and you can discard any commits you make in this state without impacting any branches by performing another checkout. If you want to create a new branch to retain commits you create, you may do so (now or later) by using -b with the checkout command again. Example: git checkout -bHEAD is now at 06f906aca Bump version to 2.9.3
Quindi, installa tutte le dipendenze richieste da ruby e Node.js con il seguente comando:
bundle install -j$(getconf _NPROCESSORS_ONLN) --deployment --without development test
 yarn install --pure-lockfile
Ora, imposta il Mastodon con il seguente comando:
RAILS_ENV=production bundle exec rake mastodon:setup
Durante il processo di configurazione, ti verranno poste diverse domande. Rispondi a tutte le domande come mostrato di seguito:
Your instance is identified by its domain name. Changing it afterward will break things.
Domain name: test.linuxbuz.com

Single user mode disables registrations and redirects the landing page to your public profile.
Do you want to enable single user mode? No

Are you using Docker to run Mastodon? no

PostgreSQL host: /var/run/postgresql
PostgreSQL port: 5432
Name of PostgreSQL database: mastodon_production
Name of PostgreSQL user: mastodon
Password of PostgreSQL user:
Database configuration works! ????

Redis host: localhost
Redis port: 6379
Redis password:
Redis configuration works! ????

Do you want to store uploaded files on the cloud? No

Do you want to send e-mails from localhost? yes
E-mail address to send e-mails "from": Mastodon <[email protected]>
Send a test e-mail with this configuration right now? no

This configuration will be written to .env.production
Save configuration? Yes

Now that configuration is saved, the database schema must be loaded.
If the database already exists, this will erase its contents.
Prepare the database now? Yes

All done! You can now power on the Mastodon server ????

Do you want to create an admin user straight away? Yes
Username: admin
E-mail: [email protected]
You can login with the password: a9a78a4c2eb442d72eb946f94ebe9a00
You can change your password once you login.
Una volta terminato, esci dall'utente mastodon con il seguente comando:
exit
Configura Nginx per Mastodon
Successivamente, dovrai installare Nginx e Certbot sul tuo sistema. Per impostazione predefinita, l'ultima versione di Certbot non è disponibile nel repository predefinito di Debian 10. Quindi, dovrai aggiungere il repository Certbot al tuo sistema.
Puoi aggiungerlo con il seguente comando:
add-apt-repository ppa:certbot/certbot
Quindi, aggiorna il repository e installa Certbot con Nginx eseguendo il comando seguente:
apt-get update -y
 apt-get install nginx python-certbot-nginx -y
Una volta installati entrambi i pacchetti, copia il file di configurazione di Nginx dalla directory Mastodon a Nginx con il seguente comando:
cp /home/mastodon/live/dist/nginx.conf /etc/nginx/sites-available/mastodon.conf
Quindi, abilita il file di configurazione dell'host virtuale Mastodon con il seguente comando:
ln -s /etc/nginx/sites-available/mastodon.conf /etc/nginx/sites-enabled/
Per impostazione predefinita, il file di configurazione dell'host virtuale Mastodon è configurato con il dominio example.com. Quindi dovrai sostituire il dominio example.com con il tuo nome di dominio nel file mastodon.conf. Puoi sostituirlo con il seguente comando:
sed -i 's/example.com/test.linuxbuz.com/g' /etc/nginx/sites-enabled/mastodon.conf
Quindi, riavvia il servizio Nginx per applicare la configurazione:
systemctl restart nginx
Quindi, scarica il certificato SSL gratuito Let's Encrypt e configura Nginx per utilizzare questo certificato eseguendo il comando certbot:
certbot --nginx -d test.linuxbuz.com
Questo scaricherà un certificato SSL Let's Encrypt gratuito e configurerà Nginx per il tuo dominio test.linuxbuz.com.
Il tuo file di configurazione Nginx per il Mastodon ora è simile al seguente:
cat /etc/nginx/sites-enabled/mastodon.conf
Uscita:
map $http_upgrade $connection_upgrade {
  default upgrade;
  ''      close;
}

proxy_cache_path /var/cache/nginx levels=1:2 keys_zone=CACHE:10m inactive=7d max_size=1g;

server {
    if ($host = test.linuxbuz.com) {
        return 301 https://$host$request_uri;
    } # managed by Certbot


  listen 80;
  listen [::]:80;
  server_name test.linuxbuz.com;
  root /home/mastodon/live/public;
  location /.well-known/acme-challenge/ { allow all; }
  location / { return 301 https://$host$request_uri; }


}

server {
  listen 443 ssl http2;
  listen [::]:443 ssl http2;
  server_name test.linuxbuz.com;

  ssl_protocols TLSv1.2;
  ssl_ciphers HIGH:!MEDIUM:!LOW:!aNULL:!NULL:!SHA;
  ssl_prefer_server_ciphers on;
  ssl_session_cache shared:SSL:10m;

  # Uncomment these lines once you acquire a certificate:
  # ssl_certificate     /etc/letsencrypt/live/test.linuxbuz.com/fullchain.pem;
  # ssl_certificate_key /etc/letsencrypt/live/test.linuxbuz.com/privkey.pem;

  keepalive_timeout    70;
  sendfile             on;
  client_max_body_size 80m;

  root /home/mastodon/live/public;

  gzip on;
  gzip_disable "msie6";
  gzip_vary on;
  gzip_proxied any;
  gzip_comp_level 6;
  gzip_buffers 16 8k;
  gzip_http_version 1.1;
  gzip_types text/plain text/css application/json application/javascript text/xml application/xml application/xml+rss text/javascript;

  add_header Strict-Transport-Security "max-age=31536000";

  location / {
    try_files $uri @proxy;
  }

  location ~ ^/(emoji|packs|system/accounts/avatars|system/media_attachments/files) {
    add_header Cache-Control "public, max-age=31536000, immutable";
    add_header Strict-Transport-Security "max-age=31536000";
    try_files $uri @proxy;
  }

  location /sw.js {
    add_header Cache-Control "public, max-age=0";
    add_header Strict-Transport-Security "max-age=31536000";
    try_files $uri @proxy;
  }

  location @proxy {
    proxy_set_header Host $host;
    proxy_set_header X-Real-IP $remote_addr;
    proxy_set_header X-Forwarded-For $proxy_add_x_forwarded_for;
    proxy_set_header X-Forwarded-Proto https;
    proxy_set_header Proxy "";
    proxy_pass_header Server;

    proxy_pass http://127.0.0.1:3000;
    proxy_buffering on;
    proxy_redirect off;
    proxy_http_version 1.1;
    proxy_set_header Upgrade $http_upgrade;
    proxy_set_header Connection $connection_upgrade;

    proxy_cache CACHE;
    proxy_cache_valid 200 7d;
    proxy_cache_valid 410 24h;
    proxy_cache_use_stale error timeout updating http_500 http_502 http_503 http_504;
    add_header X-Cached $upstream_cache_status;
    add_header Strict-Transport-Security "max-age=31536000";

    tcp_nodelay on;
  }

  location /api/v1/streaming {
    proxy_set_header Host $host;
    proxy_set_header X-Real-IP $remote_addr;
    proxy_set_header X-Forwarded-For $proxy_add_x_forwarded_for;
    proxy_set_header X-Forwarded-Proto https;
    proxy_set_header Proxy "";

    proxy_pass http://127.0.0.1:4000;
    proxy_buffering off;
    proxy_redirect off;
    proxy_http_version 1.1;
    proxy_set_header Upgrade $http_upgrade;
    proxy_set_header Connection $connection_upgrade;

    tcp_nodelay on;
  }

  error_page 500 501 502 503 504 /500.html;

    ssl_certificate /etc/letsencrypt/live/test.linuxbuz.com/fullchain.pem; # managed by Certbot
    ssl_certificate_key /etc/letsencrypt/live/test.linuxbuz.com/privkey.pem; # managed by Certbot
}
Configura Systemd Service per Mastodon
Nginx è ora installato e configurato per servire Mastodon. Successivamente, dovrai configurare il file di servizio systemd per Mastodon. Per fare ciò, copia i modelli di servizio systemd dalla directory Mastodon:
cp /home/mastodon/live/dist/mastodon-web.service /etc/systemd/system/
 cp /home/mastodon/live/dist/mastodon-sidekiq.service /etc/systemd/system/
 cp /home/mastodon/live/dist/mastodon-streaming.service /etc/systemd/system/
Quindi, avvia tutti i servizi e abilita l'avvio dopo il riavvio con il seguente comando:
systemctl start mastodon-web
 systemctl start mastodon-sidekiq
 systemctl start mastodon-streaming
 systemctl enable mastodon-web
 systemctl enable mastodon-sidekiq
 systemctl enable mastodon-streaming
Accedi all'interfaccia web di Mastodon
Ora apri il tuo browser web e digita l'URL https://test.linuxbuz.com . Verrai reindirizzato alla seguente pagina:
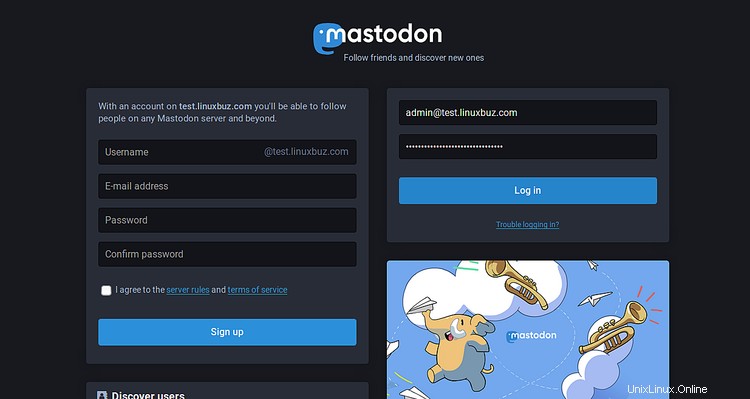
Ora, fornisci l'e-mail e la password di amministratore che hai creato in precedenza e fai clic sul Registro dentro pulsante. Dovresti vedere la seguente pagina:
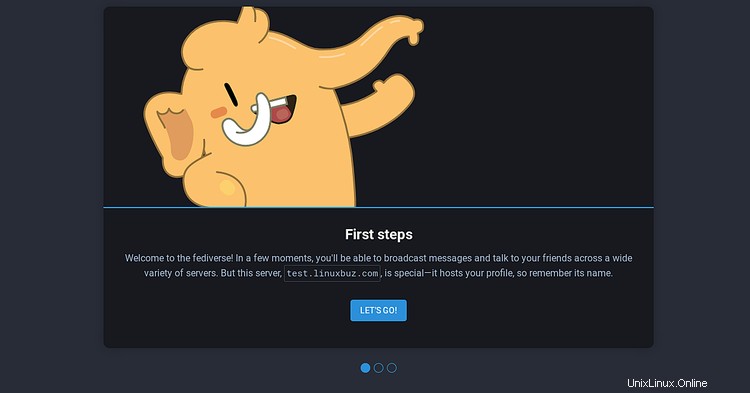
Ora, fai clic su ANDIAMO! pulsante. Dovresti vedere la seguente pagina:
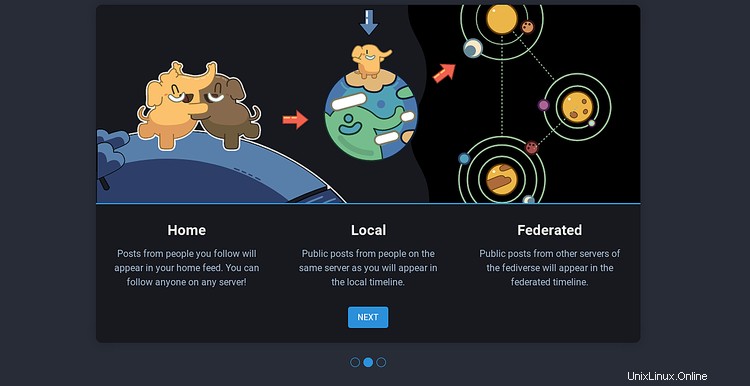
Ora, fai clic su Avanti pulsante. Dovresti vedere la seguente pagina:

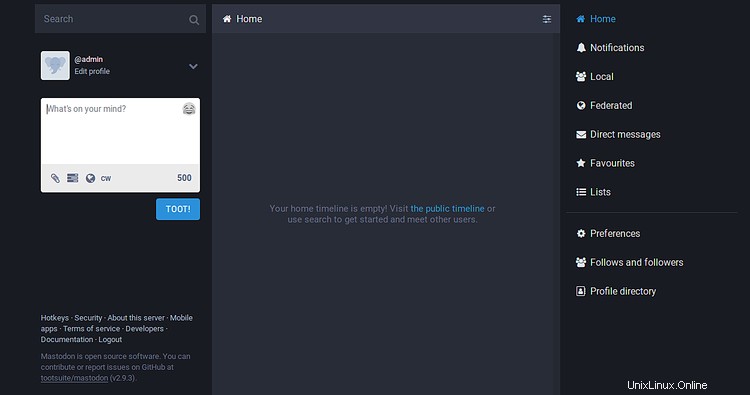
Ora, fai clic su FINISH TUTORIAL ! pulsante. Dovresti vedere la dashboard di Mastodon nella pagina seguente:
Congratulazioni! hai installato e configurato con successo Mastodon sul server Debian 10. Ora puoi creare facilmente la tua rete di social media utilizzando Mastodon. Sentiti libero di chiedermi se hai domande.