Se hai un piano di hosting web o hosting per rivenditori , il tuo servizio include Litespeed, un sostituto molto più veloce di Apache. Con Litespeed, puoi utilizzare il plug-in per WordPress che funziona molto meglio di Super Cache, Total Cache o altri plug-in di cache, poiché funziona a livello di server anziché solo a livello di WordPress.
Se hai un server VPS gestito , sentiti libero di inviare un ticket di supporto tramite qui e possiamo installare Litespeed per te. C'è un costo mensile con Litespeed (poiché è un prodotto commerciale) che dipende dalle specifiche del tuo server. Per il vantaggio in termini di prestazioni (anche se non stai utilizzando WordPress), Litespeed vale sicuramente il costo.
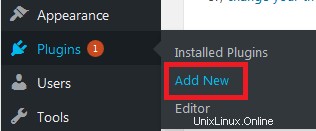
Passaggio 1 - Accedi a WordPress e aggiungi un nuovo plugin
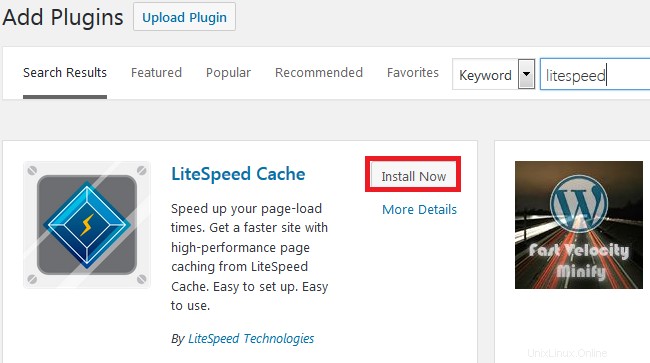
Fase 2 - Trova il plug-in e fai clic su Installa ora
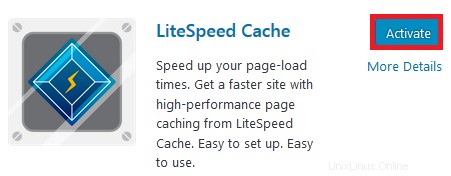
Fai clic su Attiva per abilitare Litespeed
Fase 3 - Successivamente, devi accedere a cPanel e modificare il tuo file .htaccess (clicca qui per una guida) per rimuovere la configurazione predefinita.
Uno :Elimina questo testo
Due :Aggiungi questo testo all'inizio
La pagina dovrebbe essere simile a questa .
Premi Salva . Litespeed Cache è ora installato e funzionante :)
Se hai un server VPS gestito , sentiti libero di inviare un ticket di supporto tramite qui e possiamo installare Litespeed per te. C'è un costo mensile con Litespeed (poiché è un prodotto commerciale) che dipende dalle specifiche del tuo server. Per il vantaggio in termini di prestazioni (anche se non stai utilizzando WordPress), Litespeed vale sicuramente il costo.
Passaggio 1 - Accedi a WordPress e aggiungi un nuovo plugin
Fase 2 - Trova il plug-in e fai clic su Installa ora
Fai clic su Attiva per abilitare Litespeed
Fase 3 - Successivamente, devi accedere a cPanel e modificare il tuo file .htaccess (clicca qui per una guida) per rimuovere la configurazione predefinita.
Uno :Elimina questo testo
## LITESPEED WP CACHE PLUGIN - Do not edit the contents of this block! ##
<IfModule LiteSpeed>
RewriteEngine on
CacheLookup on
RewriteRule .* - [E=Cache-Control:no-autoflush]
RewriteRule min/\w+\.(css|js) - [E=cache-control:no-vary]
### marker CACHE RESOURCE start ###
RewriteRule wp-content/.*/[^/]*(responsive|css|js|dynamic|loader|fonts)\.php - [E=cache-control:max-age=3600]
### marker CACHE RESOURCE end ###
### marker FAVICON start ###
RewriteRule favicon\.ico$ - [E=cache-control:max-age=86400]
### marker FAVICON end ###
</IfModule>
## LITESPEED WP CACHE PLUGIN - Do not edit the contents of this block! ##
# END LSCACHE
# BEGIN NON_LSCACHE
## LITESPEED WP CACHE PLUGIN - Do not edit the contents of this block! ##
## LITESPEED WP CACHE PLUGIN - Do not edit the contents of this block! ##
# END NON_LSCACHE
Due :Aggiungi questo testo all'inizio
# BEGIN LSCACHE
<IfModule LiteSpeed>
CacheEnable public /
RewriteEngine on
RewriteCond %{REQUEST_METHOD} ^(HEAD|GET)$
RewriteCond %{REQUEST_URI} !^/(wp-admin|wp-login.php|wp-cron.php)
RewriteRule .* - [E=Cache-Control:max-age=120]
</IfModule>
# END NON_LSCACHE
La pagina dovrebbe essere simile a questa .
# BEGIN LSCACHE
<IfModule LiteSpeed>
CacheEnable public /
RewriteEngine on
RewriteCond %{REQUEST_METHOD} ^(HEAD|GET)$
RewriteCond %{REQUEST_URI} !^/(wp-admin|wp-login.php|wp-cron.php)
RewriteRule .* - [E=Cache-Control:max-age=120]
</IfModule>
# END NON_LSCACHE
# BEGIN WordPress
<IfModule mod_rewrite.c>
RewriteEngine On
RewriteBase /
RewriteRule ^index\.php$ - [L]
RewriteCond %{REQUEST_FILENAME} !-f
RewriteCond %{REQUEST_FILENAME} !-d
RewriteRule . /index.php [L]
</IfModule>
# END WordPress
Premi Salva . Litespeed Cache è ora installato e funzionante :)