GNU/Linux >> Linux Esercitazione >  >> Panels >> Plesk

Come proteggere un nome host Plesk con SSL

Le indicazioni seguenti mostrano come proteggere l'interfaccia di Plesk con un certificato Let's Encrypt gratuito:


  • Accedi a Plesk.

  • Vai a Strumenti e impostazioni> Certificati SSL/TLS (sotto Sicurezza ).

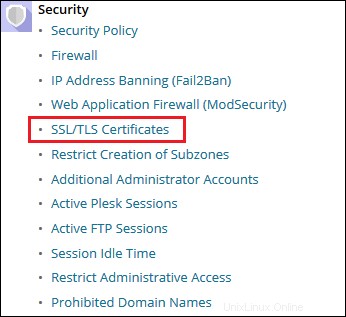
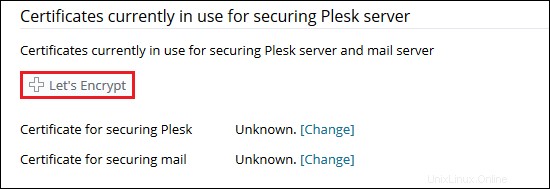
  • Fai clic su Let's Encrypt .

  • Compila il Nome di dominioIndirizzo email campi e assicurati che contengano informazioni valide:

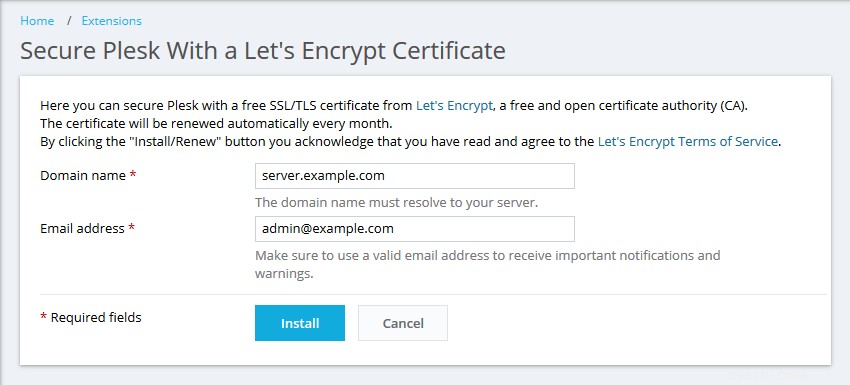
    * Il nome host/dominio deve essere risolto in un indirizzo IP pubblico del server Plesk da Internet.  

  • Fai clic su Installa . Un certificato SSL da Let's Encrypt viene generato per il nome host e impostato per proteggere Plesk sulla porta 8443. Questo certificato verrà rinnovato automaticamente ogni 90 giorni. Ecco l'aspetto finale:

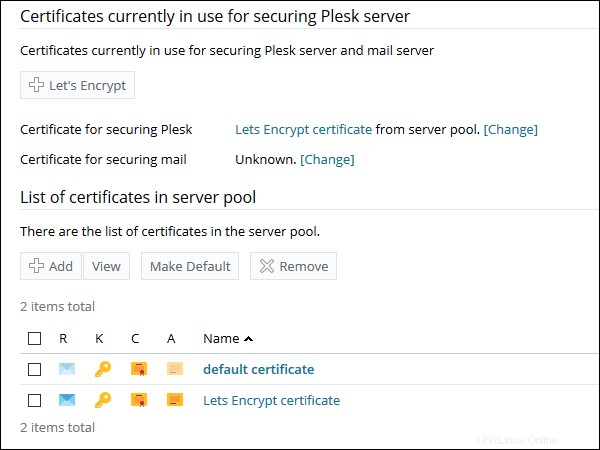
  • Ora, puoi accedere a Plesk su https://server.example.com:8443.


  • Plesk
    1. Come proteggere un account abilitato per cPanel con un certificato SSL Lets Encrypt

    2. Come proteggere Nginx con SSL e Let's Encrypt in FreeBSD

    3. Come applicare un certificato SSL in Plesk

    4. Come forzare SSL su un sito web

    5. Come ottenere un certificato SSL gratuito con SSL It! e Let's Encrypt su Plesk

    Come installare Webmin e proteggerlo con Lets Encrypt SSL su Ubuntu 20.04 LTS

    Come proteggere Apache con SSL e Let's Encrypt in FreeBSD

    Come utilizzare Let's Encrypt con Cloudflare

    Come proteggere Apache con Let's Encrypt SSL Certificate su CentOS 8

    Come controllare la data di scadenza SSL su Plesk

    Come proteggere Nginx con Let's Encrypt certificato SSL