LAMP sta per Linux, Apache, MySQL e PHP. La maggior parte dei siti Web funziona con la combinazione di cui sopra. Di seguito sono riportati i passaggi per installare LAMP su Fedora 27 / Fedora 26 / 25.
Installa Apache
Per iniziare, installeremo Apache. Apri il terminale e passa a root.
$ su
Digita il seguente comando sul terminale per installare il server Apache.
dnf install -y httpd
Avvia Apache usando il seguente comando.
systemctl start httpd
Abilita l'avvio di Apache ad ogni avvio, digita quanto segue sul terminale e premi Invio.
systemctl enable httpd
Firewall
Configurare il firewall per consentire la richiesta HTTP dalla rete esterna. Qui utilizzeremo regole firewall statiche, quindi disabiliteremo firewalld e abiliteremo iptables e ip6tables.
firewall-cmd --permanent --add-service=http
firewall-cmd --reload
Testa Apache
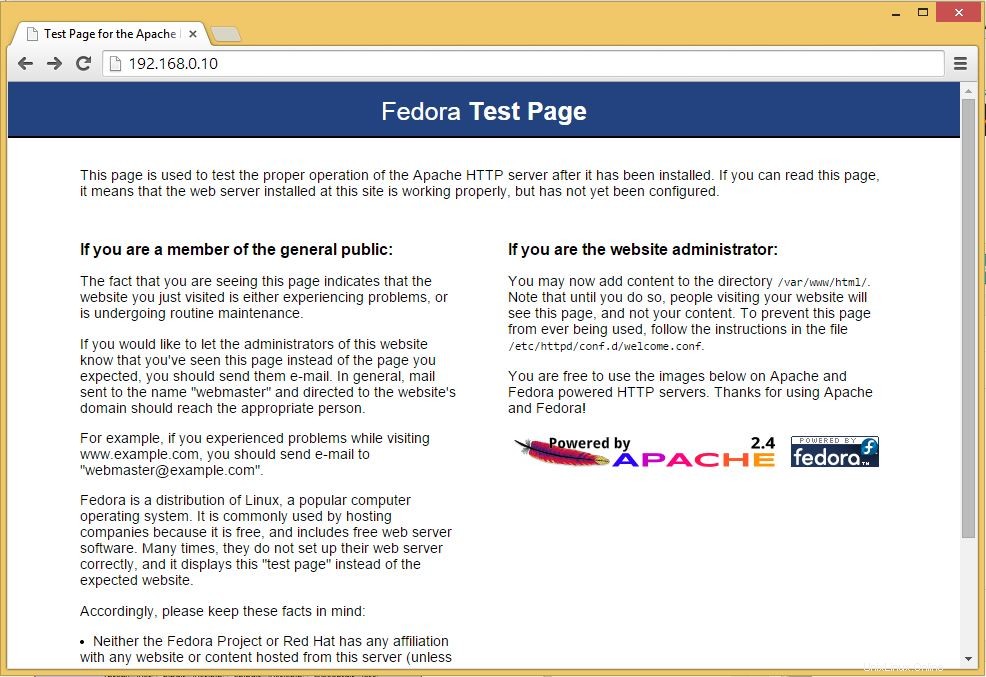
Per assicurarci che tutto sia installato correttamente, testeremo ora Apache per assicurarci che funzioni correttamente.
Apri qualsiasi browser web e quindi inserisci il seguente URL nell'indirizzo web:
http://localhost/O
http://tuo.ip.addr.essOtterrai la pagina web che dice "Pagina di test Fedora". Ora l'Apache funziona bene. La radice del documento predefinita di Apache è /var/www/html su Fedora e il file di configurazione è /etc/httpd/conf/httpd.conf. Ulteriori configurazioni sono memorizzate nella directory /etc/httpd/conf.d/.
Installa MariaDB
Successivamente è installare MySQL su Linux, seguire i passaggi. Digita il seguente comando e poi premi Invio.
dnf install -y mariadb mariadb-server
Avvia il server MySQL.
systemctl start mariadb
Per avviare MySQL ad ogni avvio, digita quanto segue sul terminale e premi Invio.
systemctl enable mariadb
Il prossimo passo è rendere sicuro MySQL usando il comando mysql_secure_installation.
Questo programma ti consente di migliorare la sicurezza della tua installazione di MySQL nei seguenti modi:
- Puoi impostare una password per
rootconti. - Puoi rimuovere
rootaccount accessibili dall'esterno dell'host locale. - Puoi rimuovere account utente anonimi.
- Puoi rimuovere il
testdatabase (a cui per impostazione predefinita possono accedere tutti gli utenti, anche anonimi) e privilegi che consentono a chiunque di accedere a database con nomi che iniziano contest_.
#  mysql_secure_installation

NOTE: RUNNING ALL PARTS OF THIS SCRIPT IS RECOMMENDED FOR ALL MariaDB
SERVERS IN PRODUCTION USE! PLEASE READ EACH STEP CAREFULLY!

In order to log into MariaDB to secure it, we'll need the current
password for the root user. If you've just installed MariaDB, and
you haven't set the root password yet, the password will be blank,
so you should just press enter here.

Enter current password for root (enter for none): <--- Enter Root password
OK, successfully used password, moving on...

Setting the root password ensures that nobody can log into the MariaDB
root user without the proper authorisation.

Set root password? [Y/n] y <--- Yes, if you want to setup root password
New password: <--- Type password
Re-enter new password: <--- Re type root password
Password updated successfully!
Reloading privilege tables..
... Success!

By default, a MariaDB installation has an anonymous user, allowing anyone
to log into MariaDB without having to have a user account created for
them. This is intended only for testing, and to make the installation
go a bit smoother. You should remove them before moving into a
production environment.

Remove anonymous users? [Y/n] <--- Yes to remove anonymous users
... Success!

Normally, root should only be allowed to connect from 'localhost'. This
ensures that someone cannot guess at the root password from the network.

Disallow root login remotely? [Y/n] <--- Disable remote root login
... Success!

By default, MariaDB comes with a database named 'test' that anyone can
access. This is also intended only for testing, and should be removed
before moving into a production environment.

Remove test database and access to it? [Y/n] <--- Remove test database
- Dropping test database...
... Success!
- Removing privileges on test database...
... Success!

Reloading the privilege tables will ensure that all changes made so far
will take effect immediately.

Reload privilege tables now? [Y/n] <--- Reload privilleges
... Success!

Cleaning up...

All done! If you've completed all of the above steps, your MariaDB
installation should now be secure.

Thanks for using MariaDB!
Installa PHP
Per impostazione predefinita il server Apache supporta solo il linguaggio HTML, non PHP per questo è necessario installare PHP. Per installare PHP, segui i passaggi.
Digita la seguente riga sul terminale e premi invio, questo comando include il pacchetto di supporto per MySQL.
dnf install -y php php-mysqlnd
Devi riavviare il servizio Apache dopo l'installazione di PHP, per farlo digita quanto segue sul terminale.
systemctl restart httpd
Verifica PHP
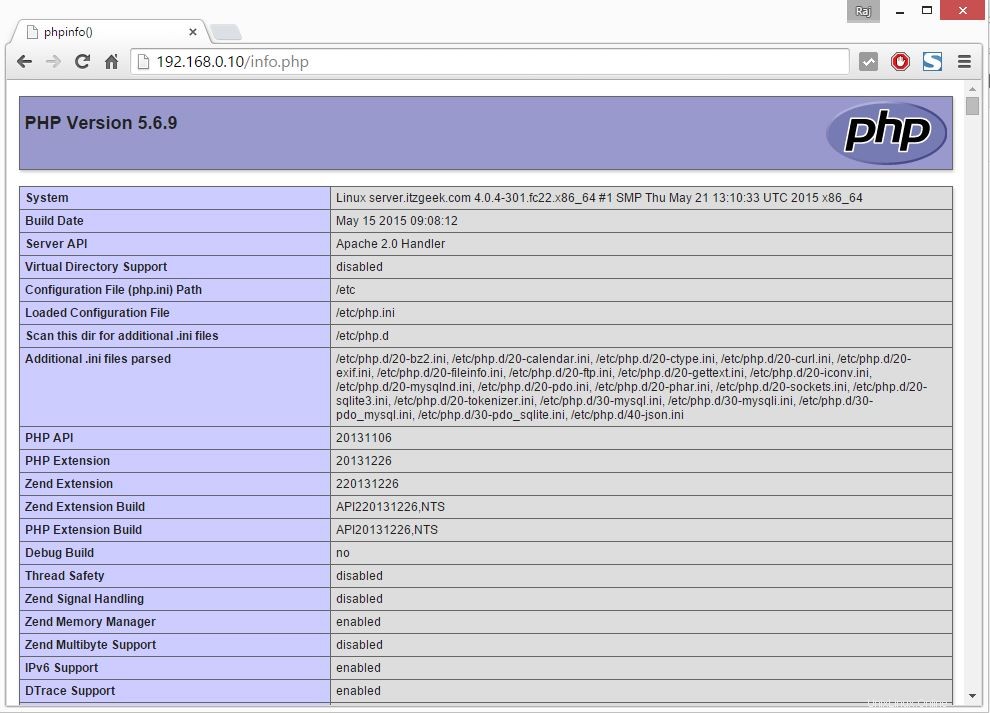
Per testare il PHP, posizionare un file PHP nella directory predefinita di Apache. La radice del documento del sito Web predefinito è /var/www/html. Ora creeremo un piccolo file PHP (info.php) in quella directory e lo chiameremo in un browser. Il file mostrerà molti dettagli utili sulla nostra installazione di PHP, come la versione di PHP installata.
Nel terminale copia/incolla la seguente riga:
# vi /var/www/html/info.php
Questo comando aprirà un file chiamato info.php .
Copia/incolla questa riga nel file info.php:
<?php phpinfo(); ?>
Salva e chiudi il file. Usa Esc + :wq per salvare il file.
Ora apri il tuo browser web e digita quanto segue nell'indirizzo web:
http://localhost/info.phpO
http://tuo.ip.addr.ess/info.phpLa pagina apparirà come di seguito:
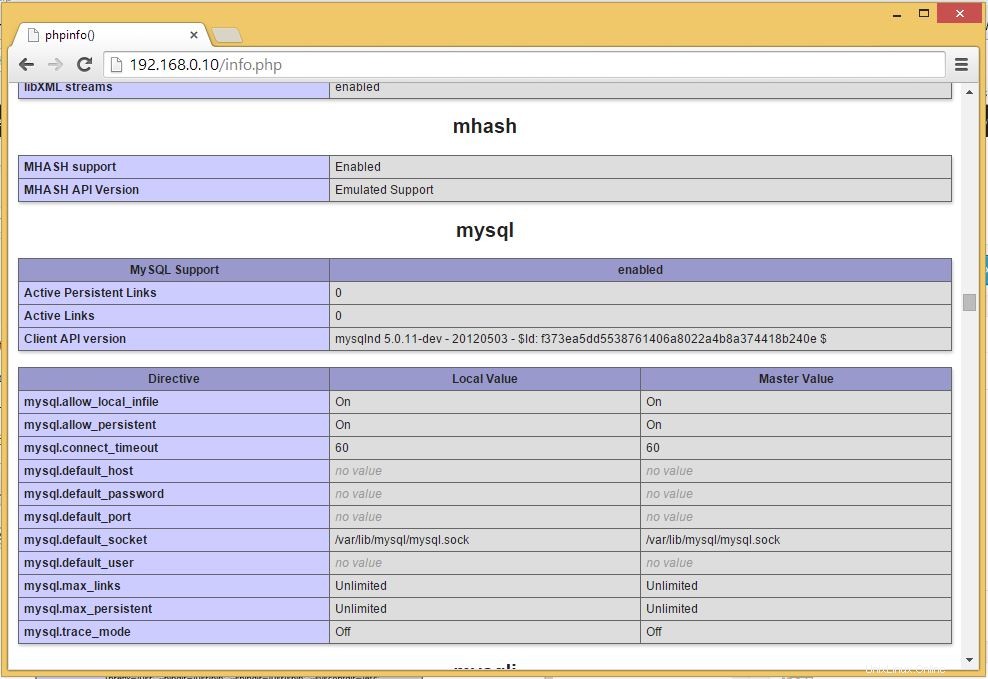
Scorri verso il basso la sezione del browser fino ai moduli per verificare il supporto per MySQL. Otterrai la schermata come di seguito.
Questo è tutto.