Vtiger è un CRM open source che include inventario, e-mail, gestione dei progetti e altri strumenti che forniscono una suite completa di gestione aziendale. Utilizzando vTiger CRM puoi garantire supporto premium, gestione delle vendite e team di marketing che lavorino senza intoppi per aumentare la crescita del business e migliorare l'esperienza del cliente.
Alcune delle principali funzionalità di vTiger CRM includono, a titolo esemplificativo ma non esaustivo:
- Supporta l'automazione utilizzando un portale clienti e ticket di supporto.
- Ha un controllo degli accessi basato sui ruoli.
- Fornisce la gestione end-to-end del ciclo di vendita da campagne, lead, potenziali, preventivi, fatture.
- Ti offre plug-in Outlook, Thunderbird, Firefox e Gmail.
- Flussi di lavoro, attività e gestione dei progetti.
- Supporto per l'importazione e l'esportazione di dati tramite file CSV, moduli web-to-lead, report e dashboard utente personalizzabili.
Server Web Apache, PHP e server di database MariaDB sono necessari per l'installazione di vTiger CRM e il corretto funzionamento.
Installa PHP:
Utilizzare i seguenti comandi per installare PHP.
dnf -y install yum-utils
dnf -y install https://dl.fedoraproject.org/pub/epel/epel-release-latest-8.noarch.rpm
dnf -y install https://rpms.remirepo.net/enterprise/remi-release-8.rpm
dnf module reset php
dnf module -y install php:remi-7.4
dnf -y install vim php php-{pear,cli,cgi,common,curl,mbstring,gd,mysqlnd,gettext,bcmath,json,xml,fpm,intl,zip,imap,ldap,soap,xmlrpc}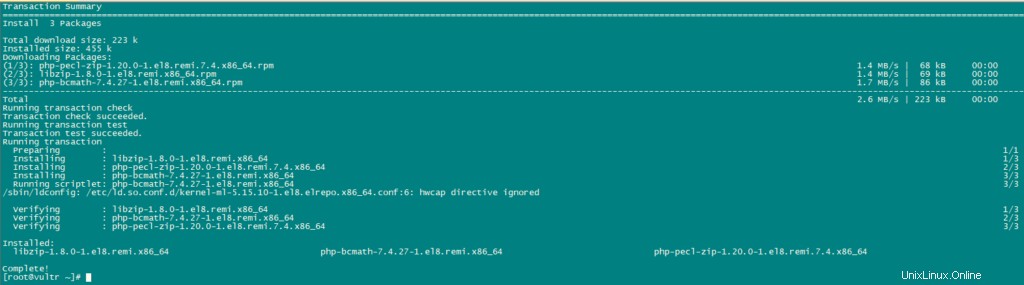
Ora, configura PHP.
nano /etc/php.iniSostituisci i valori correnti della seguente variabile con i valori menzionati:
date.timezone = Africa/Nairobi
memory_limit = 256M
upload_max_filesize = 64M
display_errors = On
log_errors = Off
Installa MariaDB e crea database:
vTiger CRM ha bisogno di un archivio di database per i suoi dati. Useremo mariaDB come database.
Installa mariaDB usando il seguente comando:
dnf install mariadb-serverUtilizzare il seguente comando per la configurazione di MariaDB.
mysql_secure_installationimpostare le configurazioni come di seguito:
NOTE: RUNNING ALL PARTS OF THIS SCRIPT IS RECOMMENDED FOR ALL MariaDB
      SERVERS IN PRODUCTION USE!  PLEASE READ EACH STEP CAREFULLY!

In order to log into MariaDB to secure it, we'll need the current
password for the root user.  If you've just installed MariaDB, and
you haven't set the root password yet, the password will be blank,
so you should just press enter here.

Enter current password for root (enter for none):
OK, successfully used password, moving on...

Setting the root password ensures that nobody can log into the MariaDB
root user without the proper authorisation.

Set root password? [Y/n] y
New password:
Re-enter new password:
Password updated successfully!
Reloading privilege tables..
 ... Success!


By default, a MariaDB installation has an anonymous user, allowing anyone
to log into MariaDB without having to have a user account created for
them.  This is intended only for testing, and to make the installation
go a bit smoother.  You should remove them before moving into a
production environment.

Remove anonymous users? [Y/n] y
 ... Success!

Normally, root should only be allowed to connect from 'localhost'.  This
ensures that someone cannot guess at the root password from the network.

Disallow root login remotely? [Y/n] y
 ... Success!

By default, MariaDB comes with a database named 'test' that anyone can
access.  This is also intended only for testing, and should be removed
before moving into a production environment.

Remove test database and access to it? [Y/n] y
 - Dropping test database...
 ... Success!
 - Removing privileges on test database...
 ... Success!

Reloading the privilege tables will ensure that all changes made so far
will take effect immediately.

Reload privilege tables now? [Y/n] y
 ... Success!

Cleaning up...

All done!  If you've completed all of the above steps, your MariaDB
installation should now be secure.

Thanks for using MariaDB!
Ora imposta la modalità SQL come segue:
nano /etc/my.cnf.d/server.cnf

[mysqld]
sql_mode = ERROR_FOR_DIVISION_BY_ZERO,NO_AUTO_CREATE_USER,NO_ENGINE_SUBSTITUTION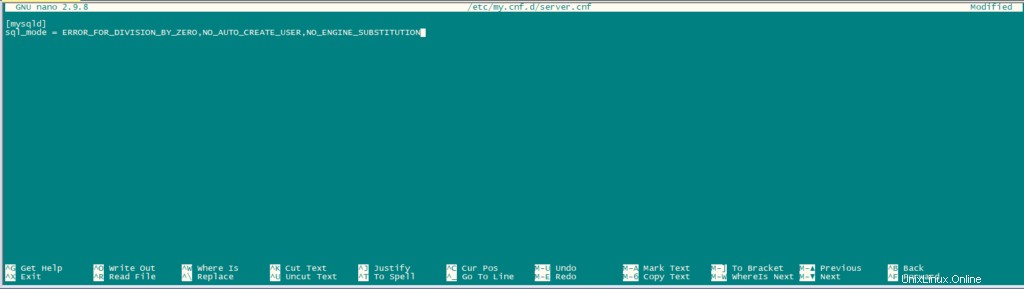
Riavvia MariaDB.
systemctl restart mariadb.serviceDopo aver installato il server di database, accedi a MariaDB cli come utente root e crea un database per vTiger CRM.
mysql -u root -pCrea un database e un utente come segue:
CREATE USER 'vtiger'@'localhost' IDENTIFIED BY 'w';
CREATE DATABASE vtiger CHARACTER SET utf8 COLLATE utf8_general_ci;
GRANT ALL PRIVILEGES ON vtiger.* TO 'vtiger'@'localhost';
FLUSH PRIVILEGES;
QUIT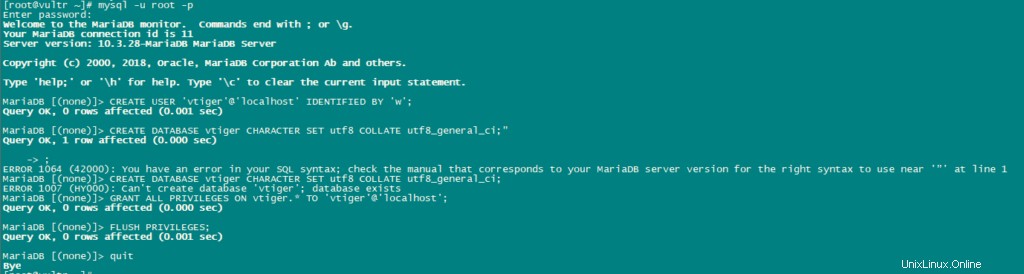
Scarica Vtiger:
Scarica l'ultima versione di vTiger.
dnf -y install wget
wget https://sourceforge.net/projects/vtigercrm/files/vtiger%20CRM%207.2.0/Core%20Product/vtigercrm7.2.0.tar.g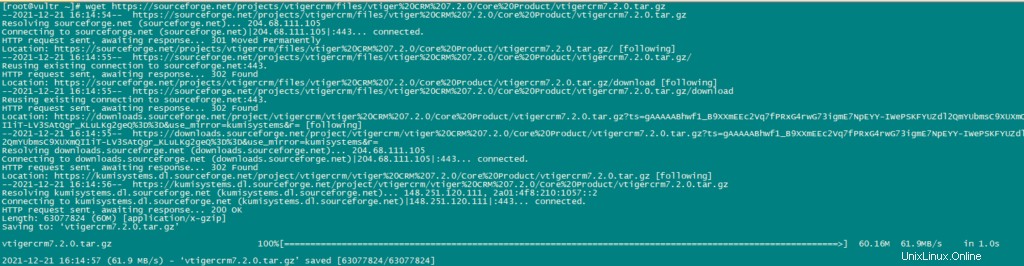
Estrai il file tar.
tar xvf vtigercrm7.2.0.tar.gzInstalla il server httpd Apache:
dnf -y install httpdSposta la cartella vTiger con il suo contenuto in /var/www/html.
mv vtigercrm /var/www/html/Configura Apache:
imposta i permessi di directory appropriati usando il seguente comando:
chown -R apache:apache /var/www/html/vtigercrmOra crea un file host virtuale per vTiger:
nano /etc/httpd/conf.d/vtigercrm.confAggiungi il seguente contenuto nel file.
<VirtualHost *:80>
     ServerAdmin lab1.unixcop.com
     ServerName lab1.unixcop.com
     ServerAlias lab1.unixcop.com
     DocumentRoot /var/www/html/vtigercrm/

     <Directory /var/www/html/vtigercrm/>
        Options +FollowSymlinks
        AllowOverride All
        Require all granted
     </Directory>

     ErrorLog /var/log/httpd/vtigercrm_error.log
     CustomLog /var/log/httpd/vtigercrm_access.log combined
</VirtualHost>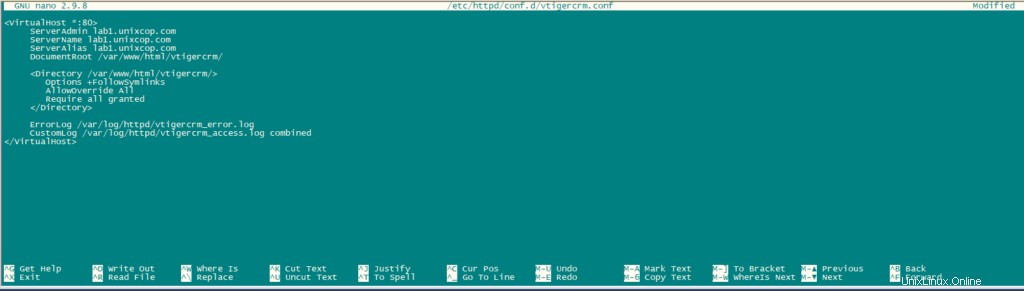
Verifica la sintassi del file precedente utilizzando i seguenti comandi:
apachectl -tRiavvia il servizio httpd.
systemctl restart httpdApri la porta http nel firewall usando il seguente comando:
firewall-cmd --add-service=http --permanent
firewall-cmd --reload
Disabilita SELinux se non disabilitato.
sudo setenforce 0
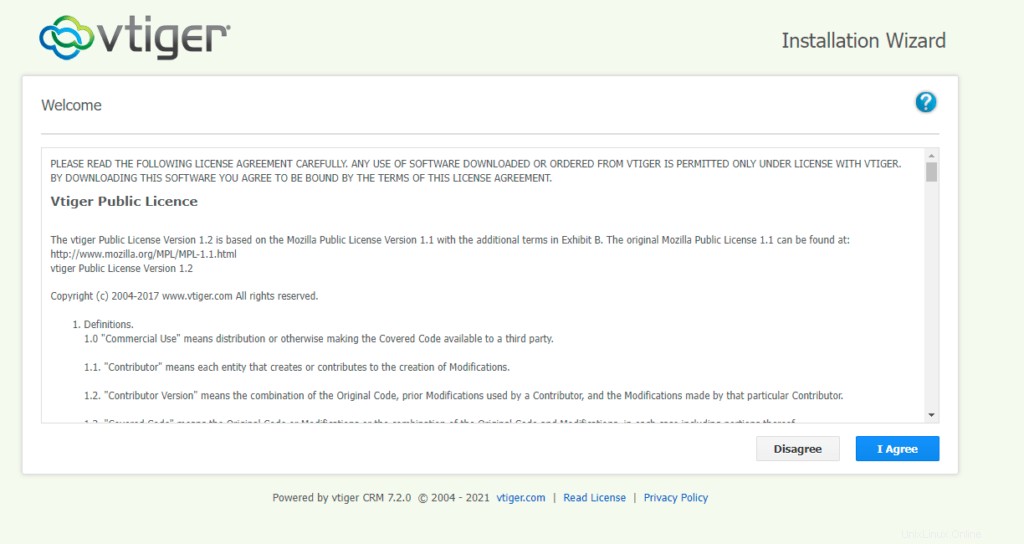
sudo sed -i 's/^SELINUX=.*/SELINUX=disabled/g' /etc/selinux/configTermina l'installazione aprendo http://Your_IPAddress nel tuo browser. La prima pagina visualizzata sarà l'Installazione guidata.
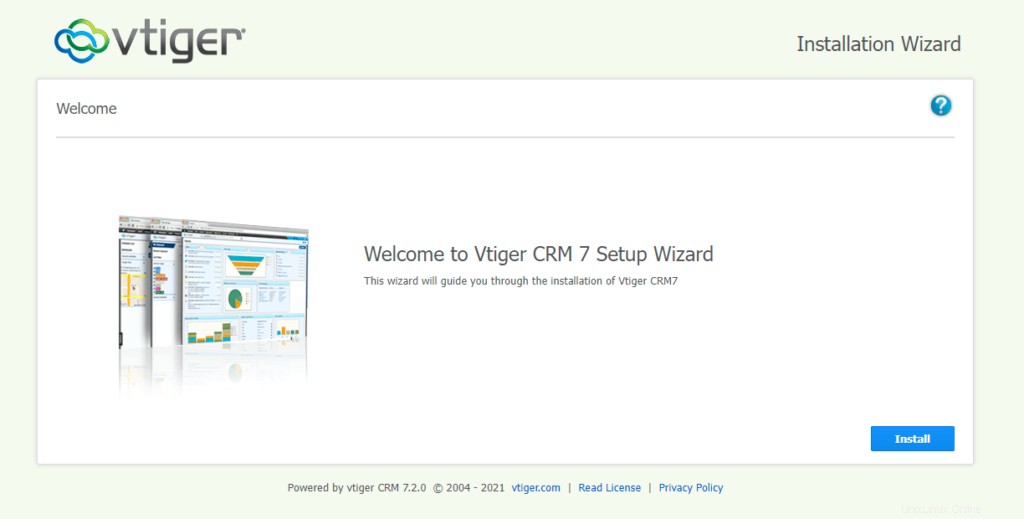
Fare clic su Installa e quindi su "Accetto"
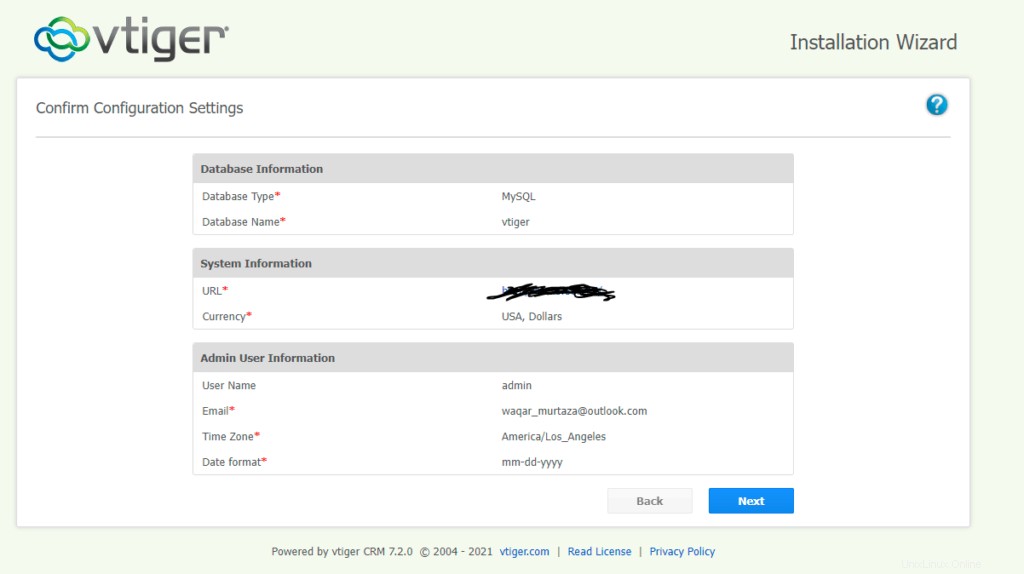
Ora verifica la configurazione come indicato nell'immagine sottostante e fai clic su Avanti.

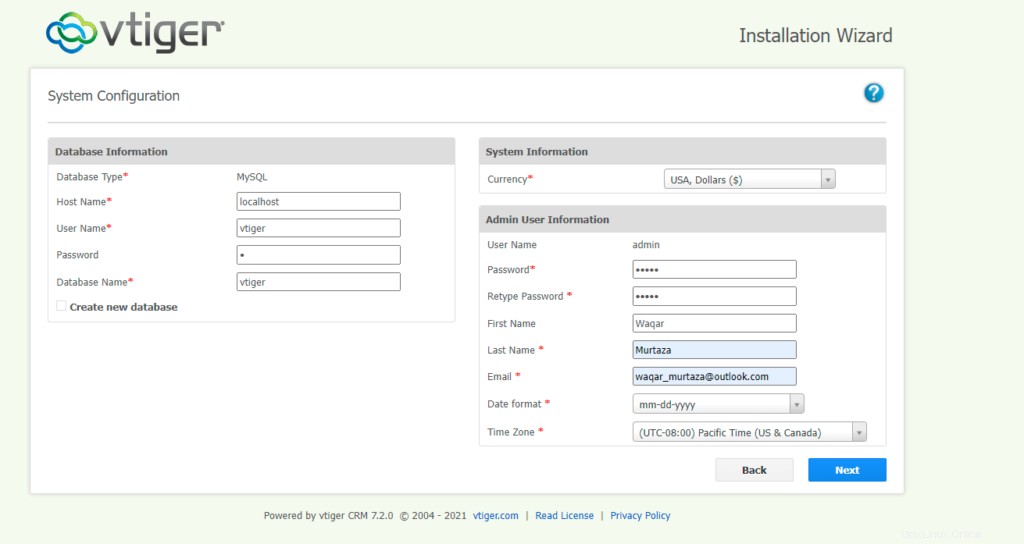
Fornisci i dettagli del database come mostrato nell'immagine sottostante e imposta la password e fornisci i dettagli richiesti.
Conferma le impostazioni e fai clic su Avanti.
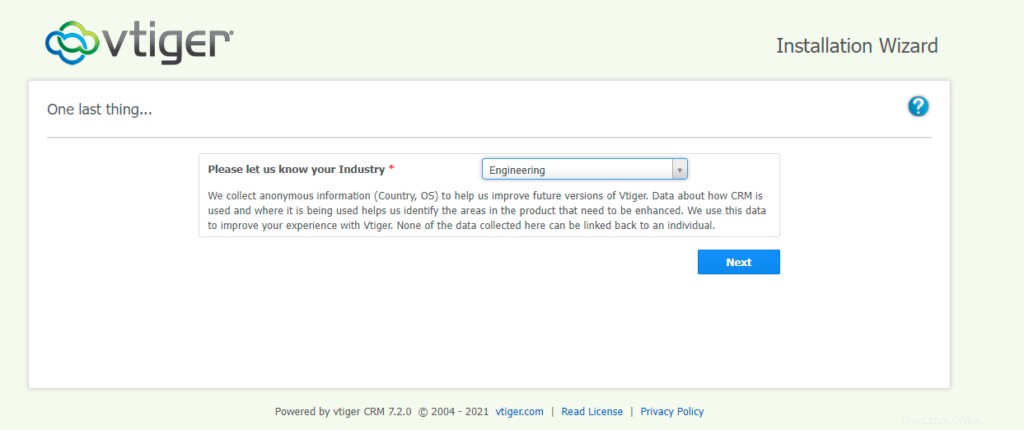
Conferma il tuo settore e fai clic su Avanti.
Quindi attendi il completamento dell'installazione.
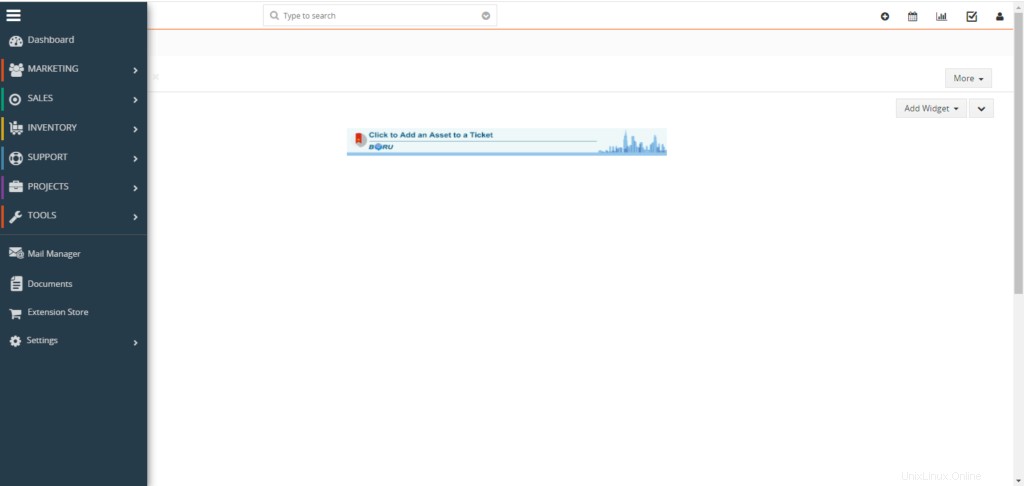
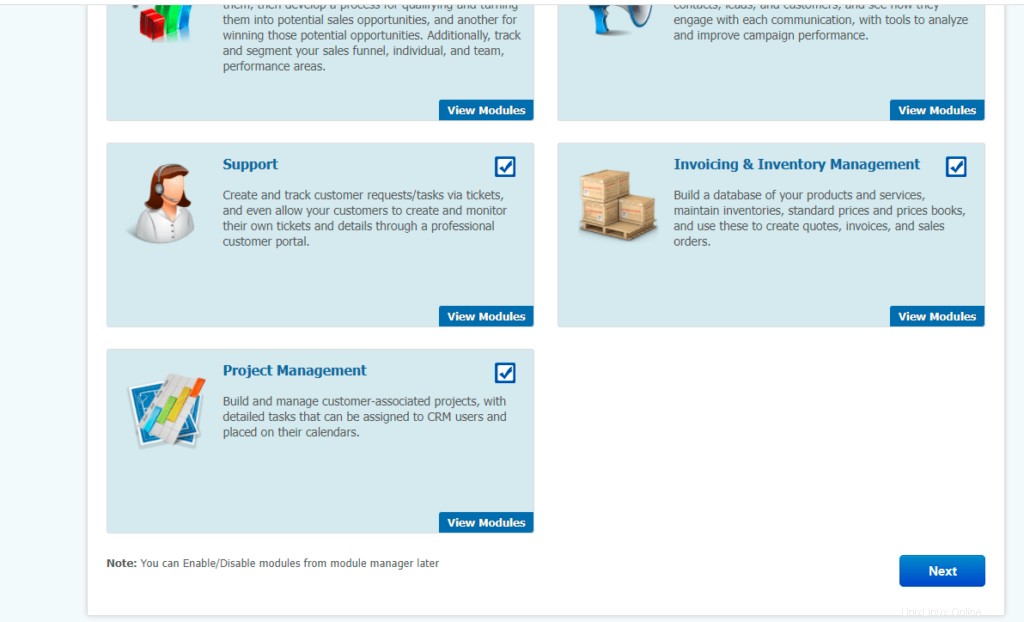
Ora seleziona i moduli che desideri utilizzare in vTiger CRM e fai clic su Avanti.
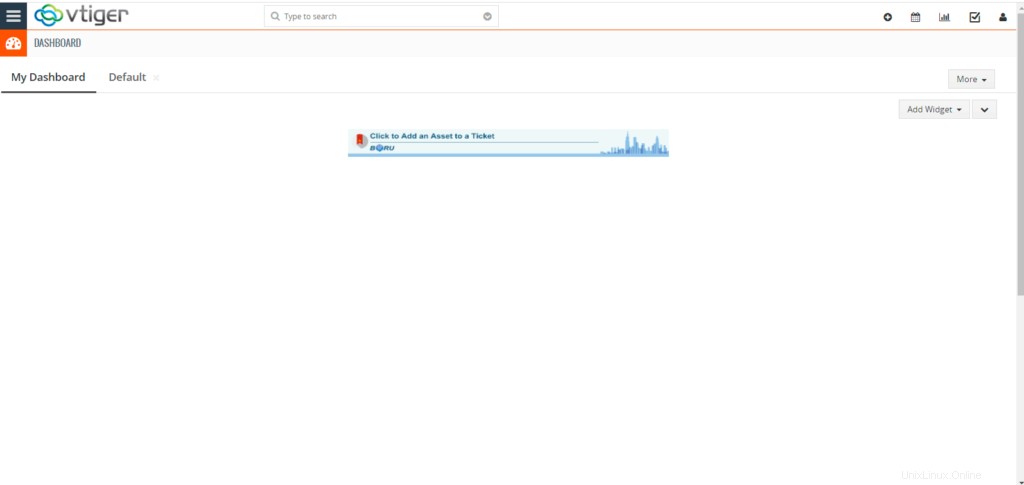
Ora vTIGER CRM è installato e pronto per l'uso.