Introduzione
YOURLS (Your Own URL Shortener) è un'applicazione open source per l'abbreviazione degli URL e l'analisi dei dati.
Tratteremo il processo di installazione di YOURLS su un server CentOS 8.
Installazione
Segui i passaggi seguenti:
- Aggiorna il sistema
sudo dnf install epel-release -y
sudo dnf clean all && sudo dnf update -y- Installa il server web httpd
sudo dnf install httpd -y- Rimuovi la pagina di benvenuto di Apache
sudo sed -i 's/^/#&/g' /etc/httpd/conf.d/welcome.conf- Impedisci ad Apache di esporre i file nei browser dei visitatori
sudo sed -i "s/Options Indexes FollowSymLinks/Options FollowSymLinks/" /etc/httpd/conf/httpd.conf- Inizia quindi abilita httpd
sudo systemctl start httpd && sudo systemctl enable httpd- Installa mariadb
sudo dnf install mariadb mariadb-server -y- Avvia e abilita mariadb
sudo systemctl start mariadb.service && sudo systemctl enable mariadb.service- Proteggi l'installazione di MariaDB
mysql_secure_installationRispondi alle domande che ricevi e non dimenticare di fornire una password di root.
- Accedi alla shell di MySQL come root con:
mysql -u root -p- Crea un database yourls_db , un utente del database yourls_user e la password dell'utente del database come mostrato di seguito.
CREATE DATABASE yourls_db DEFAULT CHARACTER SET UTF8 COLLATE utf8_unicode_ci;
CREATE USER 'yourls_user'@'localhost' IDENTIFIED BY 'unixcopPassword';
GRANT ALL PRIVILEGES ON yourls_db.* TO 'yourls_user'@'localhost' IDENTIFIED BY 'unixcopPassword' WITH GRANT OPTION;
FLUSH PRIVILEGES;
\q;- Installa php e le estensioni e i pacchetti necessari eseguendo i comandi seguenti:
sudo dnf -y install yum-utils

sudo dnf -y install https://dl.fedoraproject.org/pub/epel/epel-release-latest-8.noarch.rpm

sudo dnf -y install https://rpms.remirepo.net/enterprise/remi-release-8.rpm

dnf module reset php    #run this with root user

sudo dnf module install php:remi-7.3

sudo yum install wget git php php-bcmath php-json php-xml php-common php-curl php-intl php-zip php-imap php-pear php-cgi php-mbstring php-gd php-mysqlnd php-gettext -y- Installa I TUOI con git.
cd /var/www/html/
sudo git clone https://github.com/YOURLS/YOURLS.git
sudo chown -R apache:apache /var/www/html/YOURLS- Configura YOURLS eseguendo i comandi seguenti
cd YOURLS
sudo cp user/config-sample.php user/config.php
sudo chown apache:apache user/config.php- Modifica anche alcuni valori nel file config.php
vim /var/www/html/YOURLS/user/config.php- Trova le righe seguenti in config.php file
define( 'YOURLS_DB_USER', 'your db user name' );

define( 'YOURLS_DB_PASS', 'your db password' );

define( 'YOURLS_DB_NAME', 'yourls' );

define( 'YOURLS_SITE', 'http://your-own-domain-here.com' );

define( 'YOURLS_COOKIEKEY', 'modify this text with something random' );

$yourls_user_passwords = array(
'username' => 'password',- Sostituiscili uno per uno come segue:
define( 'YOURLS_DB_USER', 'yourls_user' );

define( 'YOURLS_DB_PASS', 'unixcopPassword' );

define( 'YOURLS_DB_NAME', 'yourls_db' );

define( 'YOURLS_SITE', 'http://yourls.unixcop.com' );

define( 'YOURLS_COOKIEKEY', 'ueejdmbsfffgsjskwnxsjssxiejdoedchcvg' ); // Use a long string consists of random characters.

$yourls_user_passwords = array(
'unixcop' => 'unixcopPassword', // Use your own username and password.- Quindi salva ed esci
- Crea un host virtuale per YURLS
vim /etc/httpd/conf.d/yourls.conf- Quindi aggiungi quanto segue
<VirtualHost *:80>
ServerAdmin admin@unixcop.com
DocumentRoot /var/www/html/YOURLS/
ServerName yourls.unixcop.com
ServerAlias www.yourls.unixcop.com
<Directory /var/www/html/YOURLS/>
Options FollowSymLinks
AllowOverride All
Order allow,deny
allow from all
</Directory>
ErrorLog /var/log/httpd/yourls.unixcop.com-error_log
CustomLog /var/log/httpd/yourls.unixcop.com-access_log common
</VirtualHost>- Riavvia httpd
sudo systemctl restart httpd- Consenti http porte sul firewall
sudo firewall-cmd --zone=public --permanent --add-service=http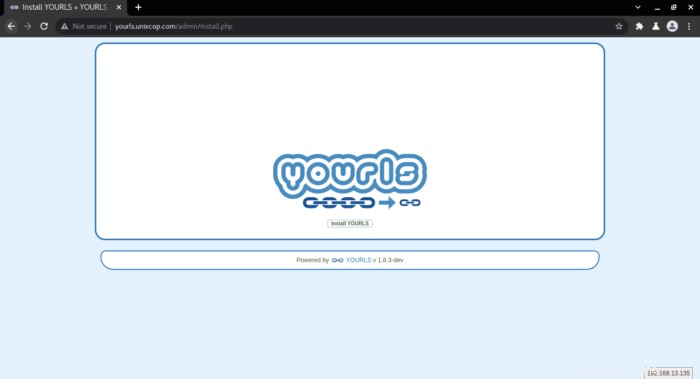
sudo firewall-cmd --reload- Vai al tuo browser web su http://yourls.unixcop.com/admin o http://indirizzo_IP/admin quindi fai clic su Installa IL TUO come mostrato di seguito nello screenshot.
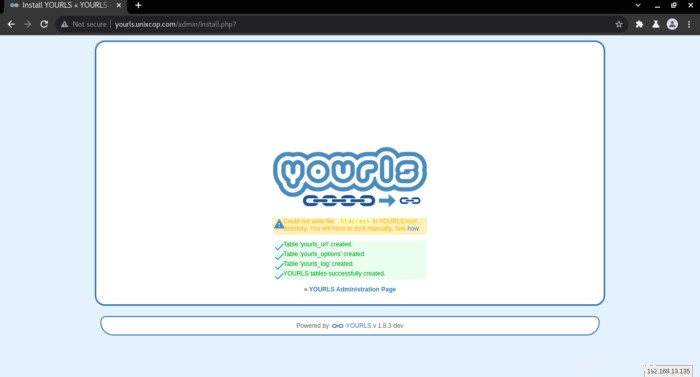
- Verifica che tutto sia a posto e spuntata la luce giusta o verde, quindi premi INVIO per procedere.
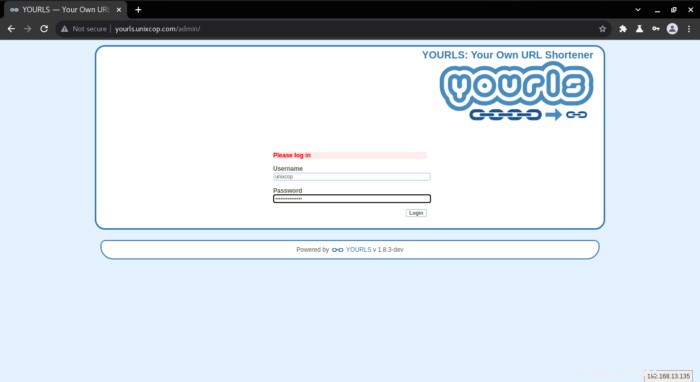
- Verrai reindirizzato alla pagina di accesso come mostrato di seguito .. fornisci il tuo nome utente e password che hai modificato in config.php file.
- Lo screenshot qui sotto mostra la tua dashboard
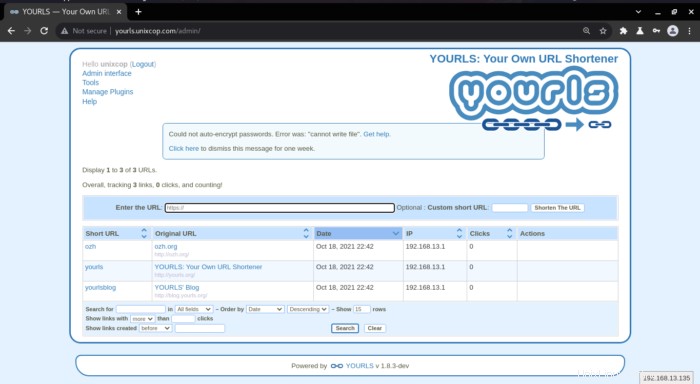
- Divertiti con i TUOI.
Conclusione
Questo è tutto..
Abbiamo illustrato come installare YOURLS YOURLS (Your Own URL Shortener) in CentOS 8 Server.