oVirt è un software di virtualizzazione gratuito e open source utilizzato in Linux come sistemi operativi come Fedora, CentOS e RHEL. In altre parole possiamo dire che oVirt è l'alternativa di VMware vSphere in Linux. La community di Ovirt è fondata e supportata da Red Hat ed è considerata un progetto upstream per Red Hat Enterprise Virtualization (RHEV ).
oVirt è costituito da due componenti principali:
- Motore oVirt
- Nodo oVirt
Motore oVirt è un'interfaccia utente grafica o possiamo dire che è un portale di amministrazione Web da cui possiamo gestire macchine virtuali, risorse di calcolo, rete e storage.
Nodo oVirt è un server RHEL / CentOS o Fedora su cui il servizio vdsm è attivo e in esecuzione. Il nodo Ovirt fungerà da Hypervisor (KVM) su cui verranno create tutte le macchine virtuali.
In questo articolo installeremo l'ultima versione oVirt 4.0.3 su CentOS 7/RHEL 7. Useremo due server, uno fungerà da motore ovirt e l'altro fungerà da nodo ovirt. Di seguito i dettagli:
oVirt Engine:ovirtengine.example.com (192.168.1.30)
oVirt Node:ovirtnode.example.com (192.168.1.40)
Aggiorna le voci di seguito nel file /etc/hosts nel caso non disponi del tuo server DNS locale.
192.168.1.30  ovirtengine.example.com
192.168.1.40  ovirtnode.example.com
Passaggi di installazione di oVirt Engine su CentOS 7 / RHEL 7
Di seguito sono riportati i requisiti minimi per ovirt-engine :
- OS minimo ( CentOS 7.x / RHEL 7.x )
- Server dual core
- 4 GB di RAM
- 25 GB di spazio su disco
- Scheda LAN da 1 Gbps
Eseguire i seguenti passaggi uno dopo l'altro per installare il motore ovirt.
Passaggio:1 Aggiorna il server usando il comando yum
Installa l'ultimo aggiornamento sul server usando il comando sotto yum.
[[email protected] ~]# yum update -y
Una volta installati gli aggiornamenti, riavviare il server.
Passaggio:2 Abilita il repository oVirt 4.0.3
I pacchetti del motore ovirt non sono disponibili nei repository CentOS e RHEL yum. Esegui il comando seguente per impostare e abilitare il repertorio di ovirt 4.0
[[email protected] ~]# yum install http://resources.ovirt.org/pub/yum-repo/ovirt-release40.rpm
Passaggio:3 Installa il pacchetto oVirt Engine utilizzando il comando yum
Esegui il seguente comando yum per installare il motore ovirt.
[[email protected] ~]# yum install ovirt-engine -y
Passo:4 Avvia il programma di installazione del motore ovirt
Esegui il comando 'engine-setu p' dalla console, avvierà il programma di installazione del motore ovirt e porrà in modo interattivo serie di domande durante l'installazione e salverà tutte le risposte in un file di risposte. Il file di risposta può essere riutilizzato per automatizzare l'installazione.
[[email protected] ~]# engine-setup --generate-answer=/root/answer.txt
[ INFO ] Stage: Initializing
[ INFO ] Stage: Environment setup
 Configuration files: ['/etc/ovirt-engine-setup.conf.d/10-packaging-jboss.conf', '/etc/ovirt-engine-setup.conf.d/10-packaging.conf']
 Log file: /var/log/ovirt-engine/setup/ovirt-engine-setup-20160918040600-2gbi6m.log
 Version: otopi-1.5.2 (otopi-1.5.2-1.el7.centos)
[ INFO ] Stage: Environment packages setup
[ INFO ] Yum Downloading: base/7/x86_64 (0%)
[ INFO ] Yum Downloading: updates/7/x86_64 (0%)
[ INFO ] Stage: Programs detection
[ INFO ] Stage: Environment setup
[ INFO ] Stage: Environment customization

 --== PRODUCT OPTIONS ==--

 Configure Engine on this host (Yes, No) [Yes]: Yes
 Configure Image I/O Proxy on this host? (Yes, No) [Yes]: Yes
 Configure WebSocket Proxy on this host (Yes, No) [Yes]: Yes
 Please note: Data Warehouse is required for the engine. If you choose to not configure it on this host, you have to configure it on a remote host, and then configure the engine on this host so that it can access the database of the remote Data Warehouse host.
 Configure Data Warehouse on this host (Yes, No) [Yes]: Yes
 Configure VM Console Proxy on this host (Yes, No) [Yes]: Yes

 --== PACKAGES ==--

[ INFO ] Checking for product updates...
[ INFO ] No product updates found

 --== NETWORK CONFIGURATION ==--

 Host fully qualified DNS name of this server [ovirtengine.example.com]: ovirtengine.example.com
[WARNING] Failed to resolve ovirtengine.example.com using DNS, it can be resolved only locally
 Setup can automatically configure the firewall on this system.
 Note: automatic configuration of the firewall may overwrite current settings.
 Do you want Setup to configure the firewall? (Yes, No) [Yes]: No

 --== DATABASE CONFIGURATION ==--

 Where is the DWH database located? (Local, Remote) [Local]: Local
 Setup can configure the local postgresql server automatically for the DWH to run. This may conflict with existing applications.
 Would you like Setup to automatically configure postgresql and create DWH database, or prefer to perform that manually? (Automatic, Manual) [Automatic]: Automatic
 Where is the Engine database located? (Local, Remote) [Local]: Local
 Setup can configure the local postgresql server automatically for the engine to run. This may conflict with existing applications.
 Would you like Setup to automatically configure postgresql and create Engine database, or prefer to perform that manually? (Automatic, Manual) [Automatic]: Automatic

 --== OVIRT ENGINE CONFIGURATION ==--

 Engine admin password:
 Confirm engine admin password:
[WARNING] Password is weak: it is too simplistic/systematic
 Use weak password? (Yes, No) [No]: Yes
 Application mode (Virt, Gluster, Both) [Both]: Both

 --== STORAGE CONFIGURATION ==--

 Default SAN wipe after delete (Yes, No) [No]: No

 --== PKI CONFIGURATION ==--

 Organization name for certificate [example.com]: example.com

 --== APACHE CONFIGURATION ==--

 Setup can configure the default page of the web server to present the application home page. This may conflict with existing applications.
 Do you wish to set the application as the default page of the web server? (Yes, No) [Yes]: Yes
 Setup can configure apache to use SSL using a certificate issued from the internal CA.
 Do you wish Setup to configure that, or prefer to perform that manually? (Automatic, Manual) [Automatic]: Automatic

 --== SYSTEM CONFIGURATION ==--

 Configure an NFS share on this server to be used as an ISO Domain? (Yes, No) [No]: No

 --== MISC CONFIGURATION ==--

 Please choose Data Warehouse sampling scale:
 (1) Basic
 (2) Full
 (1, 2)[1]: 1

 --== END OF CONFIGURATION ==--

[ INFO ] Stage: Setup validation
[WARNING] Warning: Not enough memory is available on the host. Minimum requirement is 4096MB, and 16384MB is recommended.
 Do you want Setup to continue, with amount of memory less than recommended? (Yes, No) [No]: Yes

 --== CONFIGURATION PREVIEW ==--

 Application mode : both
 Default SAN wipe after delete : False
 Update Firewall : False
 Host FQDN : ovirtengine.example.com
 Engine database secured connection : False
 Engine database host : localhost
 Engine database user name : engine
 Engine database name : engine
 Engine database port : 5432
 Engine database host name validation : False
 DWH database secured connection : False
 DWH database host : localhost
 DWH database user name : ovirt_engine_history
 DWH database name : ovirt_engine_history
 DWH database port : 5432
 DWH database host name validation : False
 Engine installation : True
 PKI organization : example.com
 Configure local Engine database : True
 Set application as default page : True
 Configure Apache SSL : True
 DWH installation : True
 Configure local DWH database : True
 Engine Host FQDN : ovirtengine.example.com
 Configure Image I/O Proxy : True
 Configure VMConsole Proxy : True
 Configure WebSocket Proxy : True

 Please confirm installation settings (OK, Cancel) [OK]: OK

[ INFO ] Stage: Transaction setup
[ INFO ] Stopping engine service
[ INFO ] Stopping ovirt-fence-kdump-listener service
[ INFO ] Stopping dwh service
[ INFO ] Stopping Image I/O Proxy service
[ INFO ] Stopping websocket-proxy service
[ INFO ] Stage: Misc configuration
[ INFO ] Stage: Package installation
[ INFO ] Stage: Misc configuration
[ INFO ] Upgrading CA
[ INFO ] Initializing PostgreSQL
[ INFO ] Creating PostgreSQL 'engine' database
[ INFO ] Configuring PostgreSQL
[ INFO ] Creating PostgreSQL 'ovirt_engine_history' database
[ INFO ] Configuring PostgreSQL
[ INFO ] Creating CA
[ INFO ] Creating/refreshing Engine database schema
[ INFO ] Creating/refreshing DWH database schema
[ INFO ] Configuring Image I/O Proxy
[ INFO ] Setting up ovirt-vmconsole proxy helper PKI artifacts
[ INFO ] Setting up ovirt-vmconsole SSH PKI artifacts
[ INFO ] Configuring WebSocket Proxy
[ INFO ] Creating/refreshing Engine 'internal' domain database schema
[ INFO ] Generating post install configuration file '/etc/ovirt-engine-setup.conf.d/20-setup-ovirt-post.conf'
[ INFO ] Stage: Transaction commit
[ INFO ] Stage: Closing up
[ INFO ] Starting engine service
[ INFO ] Starting dwh service
[ INFO ] Restarting ovirt-vmconsole proxy service

 --== SUMMARY ==--

[ INFO ] Restarting httpd
 In order to configure firewalld, copy the files from
 /etc/ovirt-engine/firewalld to /etc/firewalld/services
 and execute the following commands:
 firewall-cmd --permanent --add-service ovirt-postgres
 firewall-cmd --permanent --add-service ovirt-https
 firewall-cmd --permanent --add-service ovirt-fence-kdump-listener
 firewall-cmd --permanent --add-service ovirt-imageio-proxy
 firewall-cmd --permanent --add-service ovirt-websocket-proxy
 firewall-cmd --permanent --add-service ovirt-http
 firewall-cmd --permanent --add-service ovirt-vmconsole-proxy
 firewall-cmd --reload
 The following network ports should be opened:
 tcp:2222
 tcp:443
 tcp:5432
 tcp:54323
 tcp:6100
 tcp:80
 udp:7410
 An example of the required configuration for iptables can be found at:
 /etc/ovirt-engine/iptables.example
 Please use the user '[email protected]' and password specified in order to login
 Web access is enabled at:
 http://ovirtengine.example.com:80/ovirt-engine
 https://ovirtengine.example.com:443/ovirt-engine
 Internal CA E2:96:0B:A0:6C:1E:B5:0D:BB:7B:B5:29:4D:88:92:5A:DA:1E:95:BC
 SSH fingerprint: 1f:7b:59:12:01:8c:b5:d7:21:49:3b:e9:e4:d1:72:da
[WARNING] Warning: Not enough memory is available on the host. Minimum requirement is 4096MB, and 16384MB is recommended.

 --== END OF SUMMARY ==--

[ INFO ] Stage: Clean up
 Log file is located at /var/log/ovirt-engine/setup/ovirt-engine-setup-20160918040600-2gbi6m.log
[ INFO ] Generating answer file '/var/lib/ovirt-engine/setup/answers/20160918041930-setup.conf'
[ INFO ] Generating answer file '/root/answer.txt'
[ INFO ] Stage: Pre-termination
[ INFO ] Stage: Termination
[ INFO ] Execution of setup completed successfully
[[email protected] ~]#
Nel caso in cui il firewall sia abilitato sul tuo server , quindi esegui i passaggi menzionati nell'output sopra.
Fase:5 Accedi al portale dell'amministratore Web di oVirt Engine.
Apri il browser web e digita URL :
https://ovirtengine.example.com
o
https://indirizzo_IP
Sostituisci il nome di dominio o l'indirizzo IP secondo la tua configurazione.
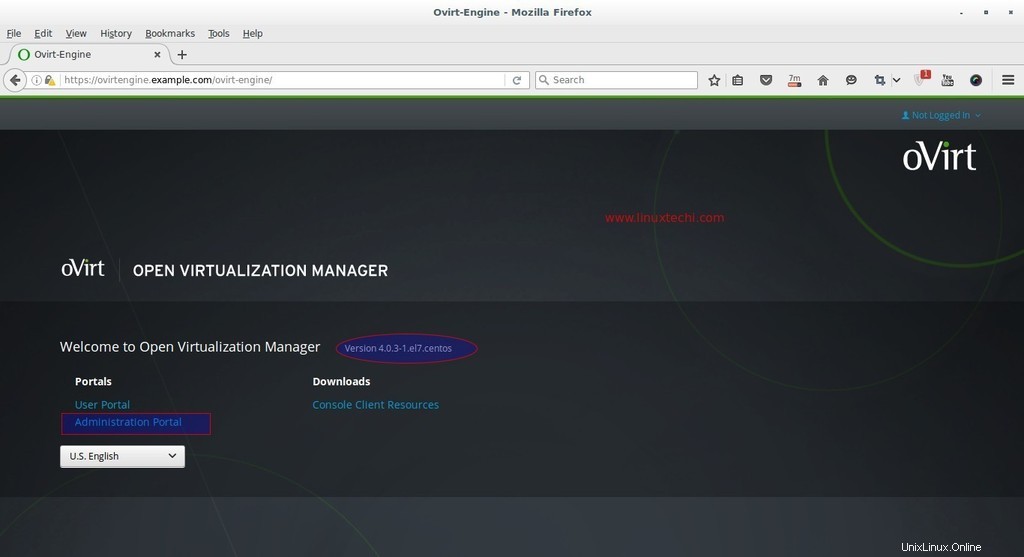
Fare clic su Portale dell'amministratore.
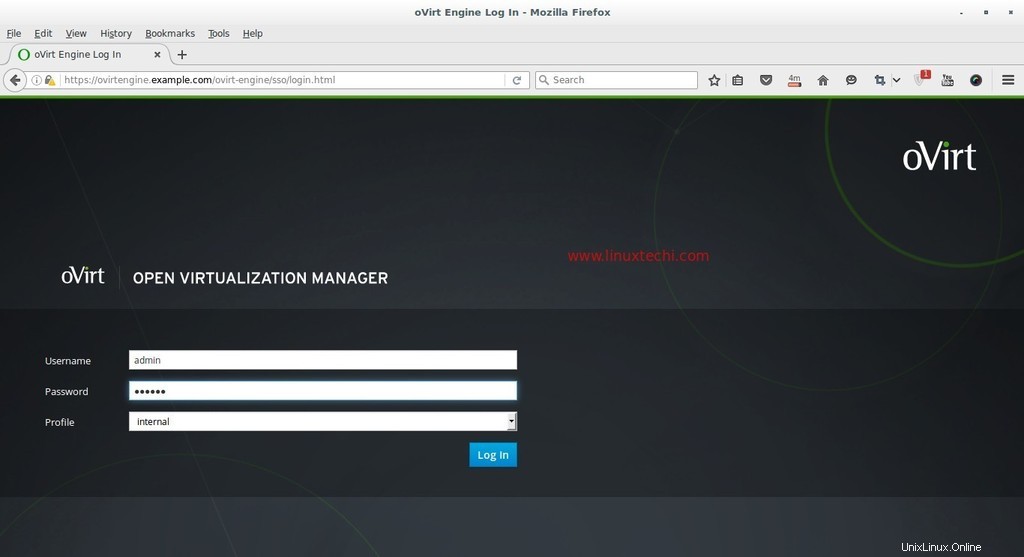
Inserisci il nome utente come 'admin ' e la password che abbiamo menzionato durante l'installazione e il profilo come interno.
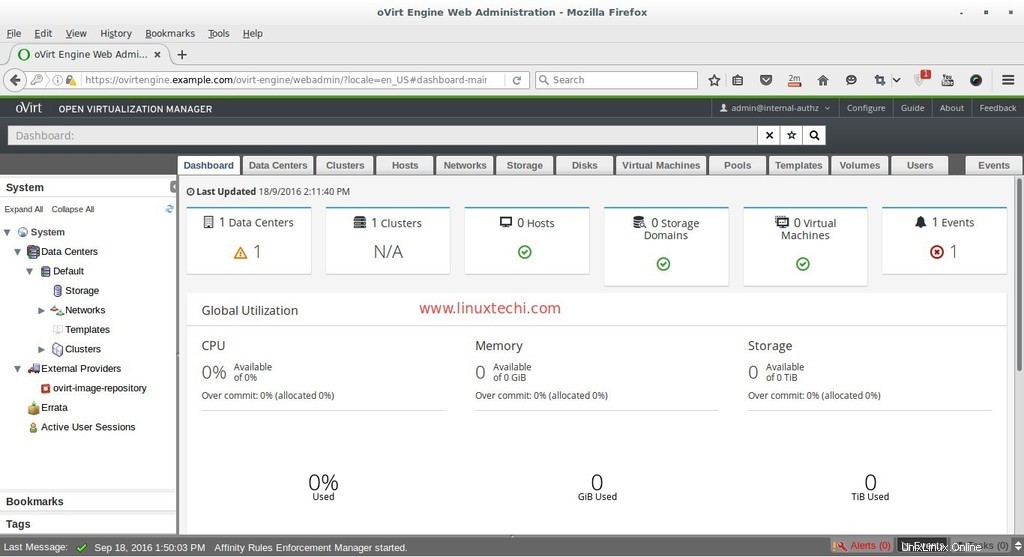
A questo punto l'installazione del motore ovirt è completata, ora installa ovirt node.
Passaggi di installazione di oVirt Node (Hypervisor)
oVirt Node può essere configurato in due diversi metodi, il primo metodo è che possiamo scaricare l'hypervisor o ovirt-node iso file dal suo sito Web ufficiale e installa il server dal file iso scaricato.
Il secondo metodo è che possiamo creare CentOS esistenti , RHEL e Fedora server come nodo ovirt installando il pacchetto vdsm su di esso e quindi aggiungeremo quell'host o server manualmente dal portale dell'amministratore del motore ovirt.
I requisiti minimi per oVirt Node sono :
- Sistema dual-core
- 10 GB di RAM fisica
- 10 GB di spazio su disco
- Scheda LAN da 1 Gbps
In questo tutorial andrò con il primo metodo, ho già scaricato oVirt 4.0 Node iso file. Masterizza il file ISO scaricato su DVD o unità USB e avvia il server di avvio con DVD/USB segui le istruzioni sullo schermo.

Seleziona la prima opzione "Installa oVirt Node 4.0.3 '
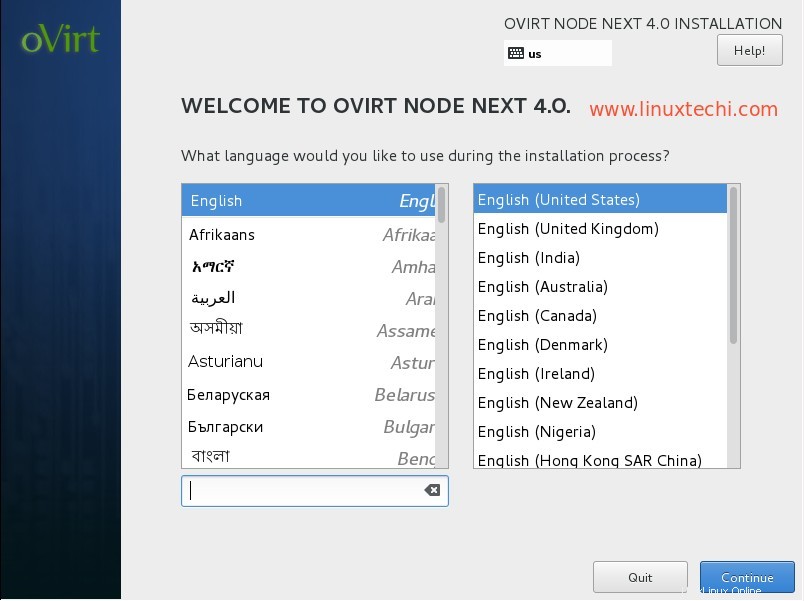
Seleziona la Lingua e clicca su Continua...
Nel passaggio successivo, esegui i seguenti passaggi:
- Configura rete
- Imposta nome host
- Seleziona il disco per l'installazione del sistema operativo
- Data e ora come da configurazione
- Layout tastiera
Nel mio caso il nome host è "ovirtnode.example.com " e l'indirizzo IP è 192.168.1.40
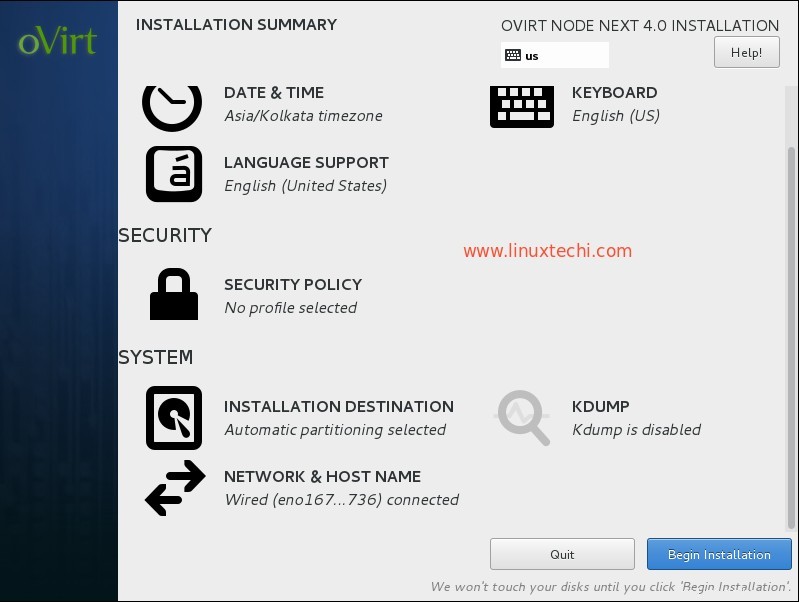
Fare clic su Inizia installazione
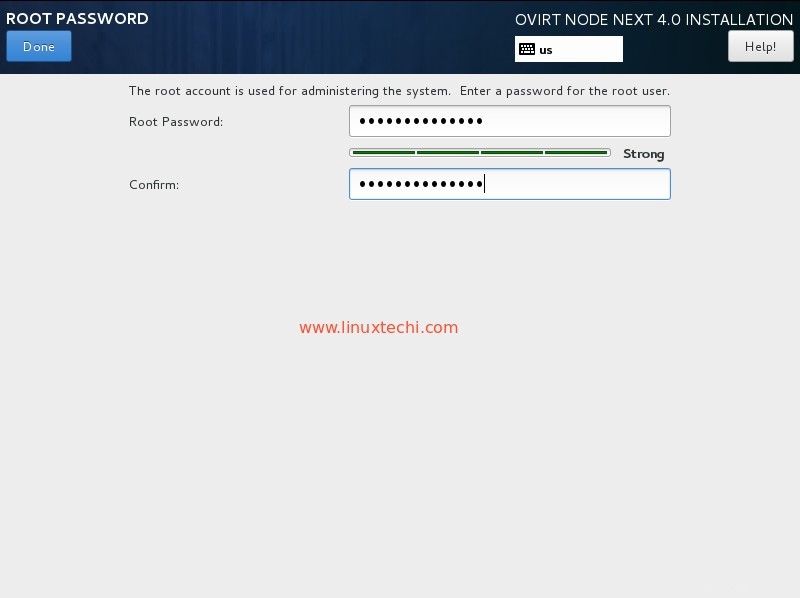
Imposta la password di root e fai clic su Fine
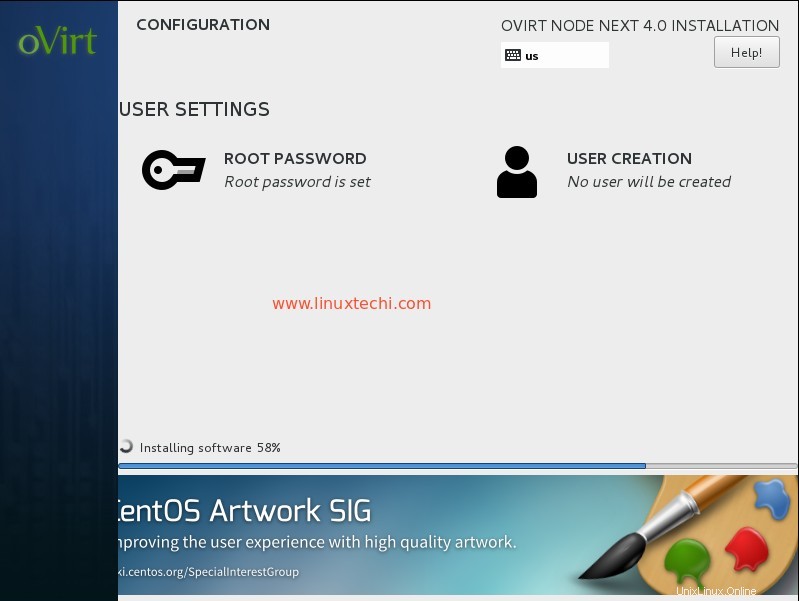
oVirt 4.0.3 L'installazione del nodo è in corso.
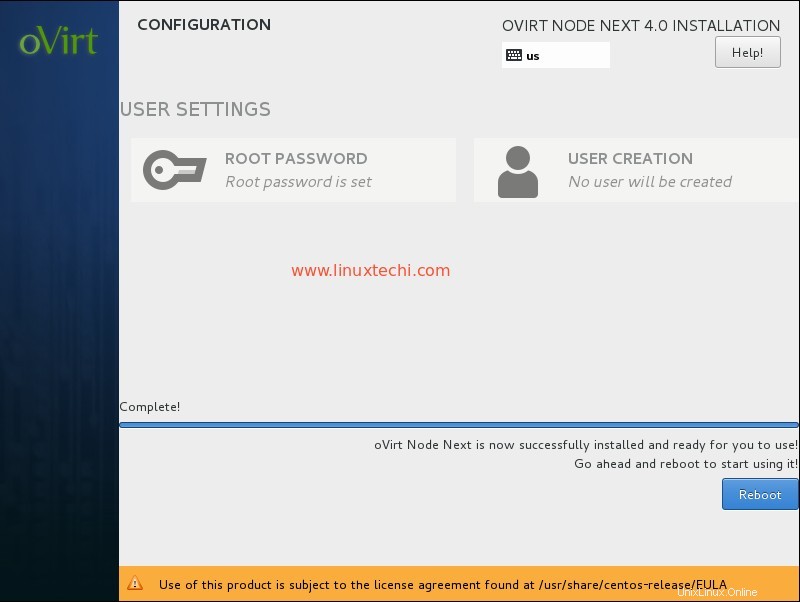
Una volta completata l'installazione, riavvia il server.
Aggiungi oVirt Node (ovirtnode.example) nel motore ovirt dal portale dell'amministratore Web.
Accedi al portale dell'amministratore , vai alla scheda Host —> fai clic su Nuovo
Specificare i dettagli del nodo ovirt.
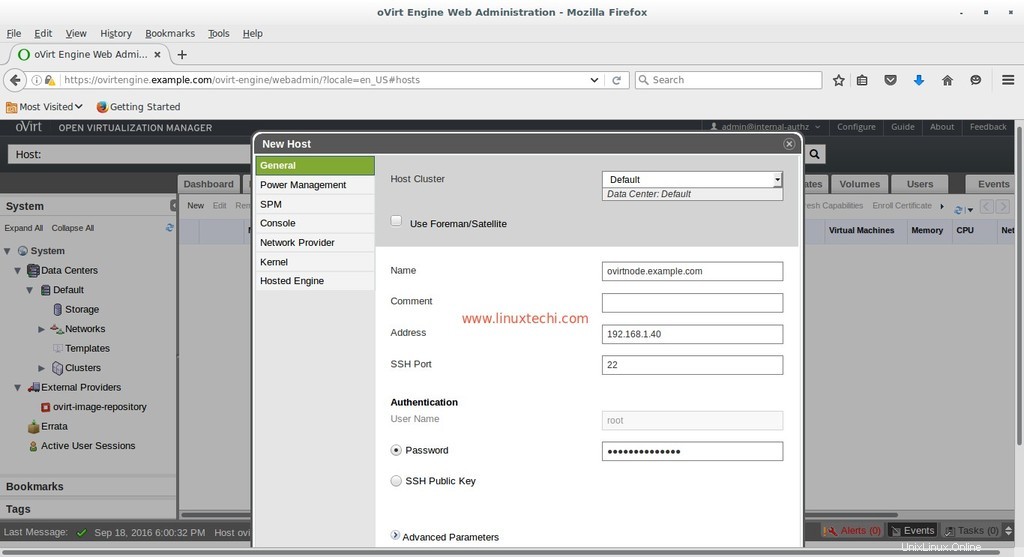
Una volta terminato con le voci, fare clic su OK.

Poiché eseguo questa configurazione nel mio laboratorio, quindi non vado a "Configura Power Management “. Fare clic su OK
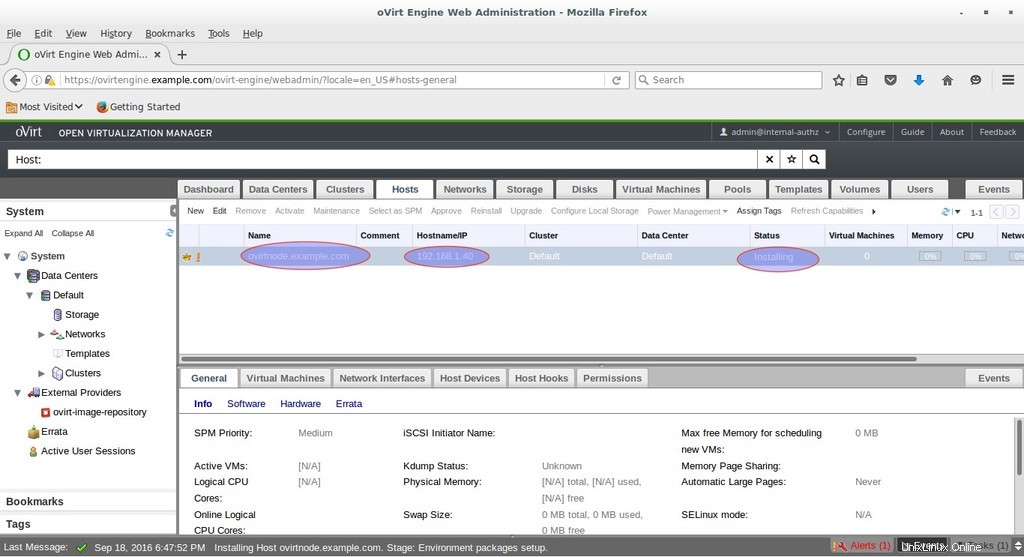
Come possiamo vedere di seguito, il motore ovirt sta installando il software sul nodo ovirt. Nel caso in cui l'host non venga attivato dopo l'installazione del software, selezionare Host e fare clic su Attiva
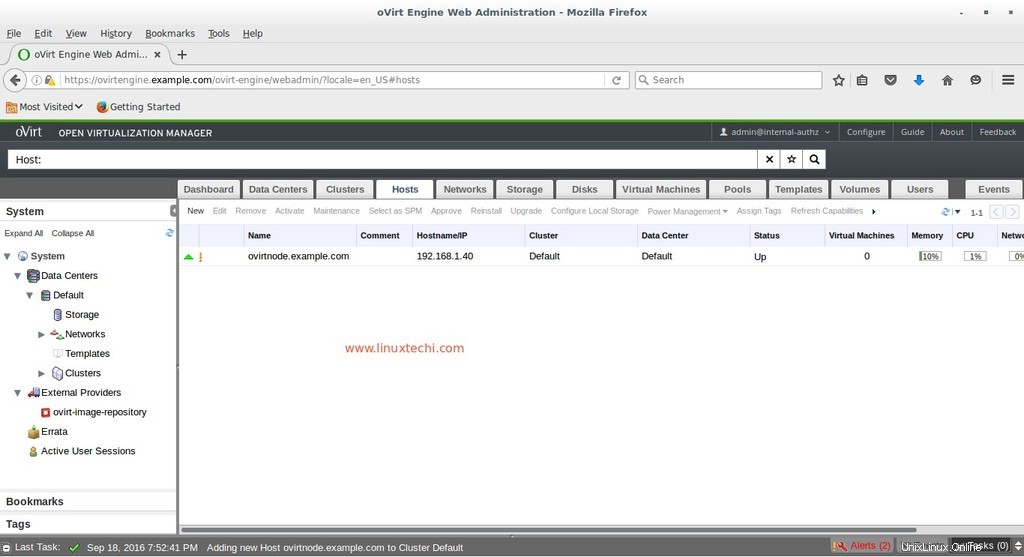
Come possiamo vedere, l'Host è ora attivato.
È tutto. Spero che ti piacciano i passaggi di installazione e configurazione di oVirt 4.0.3. Nel prossimo articolo parleremo di come creare data center, cluster e macchine virtuali.