Una combinazione di Linux, Apache, MySQL e PHP è nota come LAMP stack è il popolare ambiente di web hosting per l'applicazione basata su PHP. Qui Linux è un sistema operativo, Apache è il popolare web server sviluppato da Apache Foundation, MySQL è un sistema di gestione di database relazionali utilizzato per l'archiviazione dei dati e PHP è il linguaggio di programmazione ampiamente utilizzato.
Questo articolo ti aiuterà a installare Apache 2.4, MySQL 8.0 e PHP 7.4 sul sistema Ubuntu 20.04 LTS (Focal Fossa). Iniziamo l'installazione di LAMP impila la tua macchina Ubuntu.
Prerequisiti
Devi disporre dell'accesso utente privilegiato root o sudo al tuo sistema Ubuntu 20.04. Accedi al tuo sistema Ubuntu utilizzando la GUI per Desktop e SSH per l'edizione server.
ssh [email protected]
Ora aggiorna i pacchetti attuali all'ultima versione.
sudo apt update && sudo apt upgrade
Segui le istruzioni di configurazione iniziale del server per preparare il tuo sistema al funzionamento.
Fase 1 – Installazione di Apache2
Apache2 è un potente software per server web utilizzato da un gran numero di siti web. Questo è il primo componente da installare per configurare LAMP sul sistema Ubuntu 20.04.
Per installare il pacchetto Apache2, digita:
sudo apt update && sudo apt install apache2
Una volta completata l'installazione del pacchetto Apache2, controlla lo stato del servizio:
sudo systemctl status apache2
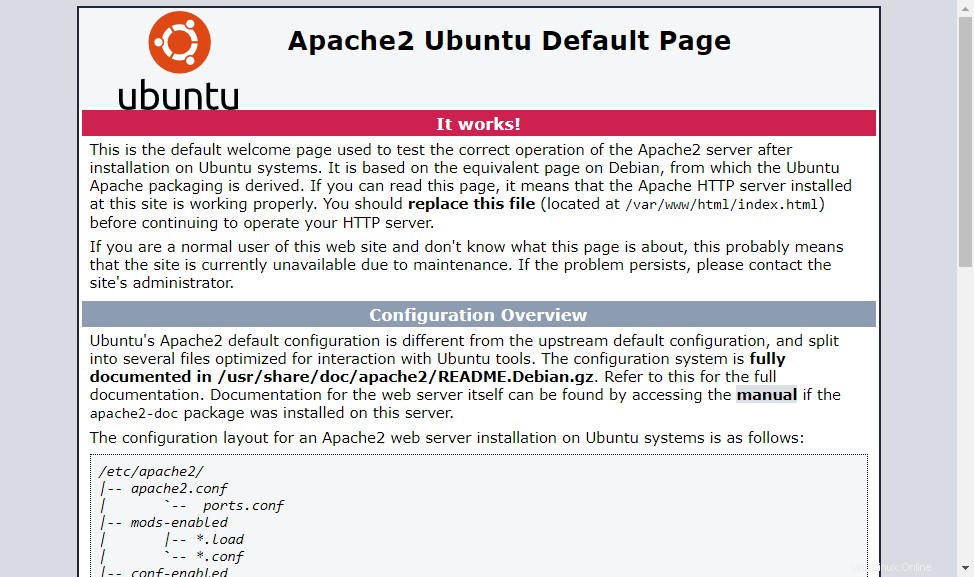
Il servizio Apache è attivo e in esecuzione. Ora apri un browser web e inserisci l'indirizzo IP del tuo server. Vedrai la pagina web predefinita di Apache
Tutti i file di configurazione sono archiviati nella directory /etc/apache2. Per creare host virtuali aggiuntivi, visita questo tutorial.
Fase 2 – Installazione di PHP
I pacchetti PHP 7.4 sono disponibili nei repository Apt predefiniti su Ubuntu 20.04 LTS. Per installare PHP sul tuo sistema, aggiorna apt index e poi installalo sul tuo sistema.
sudo apt install -y php libapache2-mod-php
Installa anche moduli PHP aggiuntivi richiesti per la tua applicazione.
sudo apt install php-curl php-gd php-json php-mbstring php-xml
Fase 3 – Installazione di MySQL Server
I repository apt di Ubuntu 20.04 predefiniti contengono il server MySQL 8.0. Infine, installa i pacchetti mysql-server per il database MySQL. Inoltre, installa il pacchetto php-mysql per usare il supporto MySQL usando PHP. Usa il comando seguente per installarlo.
sudo apt install mysql-server php-mysql
Il programma di installazione richiederà la password di root, questa password funzionerà per il tuo utente root MySQL. Dopo aver installato MySQL, eseguire il comando seguente per le impostazioni iniziali del server MySQL. Vedrai che lo script richiederà più impostazioni rispetto alle versioni precedenti di MySQL come la politica di convalida della password ecc.
sudo mysql_secure_installation
Securing the MySQL server deployment. Connecting to MySQL using a blank password. VALIDATE PASSWORD COMPONENT can be used to test passwords and improve security. It checks the strength of password and allows the users to set only those passwords which are secure enough. Would you like to setup VALIDATE PASSWORD component? Press y|Y for Yes, any other key for No: yThere are three levels of password validation policy: LOW Length >= 8 MEDIUM Length >= 8, numeric, mixed case, and special characters STRONG Length >= 8, numeric, mixed case, special characters and dictionary file Please enter 0 = LOW, 1 = MEDIUM and 2 = STRONG: 2Please set the password for root here. New password: Re-enter new password:Estimated strength of the password: 100 Do you wish to continue with the password provided?(Press y|Y for Yes, any other key for No) : y By default, a MySQL installation has an anonymous user, allowing anyone to log into MySQL without having to have a user account created for them. This is intended only for testing, and to make the installation go a bit smoother. You should remove them before moving into a production environment. Remove anonymous users? (Press y|Y for Yes, any other key for No) : ySuccess. Normally, root should only be allowed to connect from 'localhost'. This ensures that someone cannot guess at the root password from the network. Disallow root login remotely? (Press y|Y for Yes, any other key for No) : ySuccess. By default, MySQL comes with a database named 'test' that anyone can access. This is also intended only for testing, and should be removed before moving into a production environment. Remove test database and access to it? (Press y|Y for Yes, any other key for No) : y- Dropping test database... Success. - Removing privileges on test database... Success. Reloading the privilege tables will ensure that all changes made so far will take effect immediately. Reload privilege tables now? (Press y|Y for Yes, any other key for No) : ySuccess. All done!
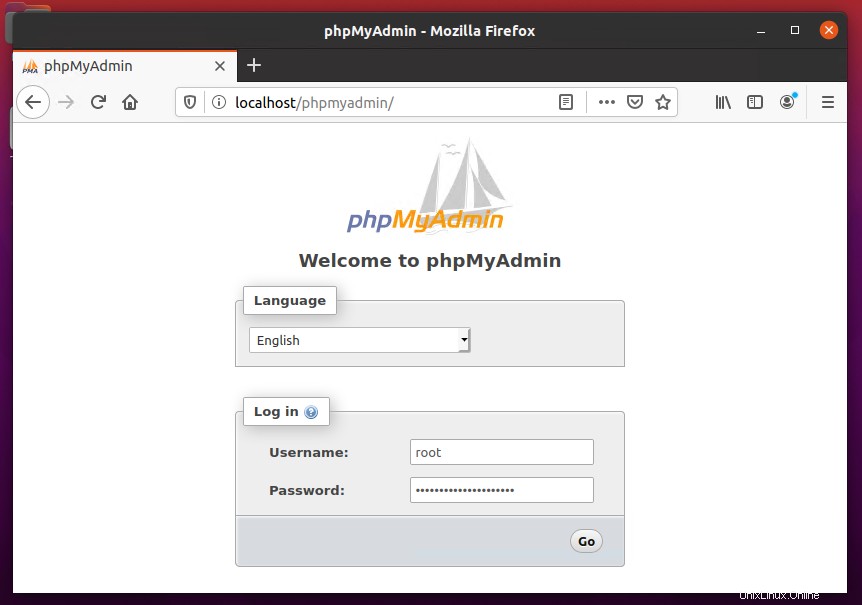
Fase 4 – Installazione di phpMyAdmin (opzionale)
phpMyAdmin fornisce un'interfaccia web facile da usare per gestire il server di database MySQL. Puoi installare phpMyAdmin su Ubuntu 20.04 eseguendo il seguente comando:
sudo apt install phpmyadmin
Il processo di installazione richiederà di selezionare il server Web da configurare. Seleziona "Apache" come server web per eseguire phpMyAdmin.
Successivamente, questo richiederà di creare un database per phpMyAdmin e richiederà i dettagli di accesso dell'utente amministrativo. Completa tutti i passaggi per completare l'installazione di phpMyAdmin.
Passaggio 5:gestione dei servizi
Abbiamo finito con l'installazione dello stack LAMP sul sistema Ubuntu 20.04 LTS. I comandi seguenti ti aiuteranno ad avviare/arrestare o riavviare i servizi Apache e MySQL in esecuzione con systemd.
Per riavviare i servizi Apache e MySQL, digita:
sudo systemctl restart apache2sudo systemctl restart mysql
Per avviare i servizi Apache e MySQL, digita:
sudo systemctl start apache2sudo systemctl start mysql
Per interrompere i servizi Apache e MySQL, digita:
sudo systemctl stop apache2sudo systemctl stop mysql
Fase 6 – Modifica delle regole del firewall
Puoi fornire direttamente un nome di servizio come "http" o "https" per consentire. Il firewalld usa il file /etc/services per determinare la porta corrispondente del servizio.
sudo firewall-cmd --permanent --add-service=httpsudo firewall-cmd --permanent --add-service=httpssudo firewall-cmd --reload
Fase 7 – Configurazione del test
Dopo aver completato tutta la configurazione. Creiamo un info.php file radice del documento del sito Web con il seguente contenuto.
sudo echo "<?php phpinfo(); ?>" > /var/www/html/info.php
Ora accedi a questo file nel browser web. Vedrai la schermata come di seguito con tutti i dettagli di PHP sul server.
Accedi anche a phpMyAdmin